[Live] Configure WooCommerce settings
Set up your WooCommerce plugin to work with live payments.
Enable pretty permalinks in WordPressEnsure that you enable pretty permalinks in your WordPress installation. Otherwise, callbacks from TrueLayer back to your store won’t work and orders will not be updated with the correct order status/information.
Once you have finished testing in sandbox, you can move into the production environment. We recommend that you test in production before you go live with TrueLayer payments.
Before you start
This guide assumes that you already have:
- a Console account and client credentials
- a TrueLayer merchant account
- the correct webhook and redirect URIs for your webshop, uploaded to Console
- signing keys
You need to set these up before you start working with the plugin itself.
1. Display TrueLayer as a payment method
Go to Payments > Settings.
In the Available EUR countries dropdown menu, select the countries that you want to display TrueLayer as a payment option in. Note that we only support some EU geographies.
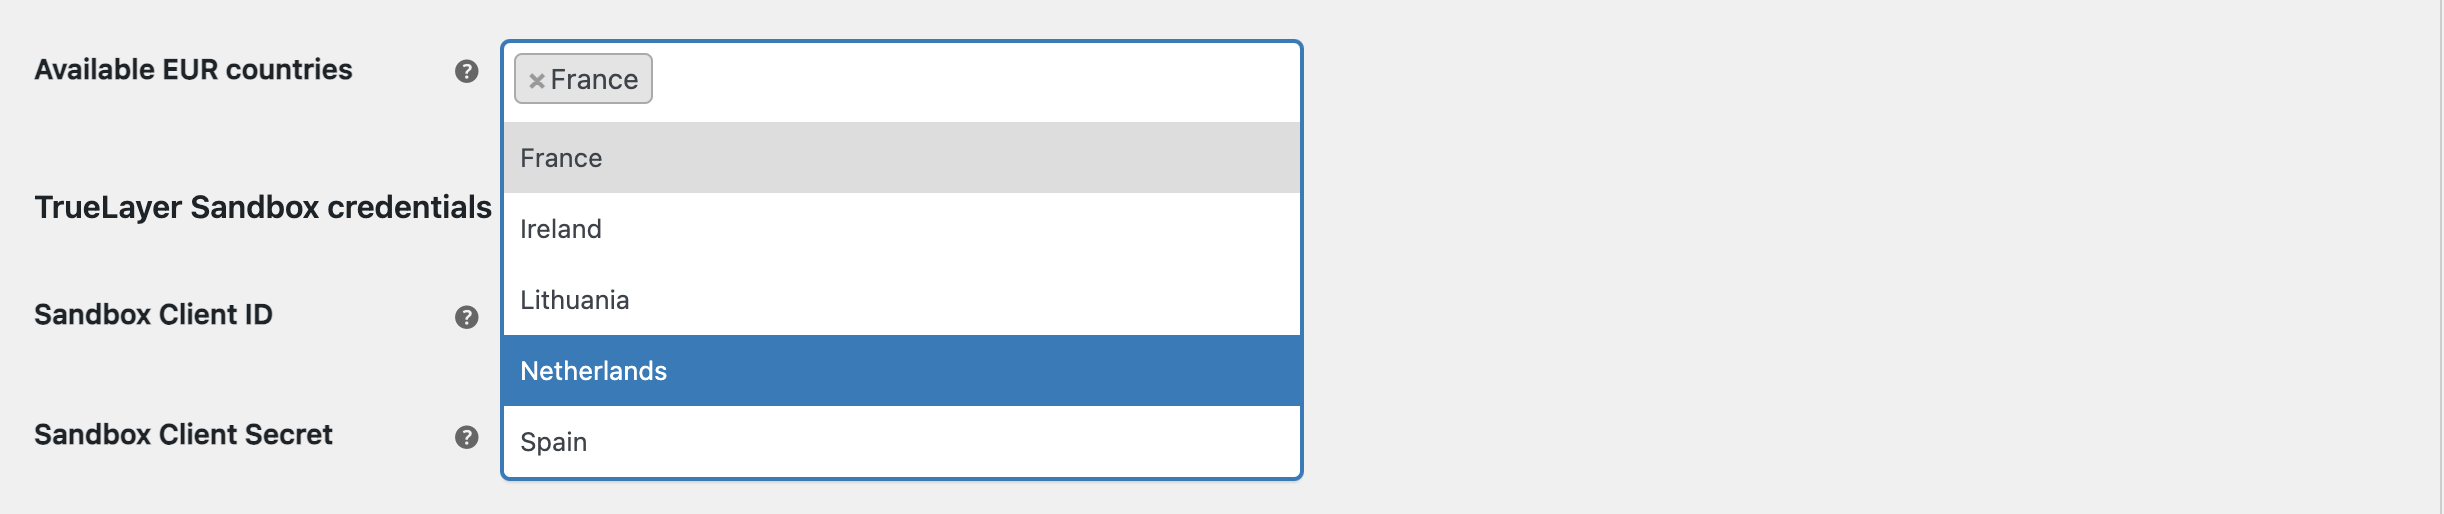
The dropdown menu with all countries we support.
2. Toggle the live environment in Console and WooCommerce
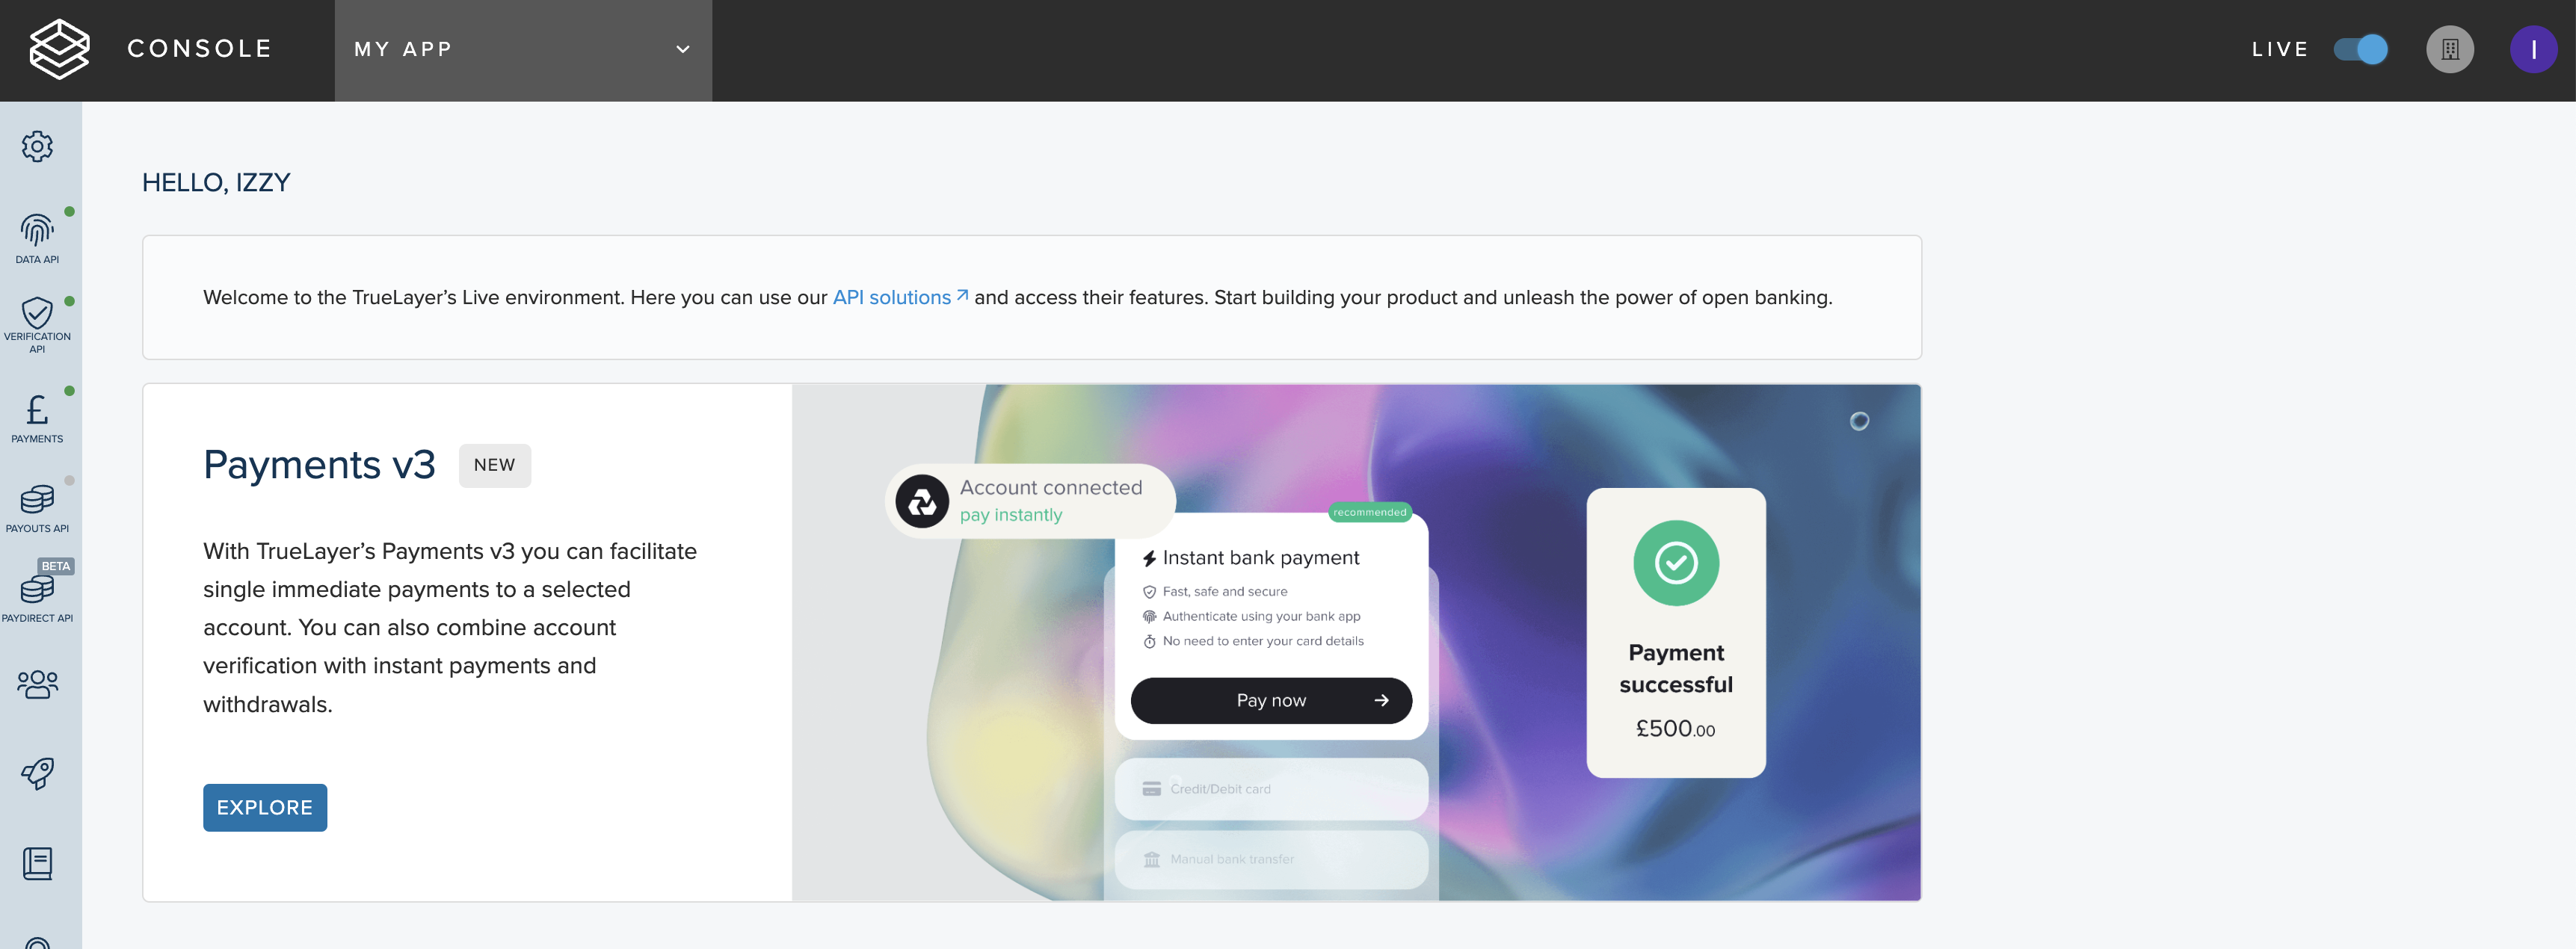
Go to Console and toggle Live on (it should go from greyed out to blue).
Next, go back to the plugin. Navigate to Settings > Payments > TrueLayer. Uncheck Test Mode.
3. Input production credentials in WooCommerce
These are the credentials that you need to enable TrueLayer payments in production:
| Production credential | Location | Example value |
|---|---|---|
| Merchant account ID | Console > Payments > Merchant Account > ID | 363aglc4-1451-4089-b143-c2ad0e237322 |
| Account holder name | Console > Payments > Merchant Account > Beneficiary | My Shop Name |
| Client ID | Console > Settings | ecommerceplugins-1119e7 |
| Client secret | Console > Settings | bf945c77-b697-433c-b4f2-36dcc7e8c886 |
| KID | Console > Payments > Settings > Signing keys. Copy the KID column | g7l2f140-7fdd-4272-b948-23c32a613546 |
| Private key | On your device. To view your private key, open the file in any text editor (eg TextEdit). Use the following format: | -----BEGIN EC PRIVATE KEY----- MIHcAgEBBEIB15zSseam7aJIM7inVjB7XL/Q3 vpw9p32d7ve15knwvNN1XfgLY4fxfQ809O5 GkbK+yS9ijQJmkRzNFPg8damR6+gBwYFK4 EEACOhgYkDgYYABADzPUKuUvSAMZ50ww rjlBeZ4XTj76B6wM0kUunmbpSqWQ2It41uM 4SNAQ5B40L0h7khq8ha8043bT/x/cOJ1bMT egBrgDXa5rOgBRdD3wfNhxI1GQTq0dw5yz4 ilCXNbJ+1ucytuUDHhx2XDaTel/bw5983g2YN DQCFbMr4sVHABCQ8dA== -----END EC PRIVATE KEY----- |
You are now ready to make live payments, or [test in production](link to integration checklist page).
Optional: Enable beta release channels
Banks can be in one of three release channels:
| Release channel | Description |
|---|---|
| General availability | Banks in general availability are fully ready for use. There is a three-month notice period for any breaking changes to live providers. |
| Public beta | Public beta banks have been tested by multiple customers. There is a two-month notice period for any breaking changes to public beta providers. |
| Private beta | Private beta banks have working integrations that have passed our criteria. However, there may be configuration details you need to be aware of. Additionally, breaking changes are made to private beta providers more frequently. This means you need to contact your integration partner to enable these providers for your client_id. |
If you set the release channel to private or public beta, you can enable your users to make payments using beta banks.
- Setting the release channel to Private beta enables you to access private beta, public beta and general availability banks.
- Setting the release channel to Public beta enables you to access public beta and general availability banks.
Updated 11 days ago