[Plugins] Customise your payments UI
Change the way that the authorisation flow looks when your customer chooses to pay you.
When a user pays with TrueLayer in your webshop, they will be taken through the TrueLayer [hosted payment page] flow. In practice, this means that you can customise the payment authorisation UI by using the tools for the hosted payment page and embedded payment page. To do this, go to Console.
Customise your UI
Go to Payments > UI Customisation. Here you can see options to change what displays when your users make a payment with TrueLayer.
Display the correct wording at checkoutWithin the plugin, you can also change what the TrueLayer-enabled payment option is called at checkout. Change this to Pay by bank app.
For info on how to change this for Magento, Shopify and WooCommerce checkouts, see the relevant docs.
A preview of your payment authorisation flow displays on the right-hand side of the screen. Use this to check your UI updates.
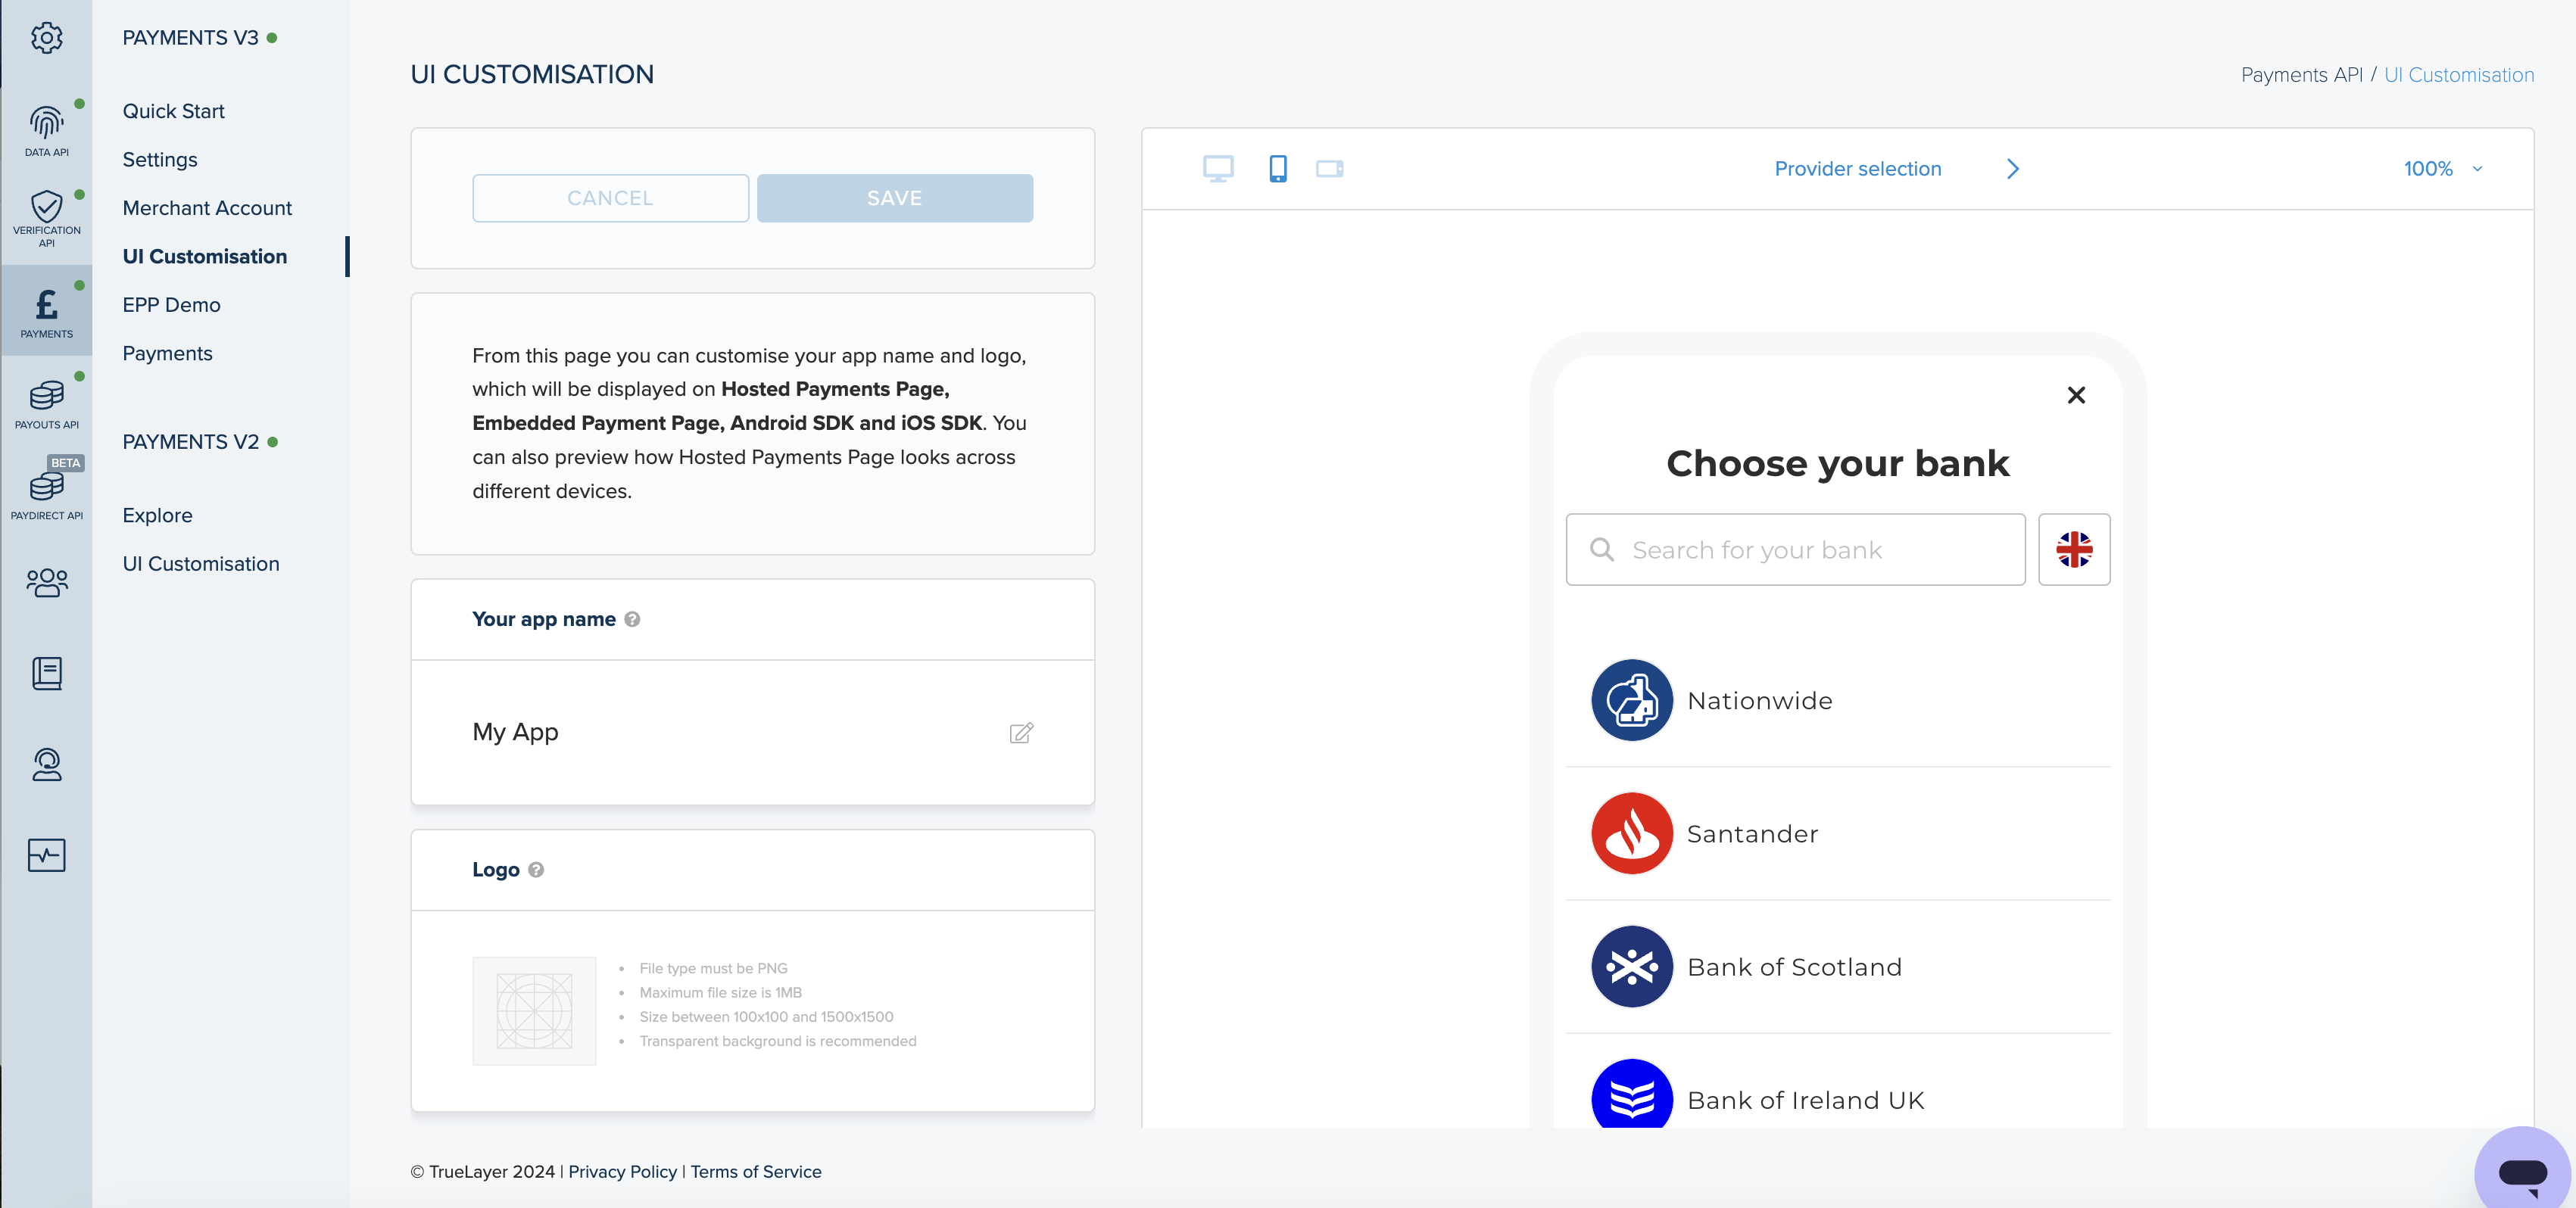
In the bar at the top edge of the preview, you can:
- Switch between a desktop, portrait, mobile, and landscape mobile preview.
- Switch between a preview of the Provider selection, Review payment, Loader, and No search result screens.
- Change the amount of zoom of the preview.
You can click and enter text within the preview to test the user experience.
This table contains all of the UI elements you can customise in Console.
| UI customisation option | Description |
|---|---|
| Your app name | The name of your app. This displays at the bottom of the provider selection screen and on the payment review screen. If Your app name is the same as your payee account name, the two are merged and display as one on the payment review screen. |
| Logo | The logo that displays for your app next to Your app name. |
To save your changes, click Save in the top left.
Updated 6 months ago