Set up your TrueLayer account for plugins
Using any of our ecommerce plugins (Shopify, Magento or WooCommerce)? Start here to set up your account and configure the credentials you need.
1. Set up your Console account
When you first create a Console account, you create an organisation that you have the Owner role in.
An organisation shares merchant accounts (one GBP and one EUR), and can contain multiple users with different roles. To join a particular organisation when you first sign up, have your preferred owner first create an account and then send email invites to the other members.
-
Go to Console.
-
Sign up to Console. Create and verify your account.
Make sure to check your spam folder for an email from us. If you don’t see an email at all, check that your business hasn’t auto-blocked the email. -
Create a new application, choose a client ID and download your
client_secret. These are credentials that identify you and secure your payments.
Yourclient_idmust be between 4 and 30 lowercase characters, including letters and numbers. You can't use special characters. Include the name of your business or a variation on it.
Save your client secret somewhere safe, where you can find it in future. Don’t share it.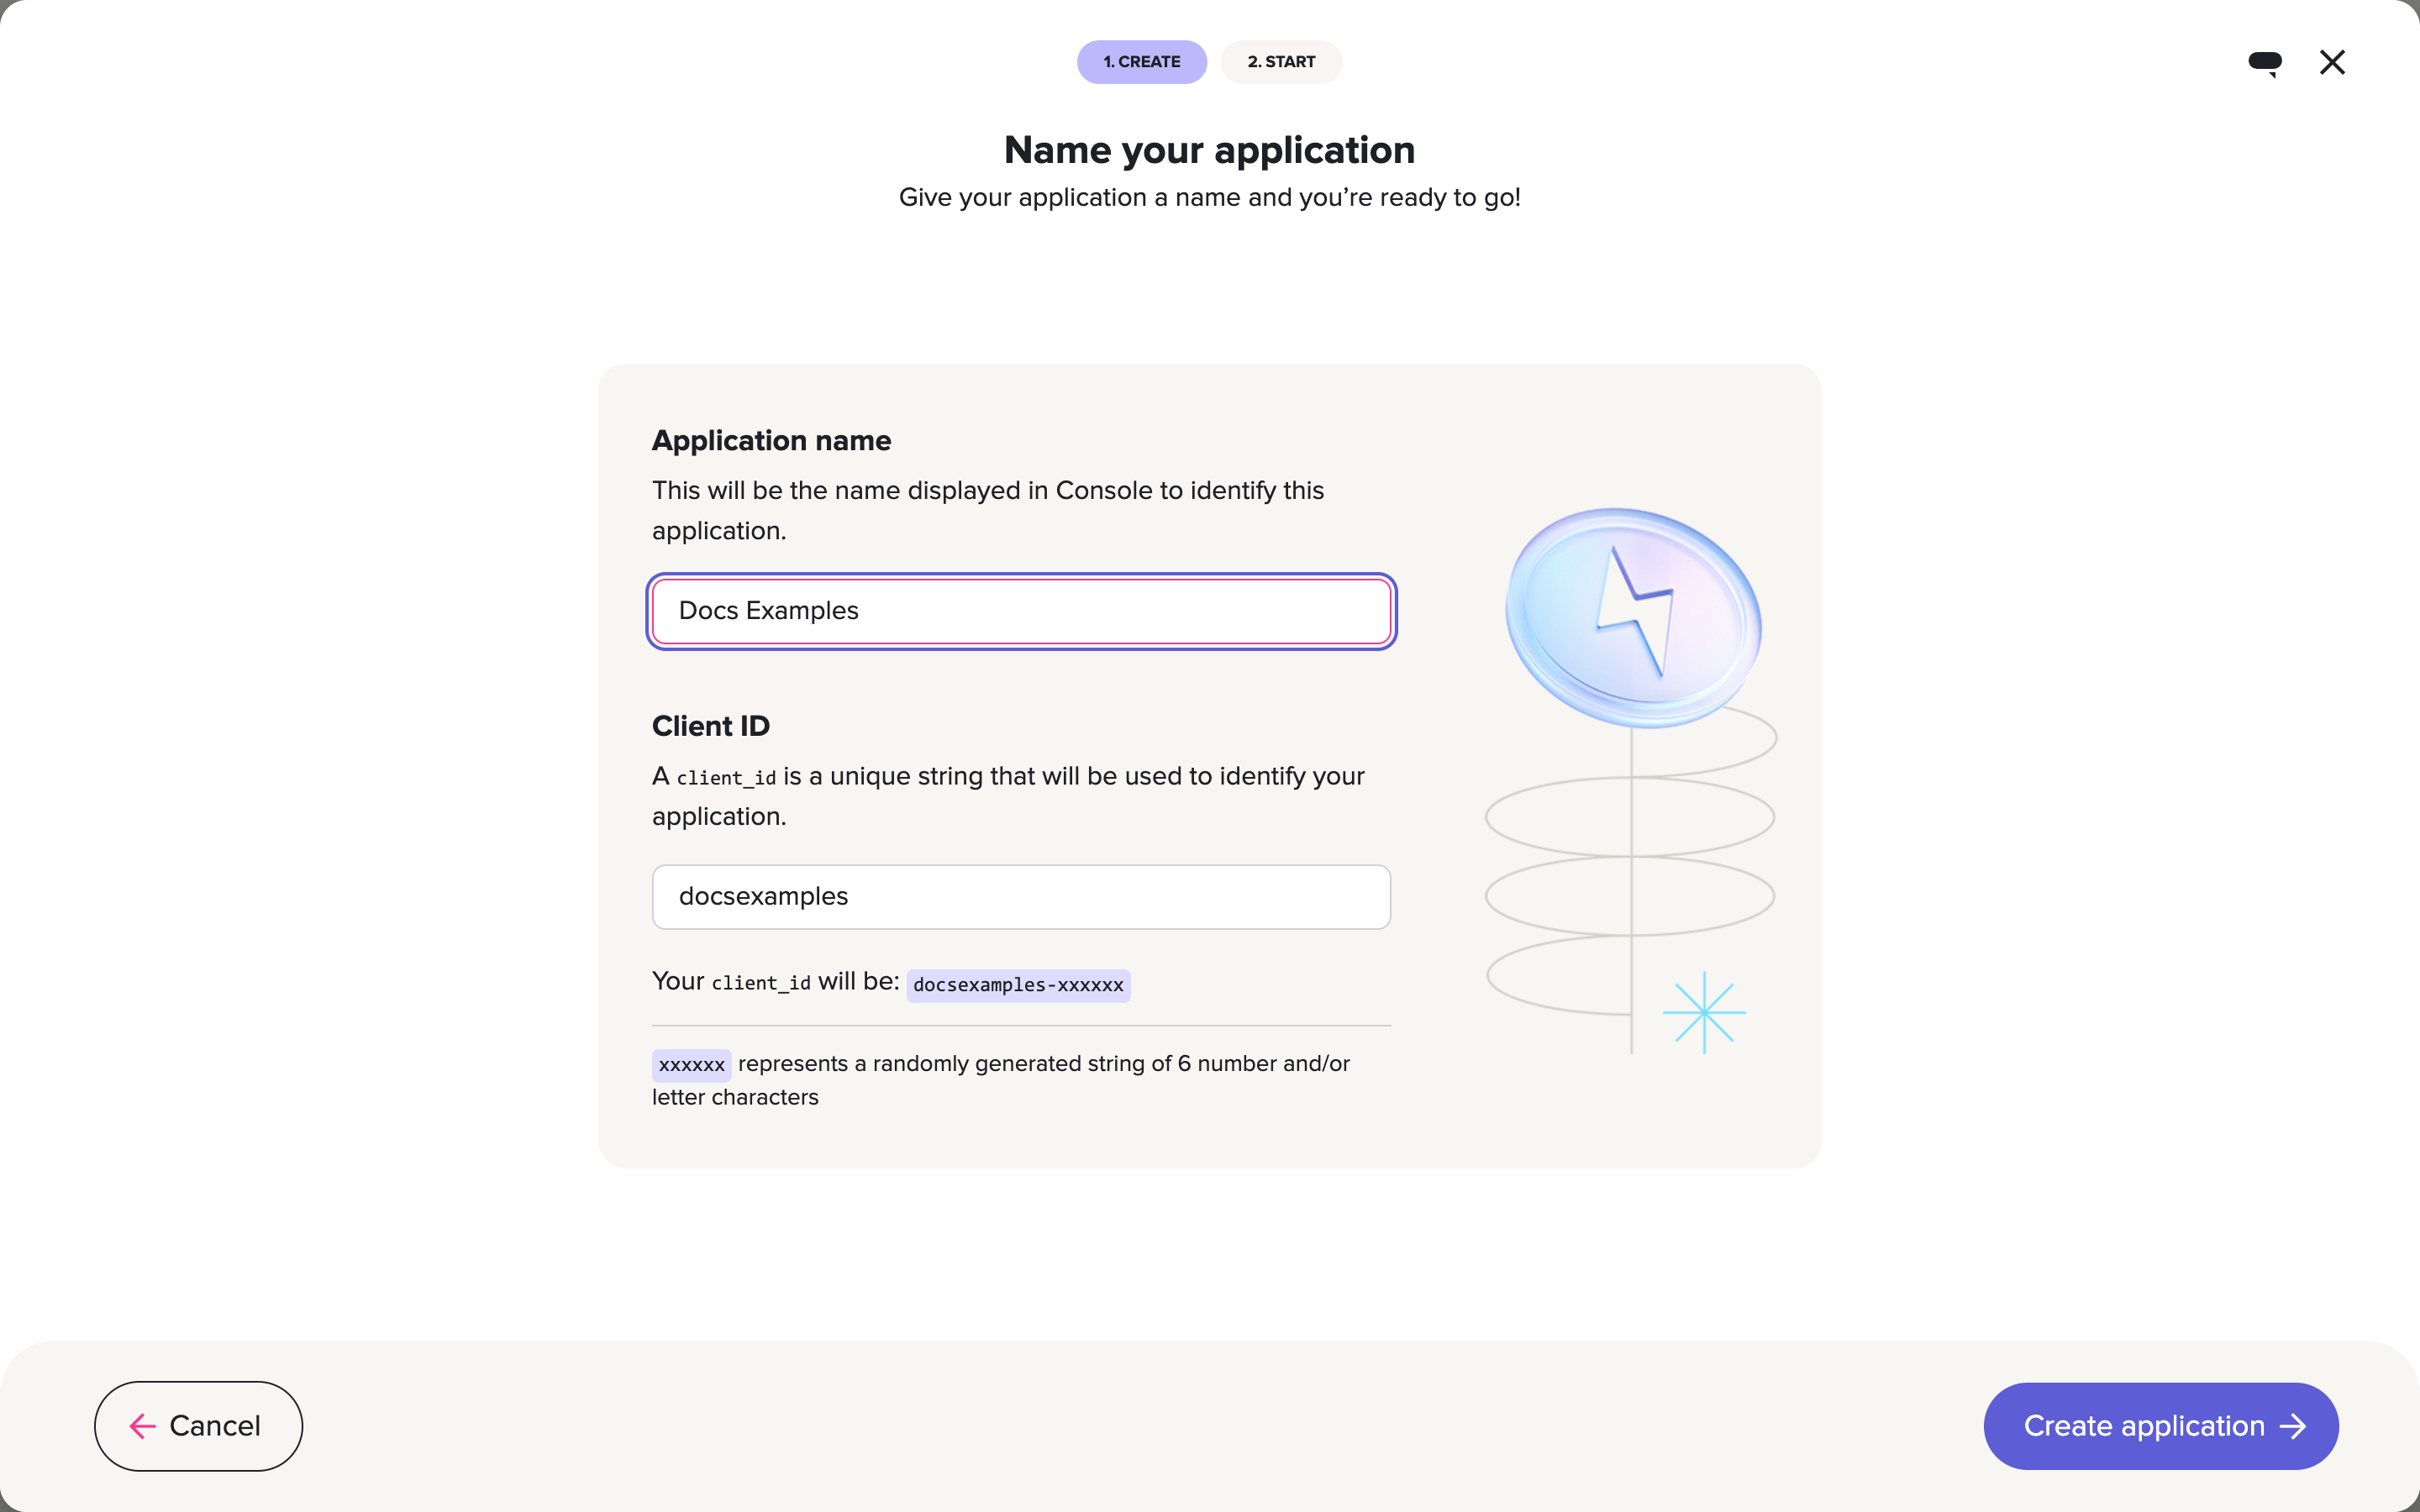
-
In the top-right corner, switch the toggle so that Sandbox is highlighted in yellow.
💡 Sandbox and live client credentials look differentSandbox
client_ids have sandbox at the beginning, like this:sandbox-clienttesting-742f0b.The corresponding live
client_idwould look like this:clienttesting-742f0b.You can't use sandbox client credentials in the live environment, and you can't use live credentials in the sandbox environment. Doing this causes any payments to fail.
-
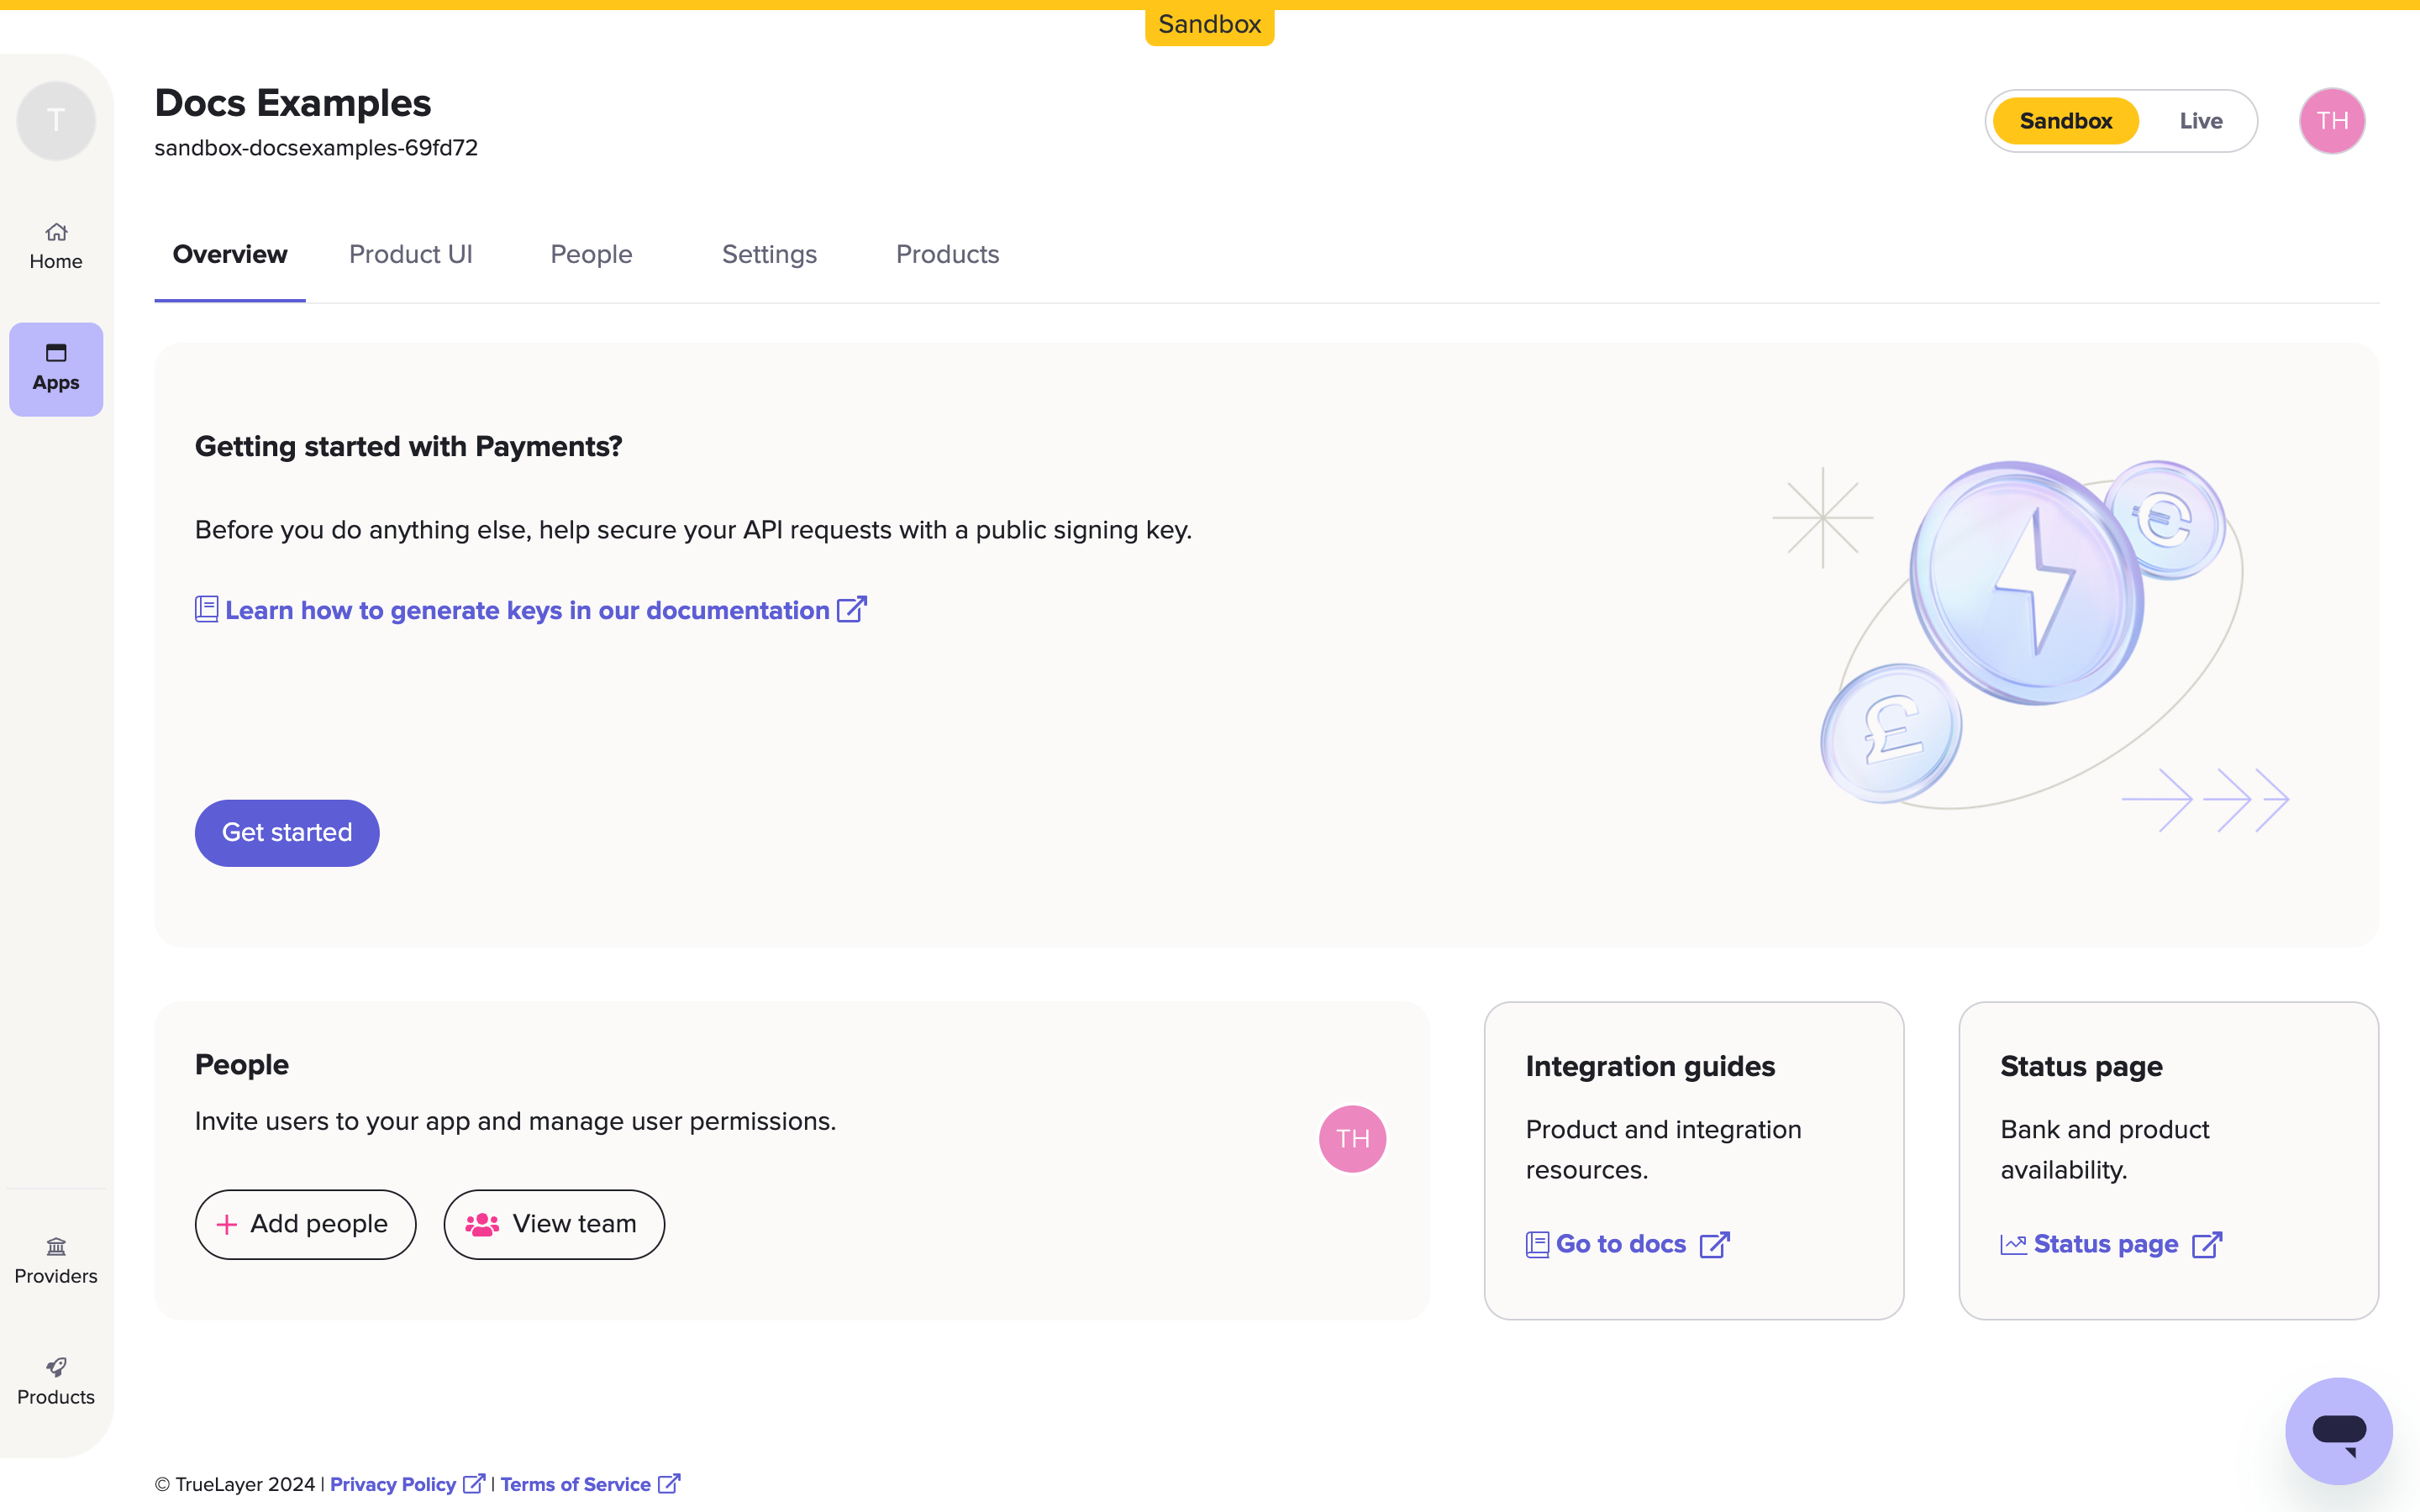
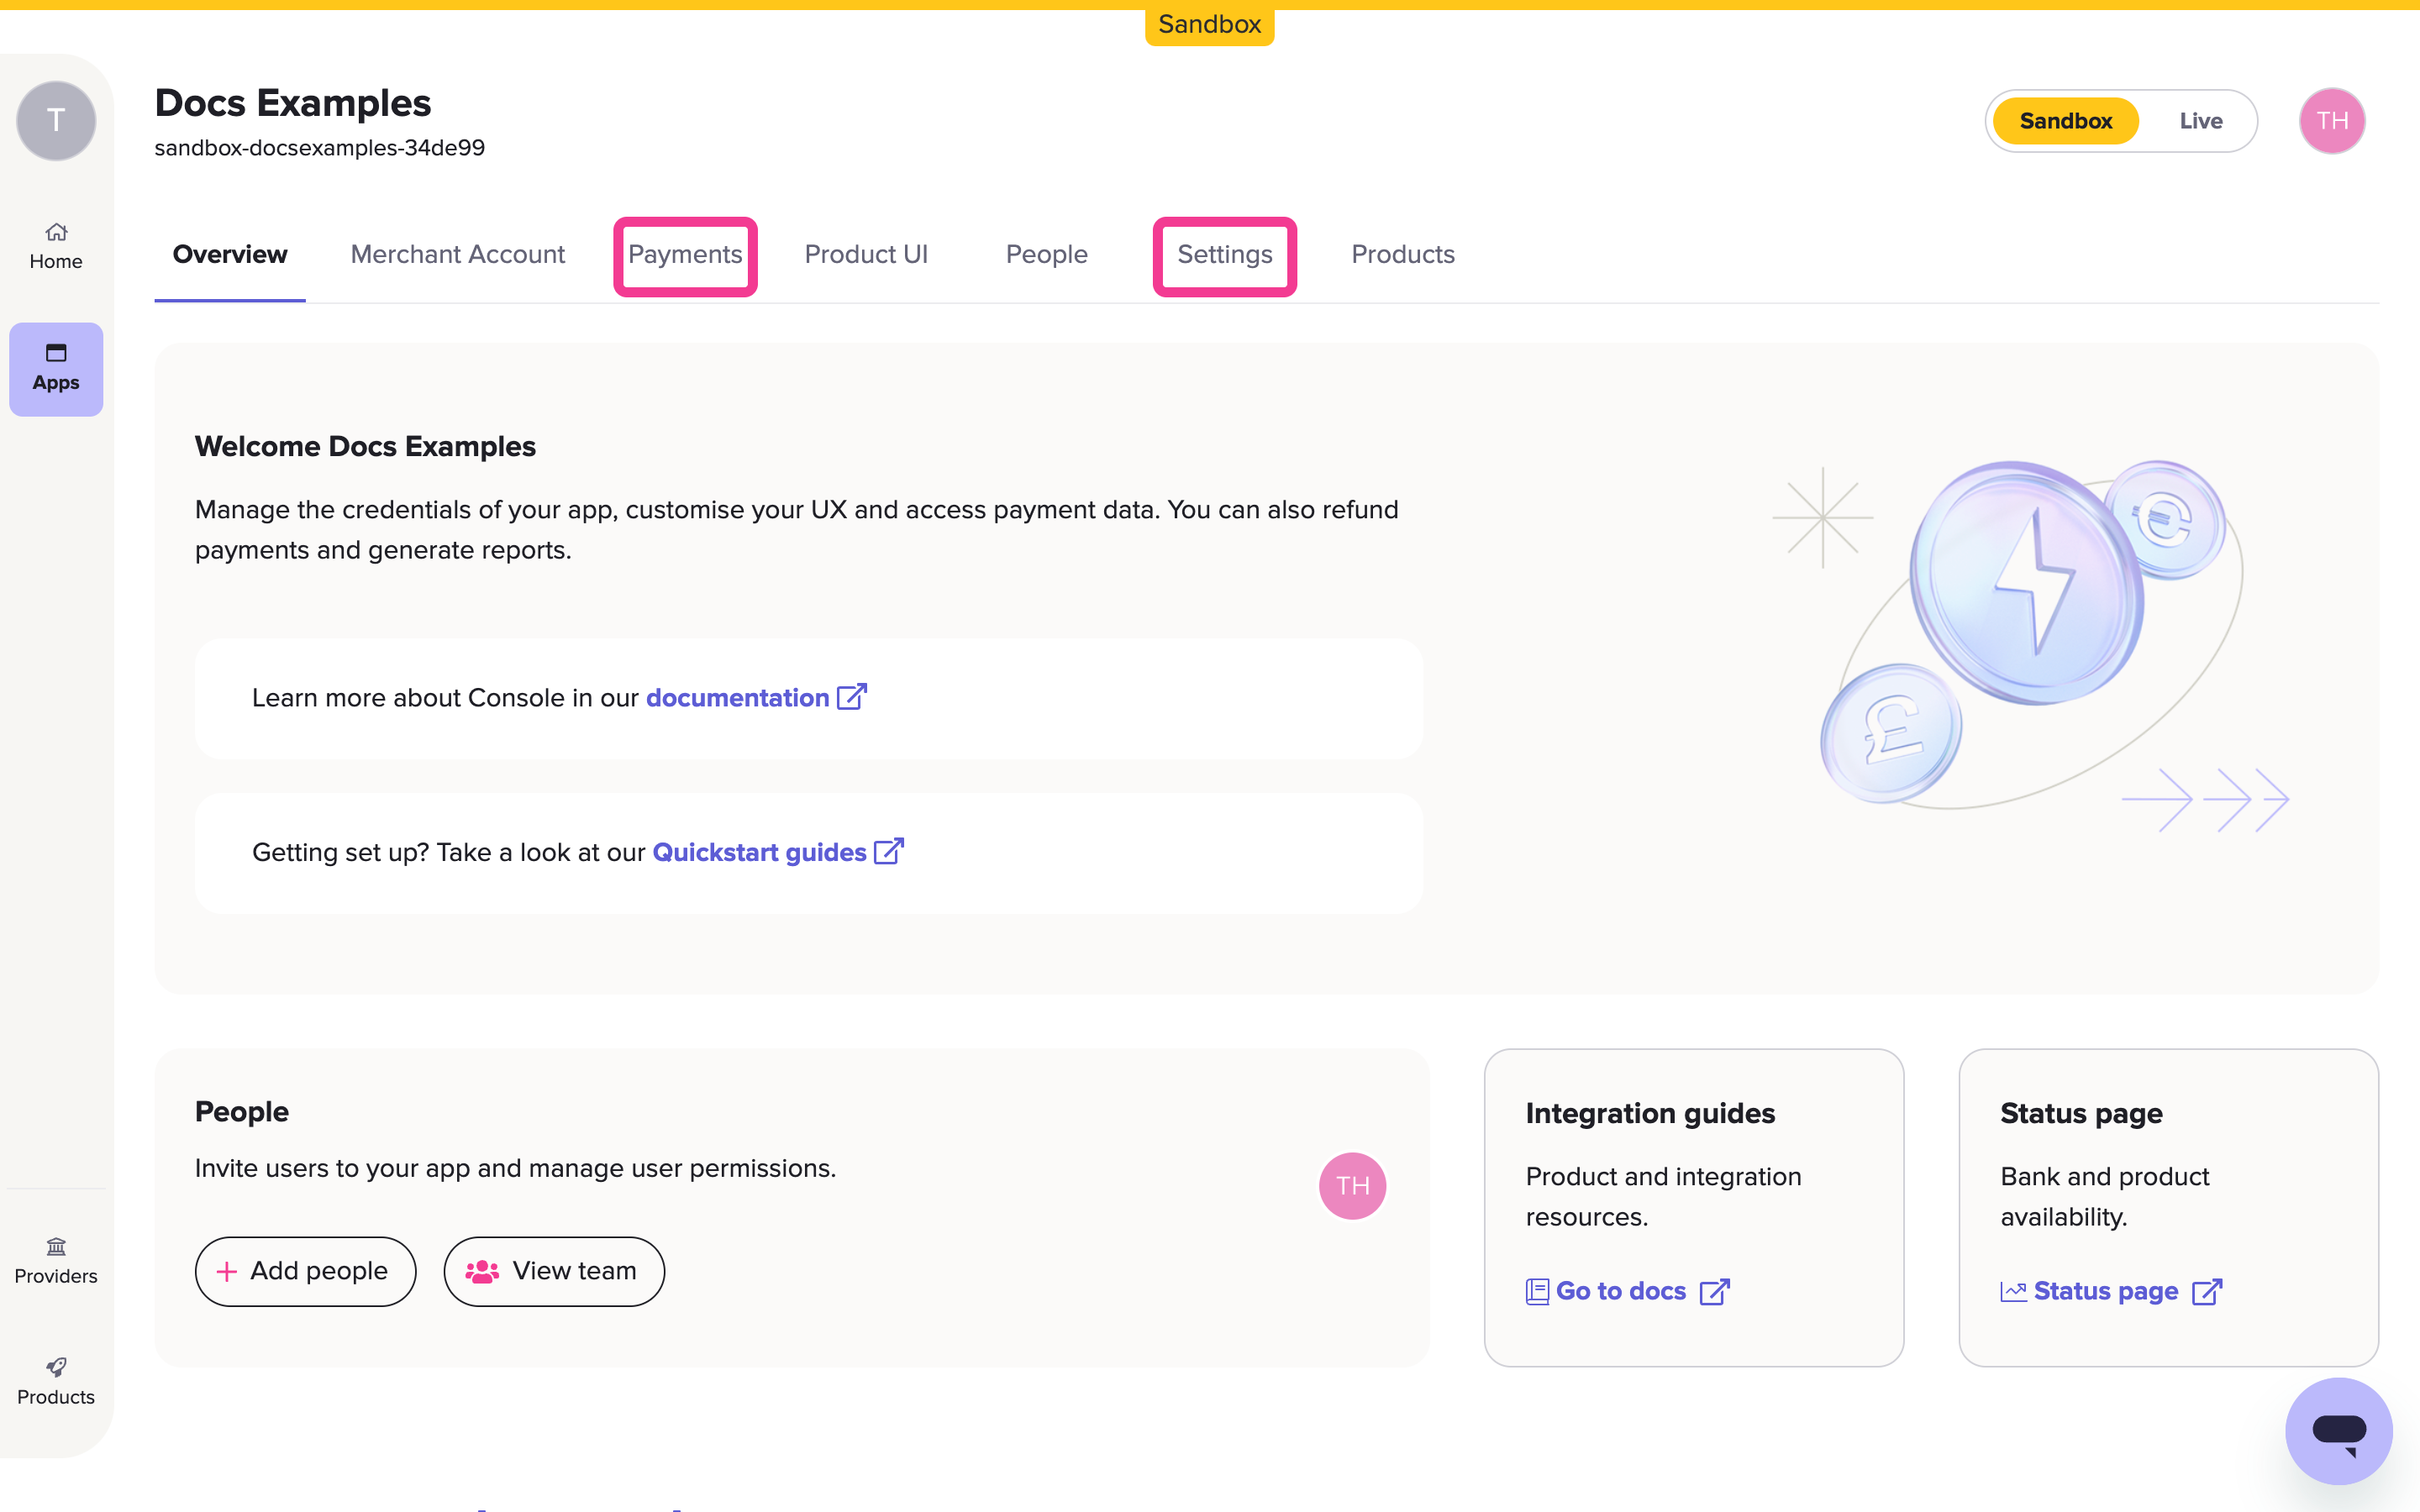
Go to Apps and open your new app.
-
If you are using WooCommerce or Magento, generate a private key and its corresponding public key. These are files which contain required credentials that you'll enter into the plugin later. To learn how to generate these files step by step, see the guide below.
Store them in a secure place. Only you know your private key, which provides an additional and essential layer of security.
Using Shopify? Skip to creating a merchant account.
Key generation: a quick guide
To generate your public and private keys, you will need to use your command line. This program allows you to generate files and carry out commands on your device through code commands. Follow the steps below to create your keys with minimal code:
-
Open Terminal on Mac or Command Prompt on Windows.
- For Mac: search in Finder for Terminal, or press Cmd+Space and search “Terminal”.
- For Windows: Click Start and search for "Command Prompt", or press Ctrl+R on your keyboard, type "cmd" and then click OK.
-
Copy and paste the commands below into the terminal to generate your key pair (you should only run one at a time):
Key to generate Command Private key openssl ecparam -genkey -name secp521r1 -noout -out ec512-private-key.pemPublic key openssl ec -in ec512-private-key.pem -pubout -out ec512-public-key.pem -
Press Enter.
The keys, which are .pem files named ec512-private-key.pem and ec512-public-key.pem by default, appear in your current working directory.Find out what your working directory isInput "pwd" on Mac or "cd" on Windows into your terminal, and hit Enter.
This will generate the path to the directory where your keys are saved. Locate them and make sure that both of your keys are securely stored.
To search your computer, use Cmd+Space or open Finder using Cmd+N on Mac. For Windows, use File Explorer (it will either be in the taskbar or Start menu). Type “ec512” into the search bar to see both the private and public keys.
-
In Console, open your app and click the Get started button that displays.
The Upload your public signing key window displays.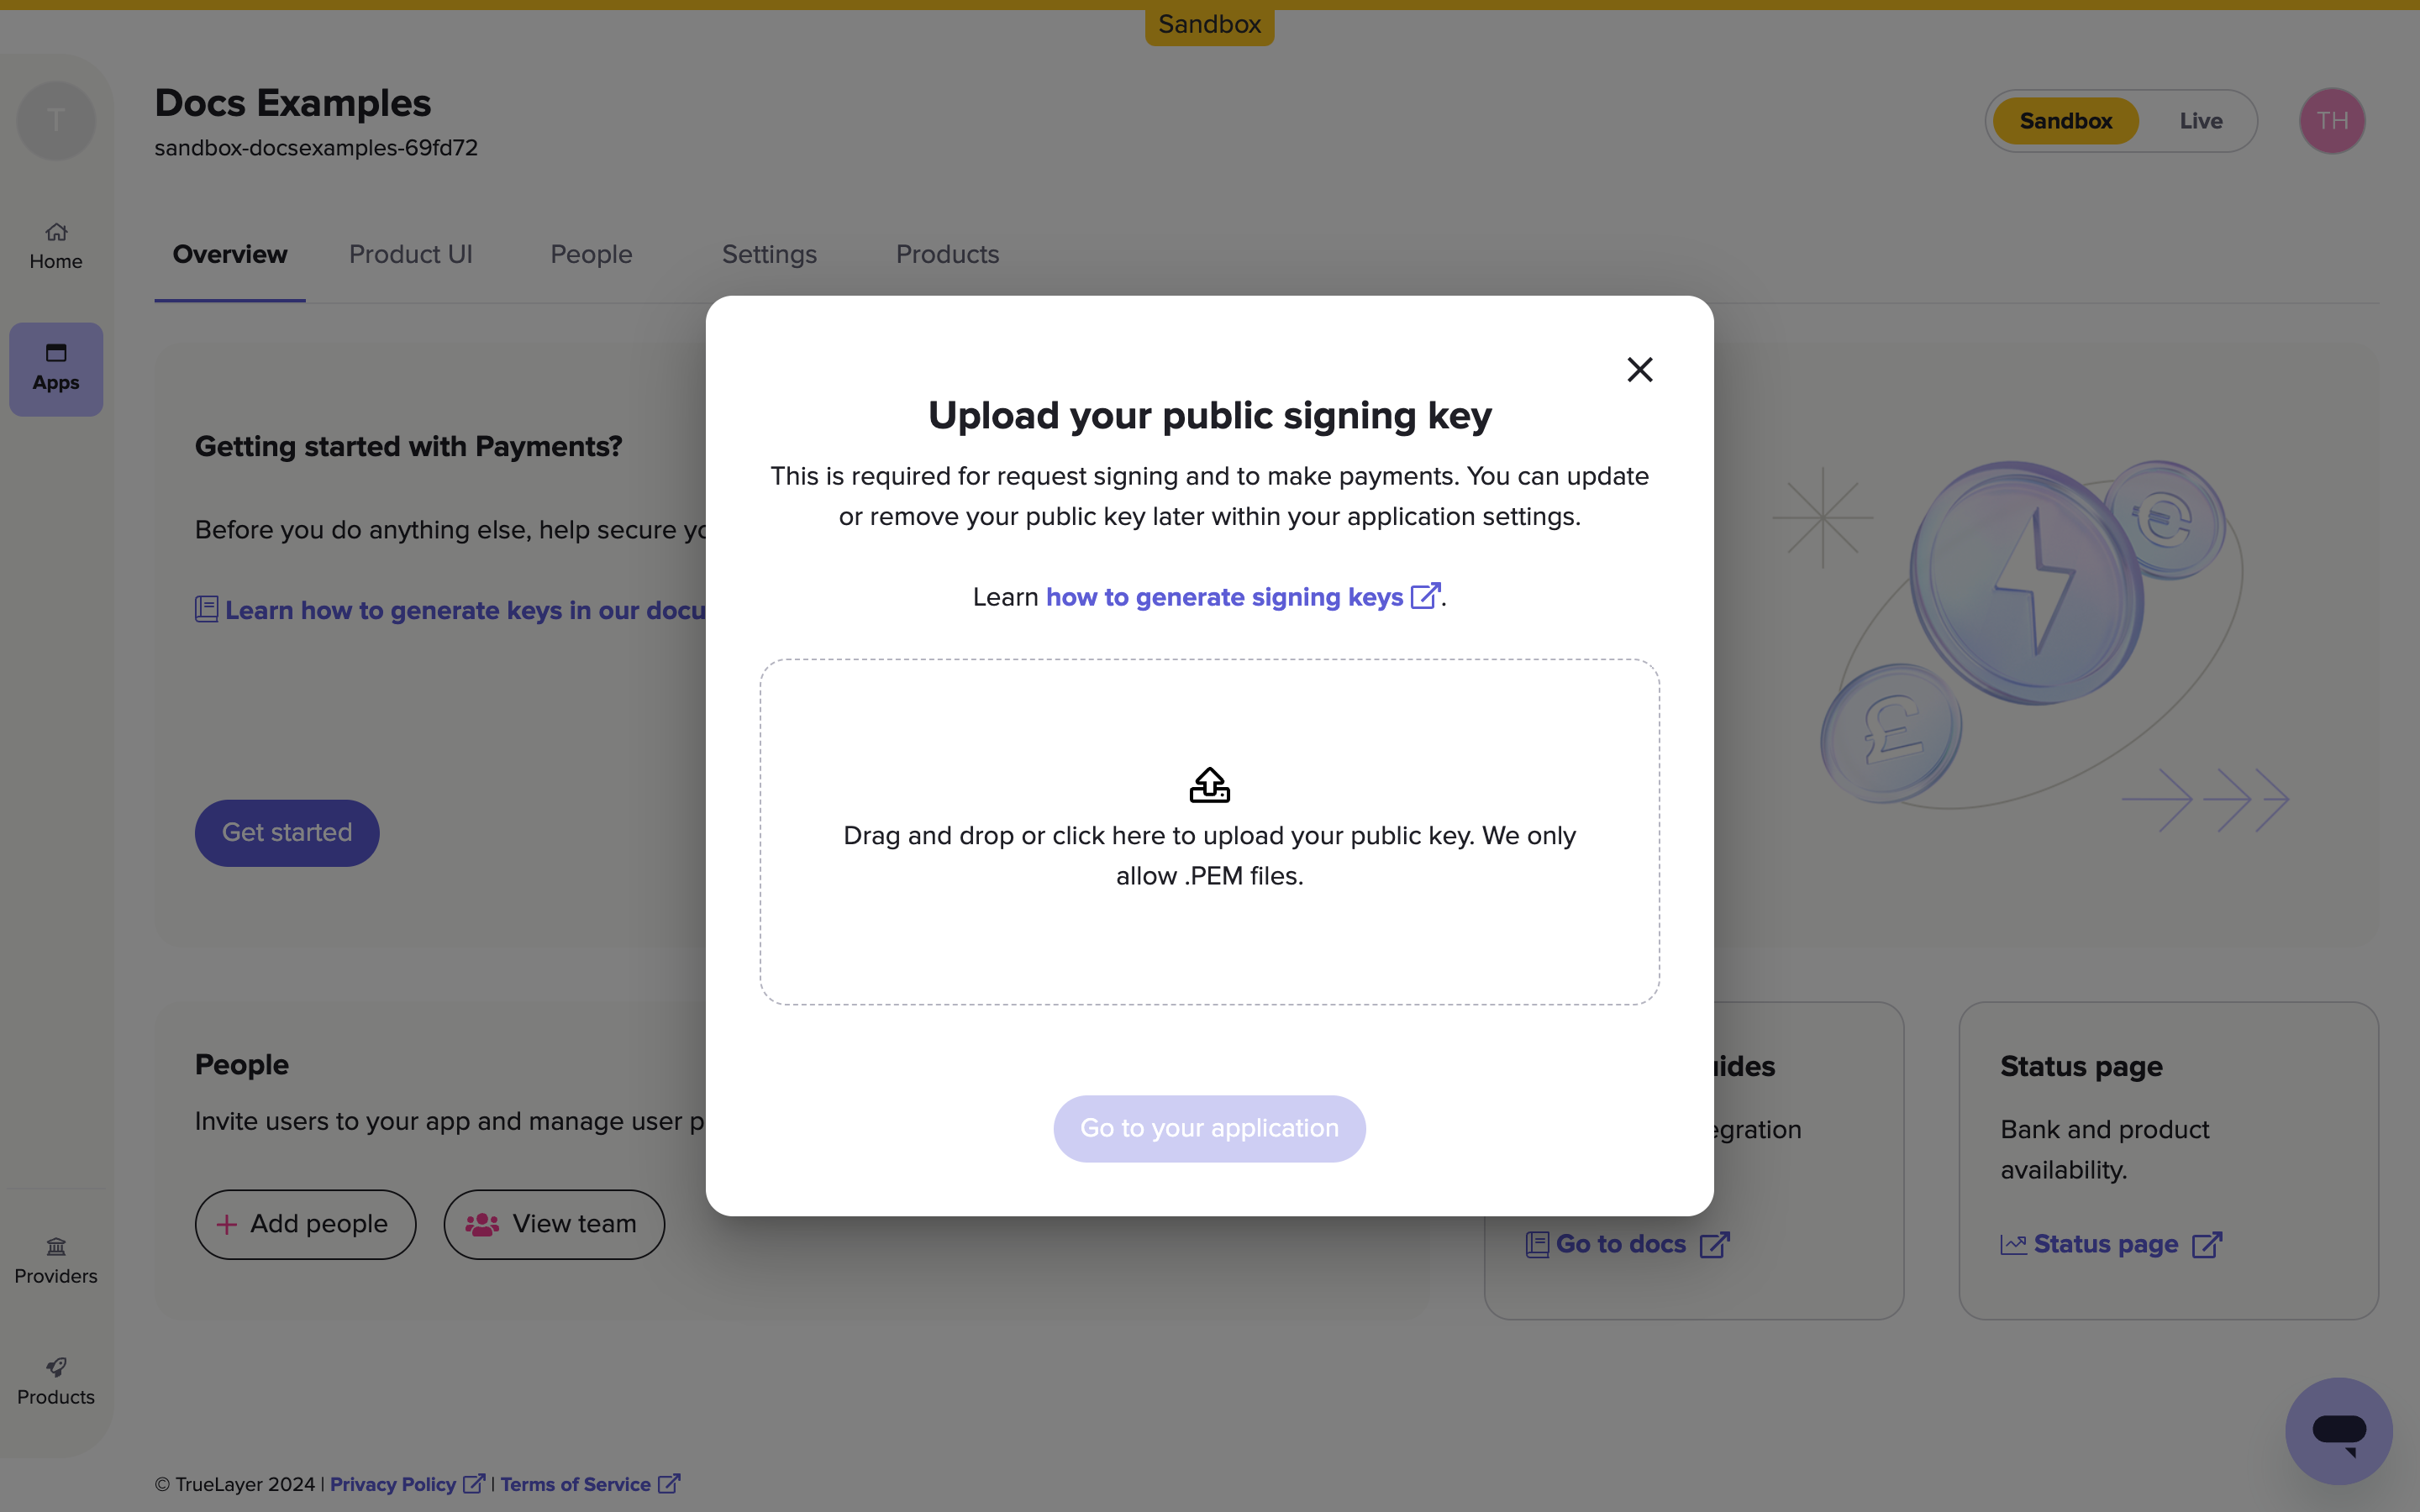
-
In the centre of the window, click to select and upload your public key, or drag and drop the file.
Once you do this successfully, the window turns green and you can close it.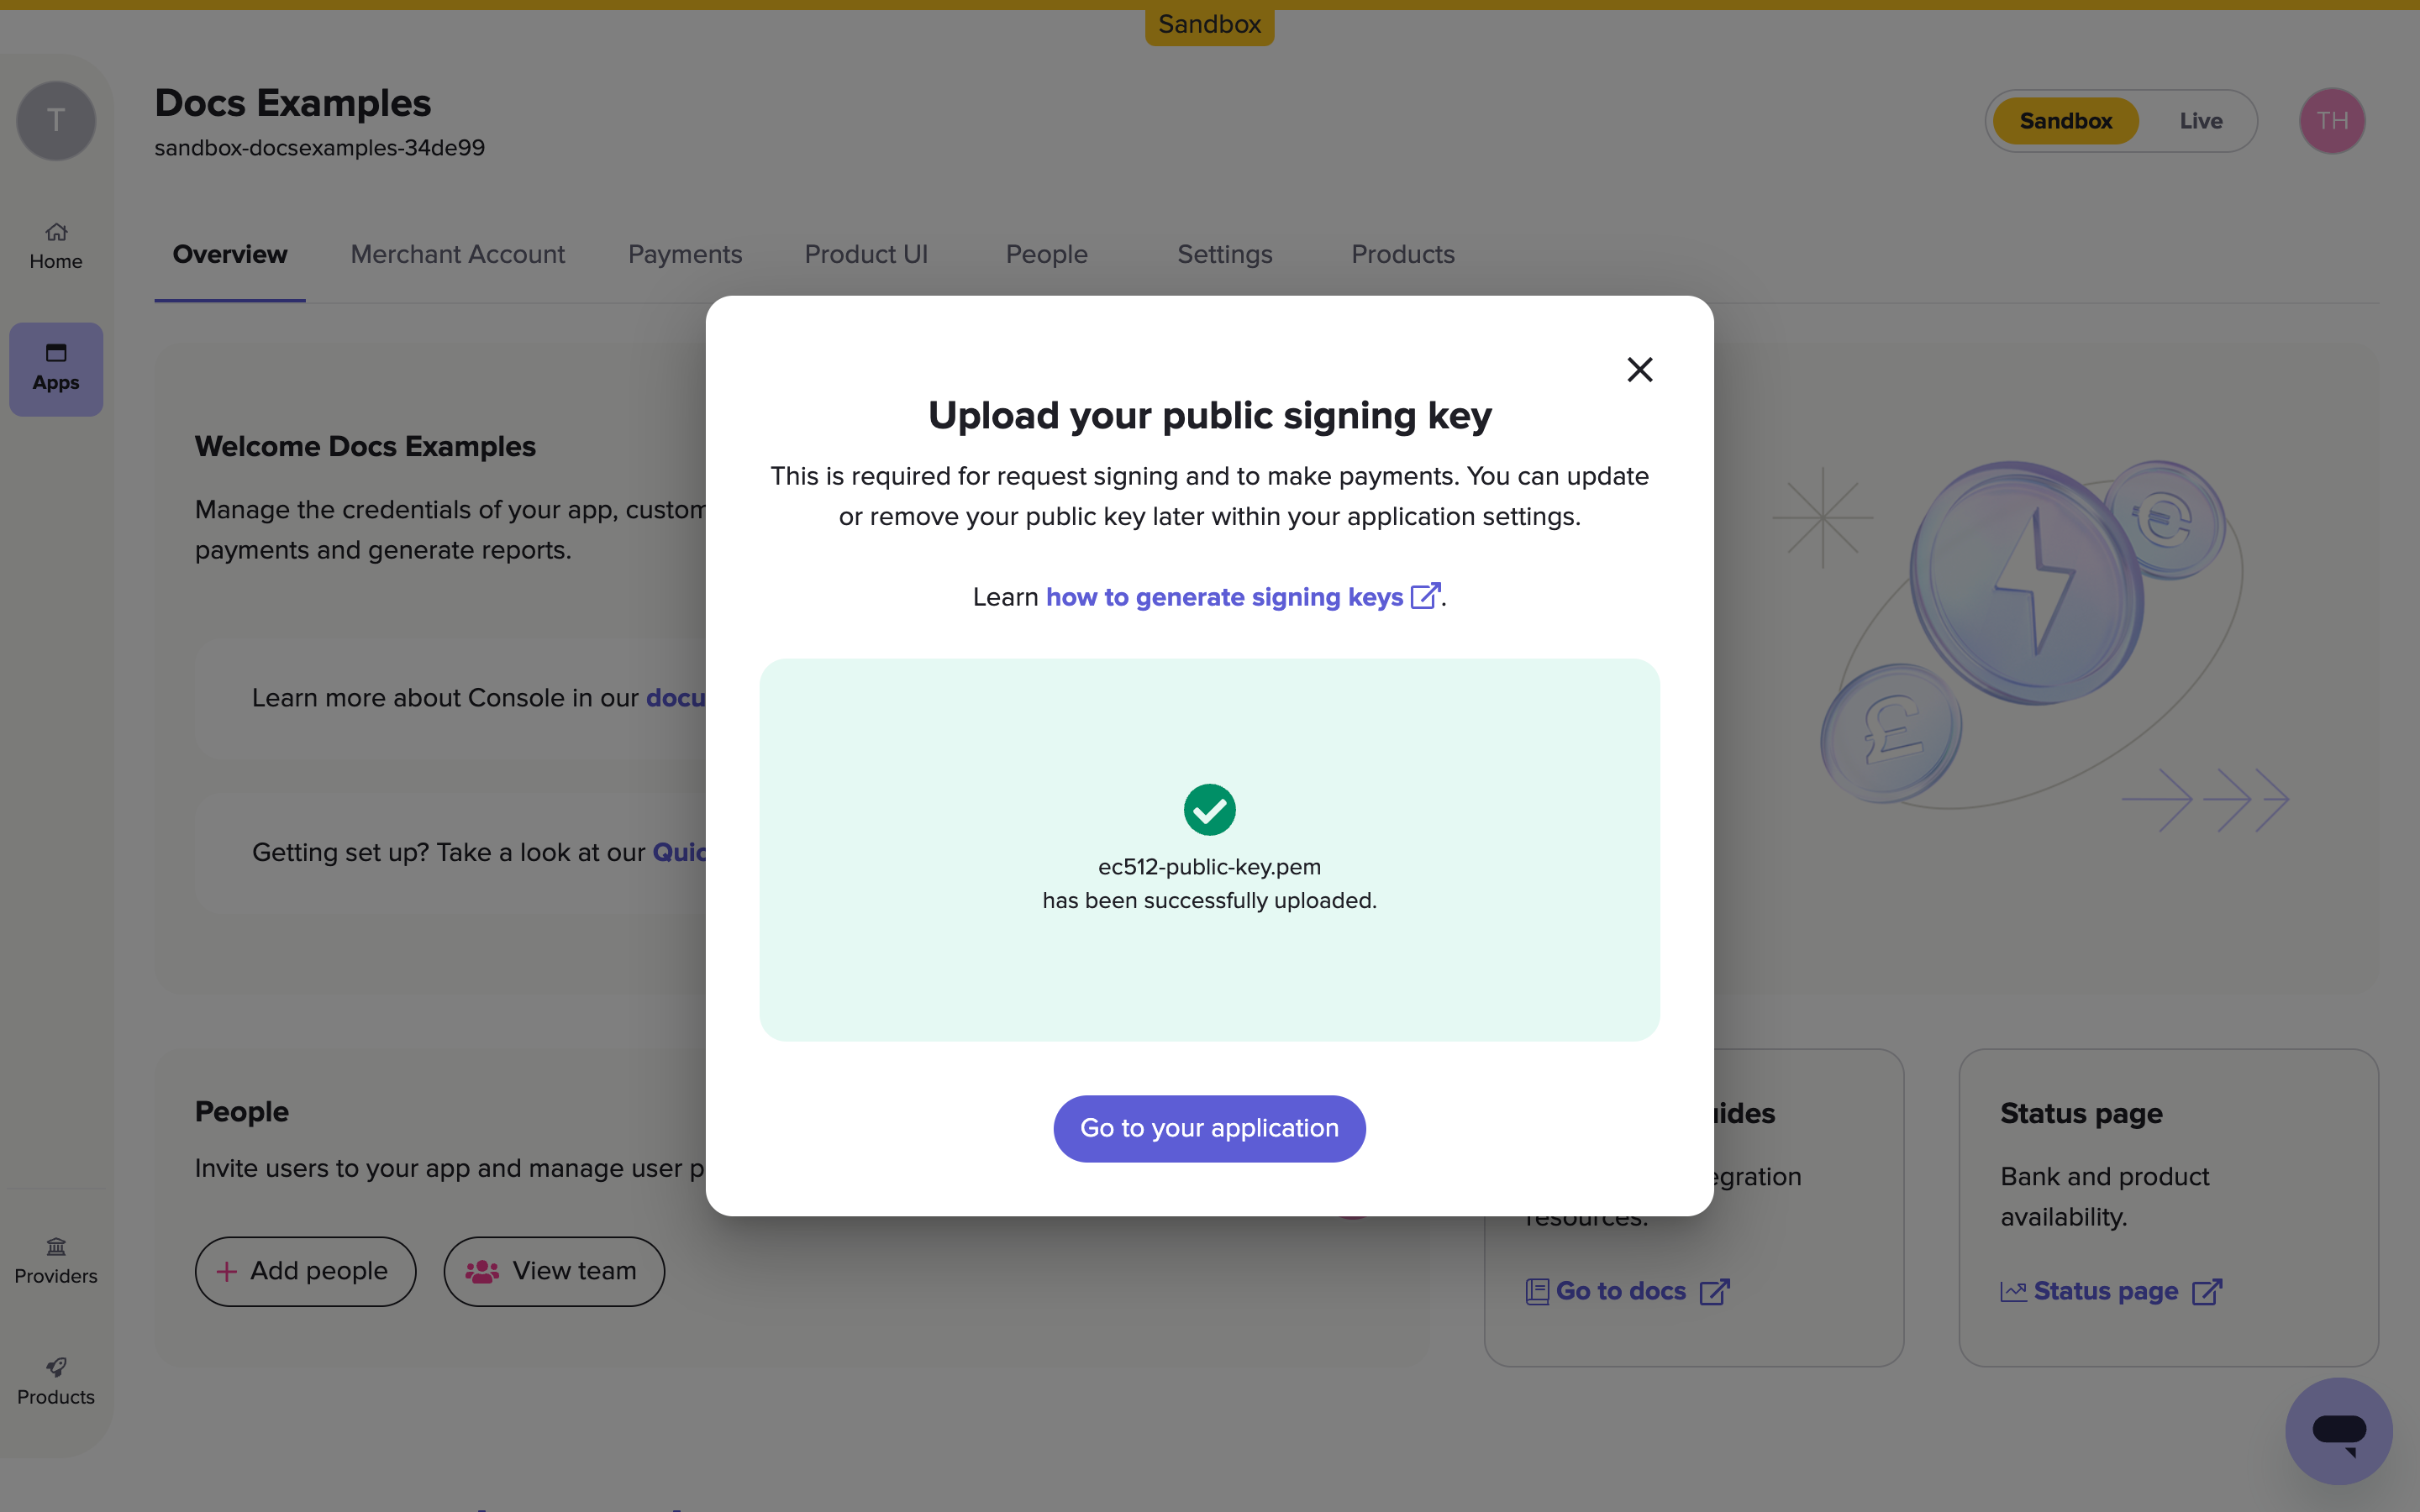
Once uploaded, the tab menu at the top of Console updates and displays more options. The Payments tab allows you to make payouts and refunds from your account. For a plugin integration, you'll be working primarily in the Payments section of Console.
If you open the Settings tab and scroll down, you can see the Payments Settings section. Here, you can see, edit, or delete the public key you uploaded.
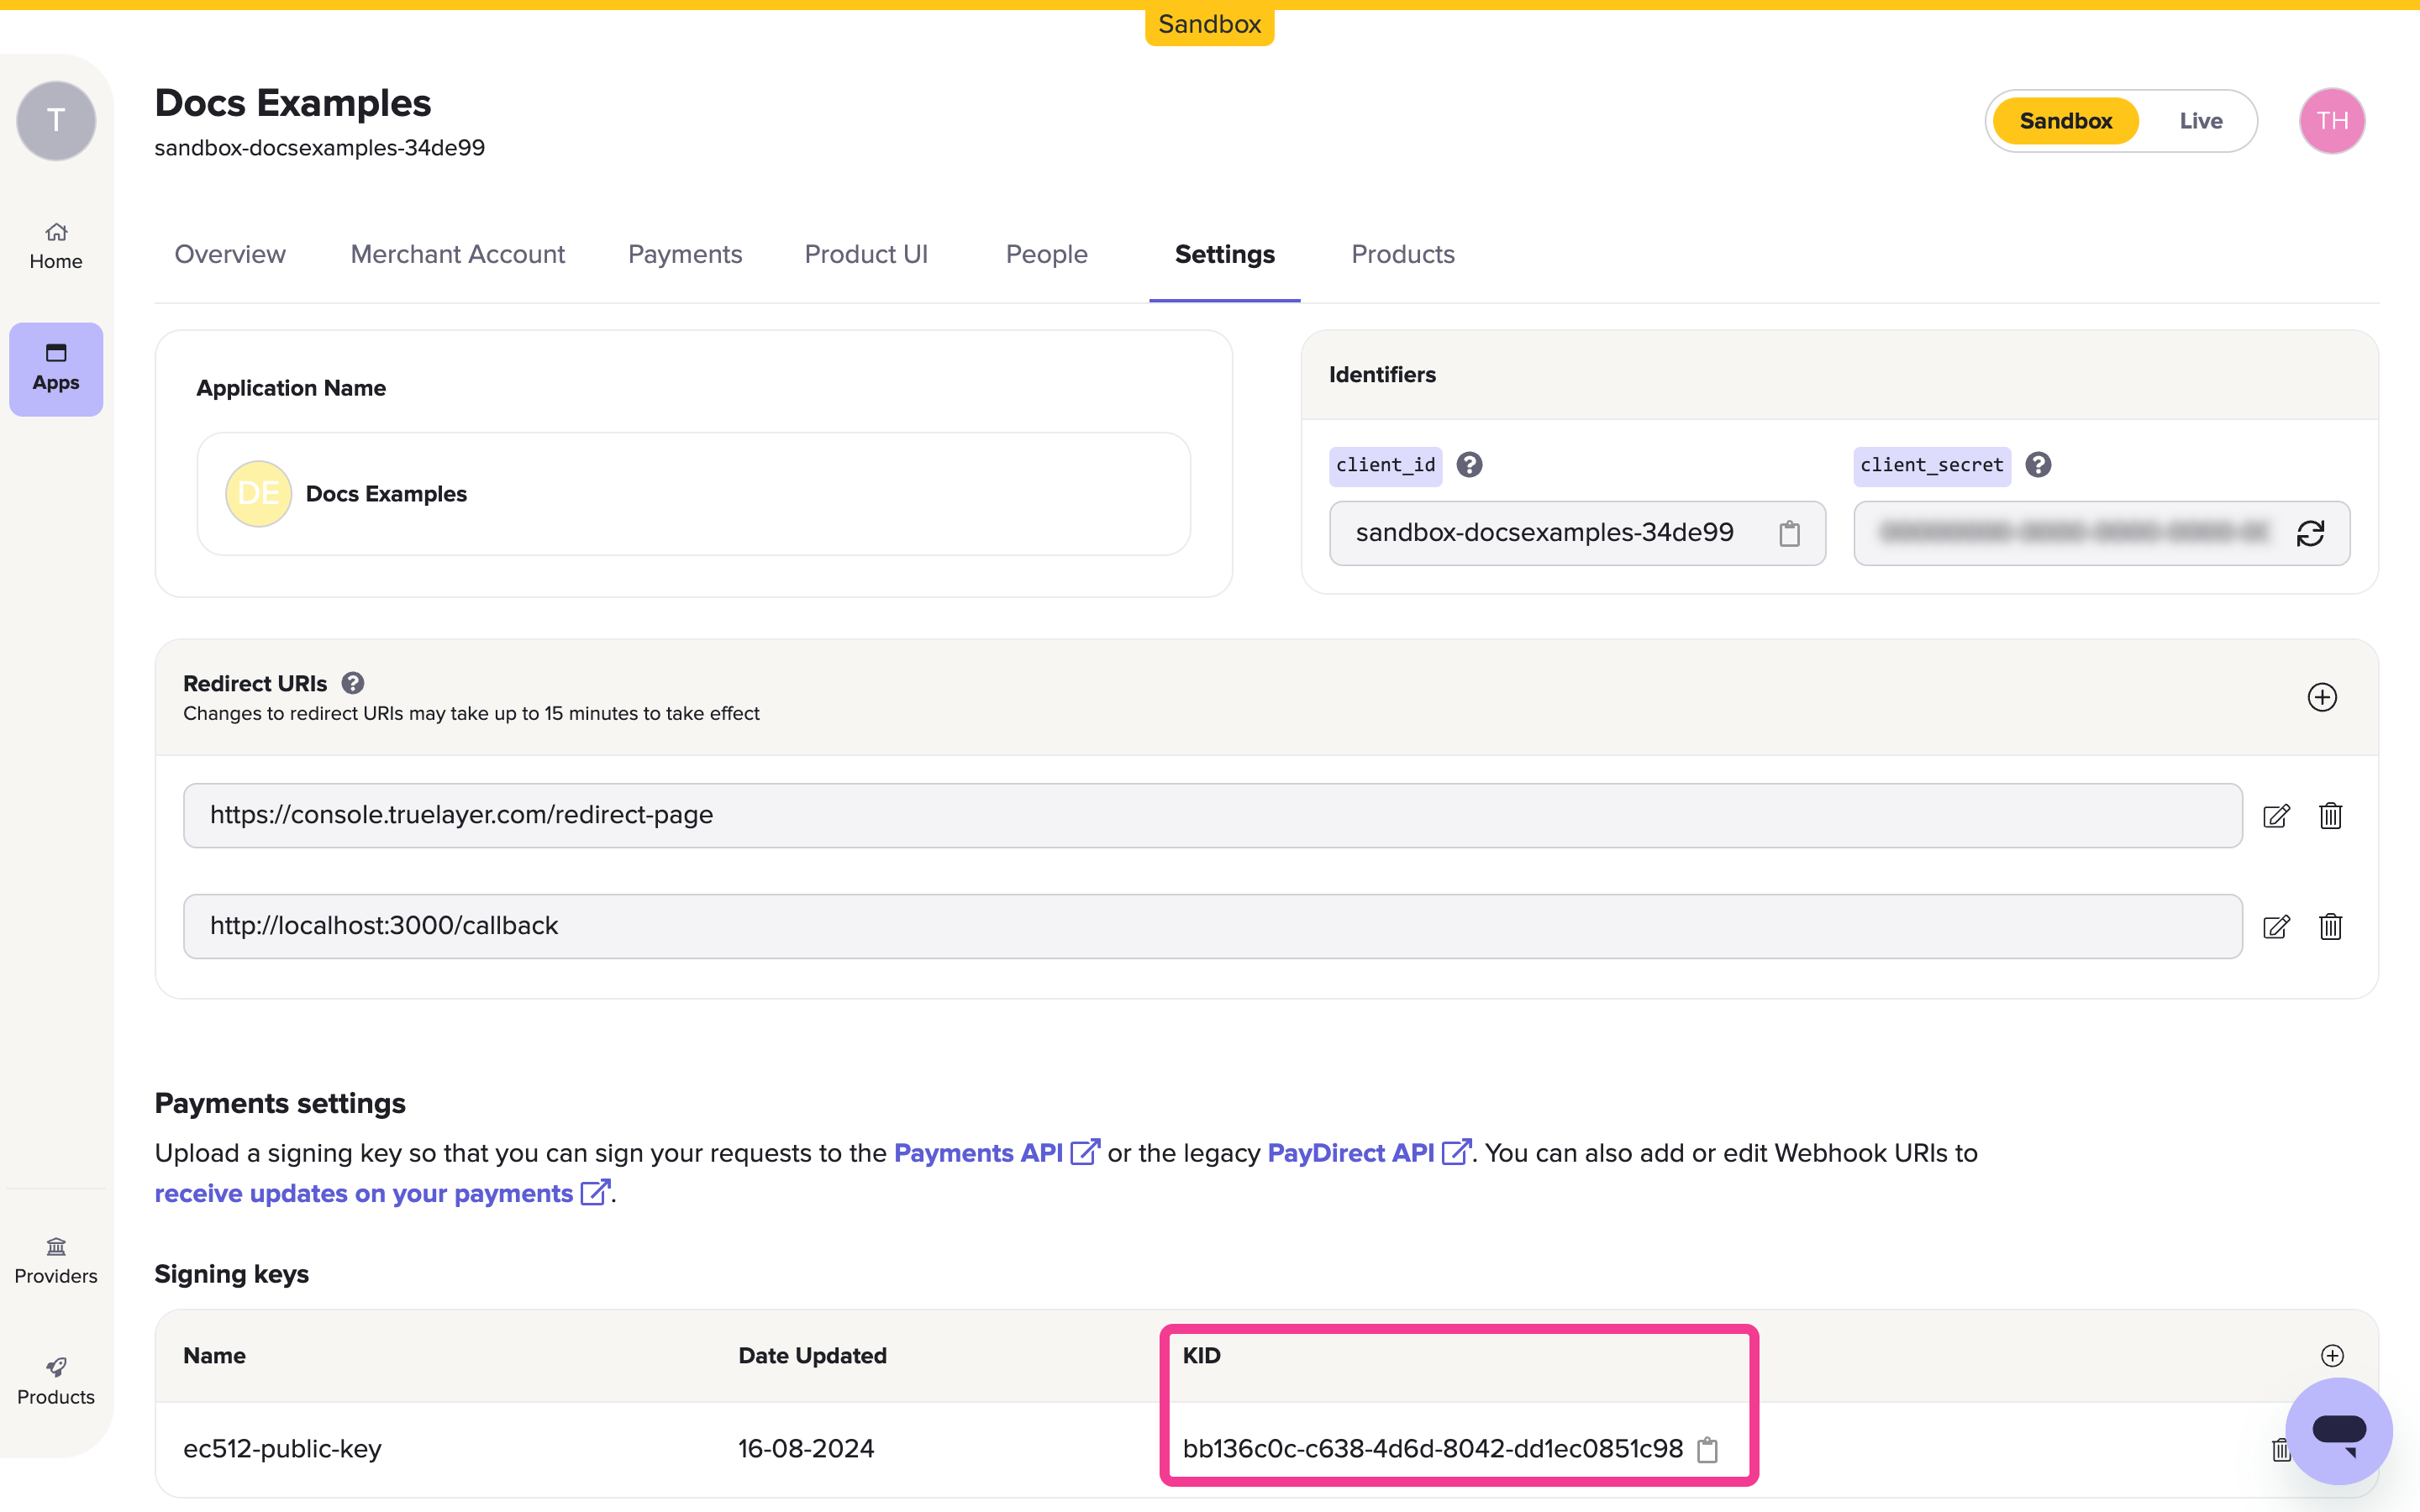
You also see the KID for your public key. This is a unique value associated with your public key, which you'll use to configure the plugin later.
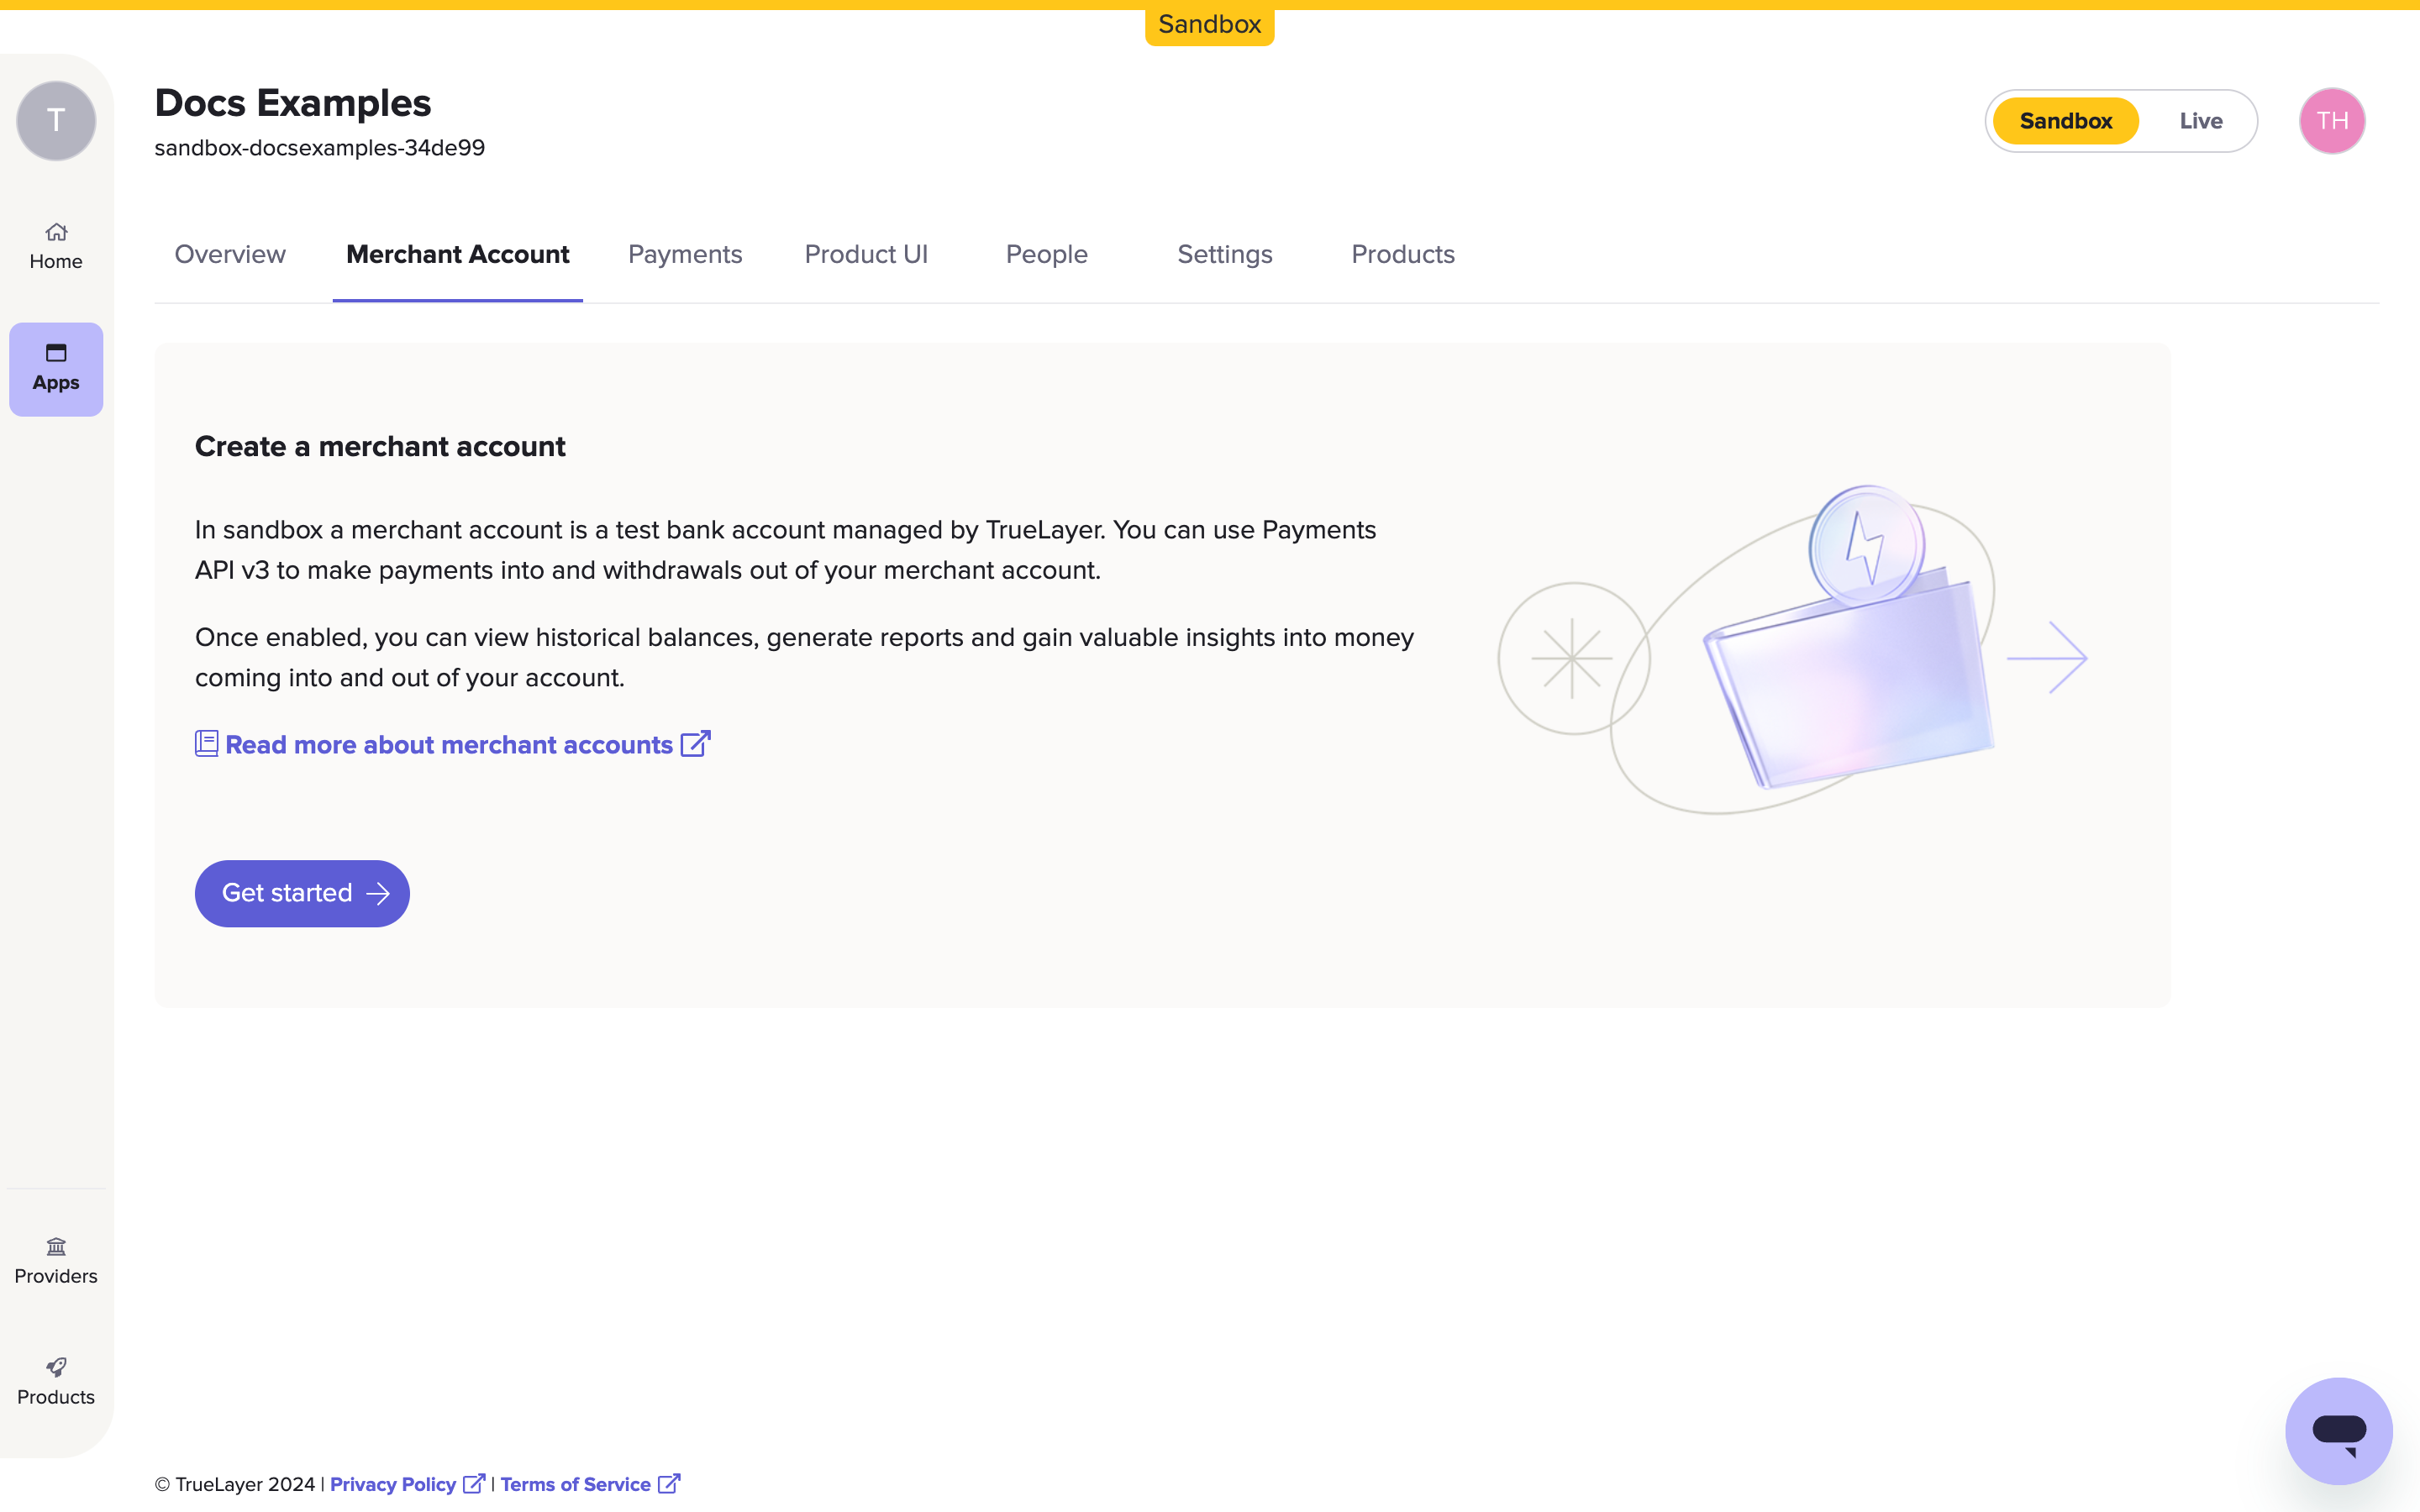
2. Create a merchant account
In this step, you set up a sandbox bank account for test payments to go into. No real money moves into or out of this account. Note that to use plugins, you must have a merchant account in the currencies you want to accept payments in.
-
Navigate to the Merchant Account tab in your app in Console.
-
Click Get started to create your merchant account.
-
Enter the name you want your merchant account to have.
This can either be a company name or a person's name: it will be what your customers see on their bank statement after they pay you. Then click Create merchant account.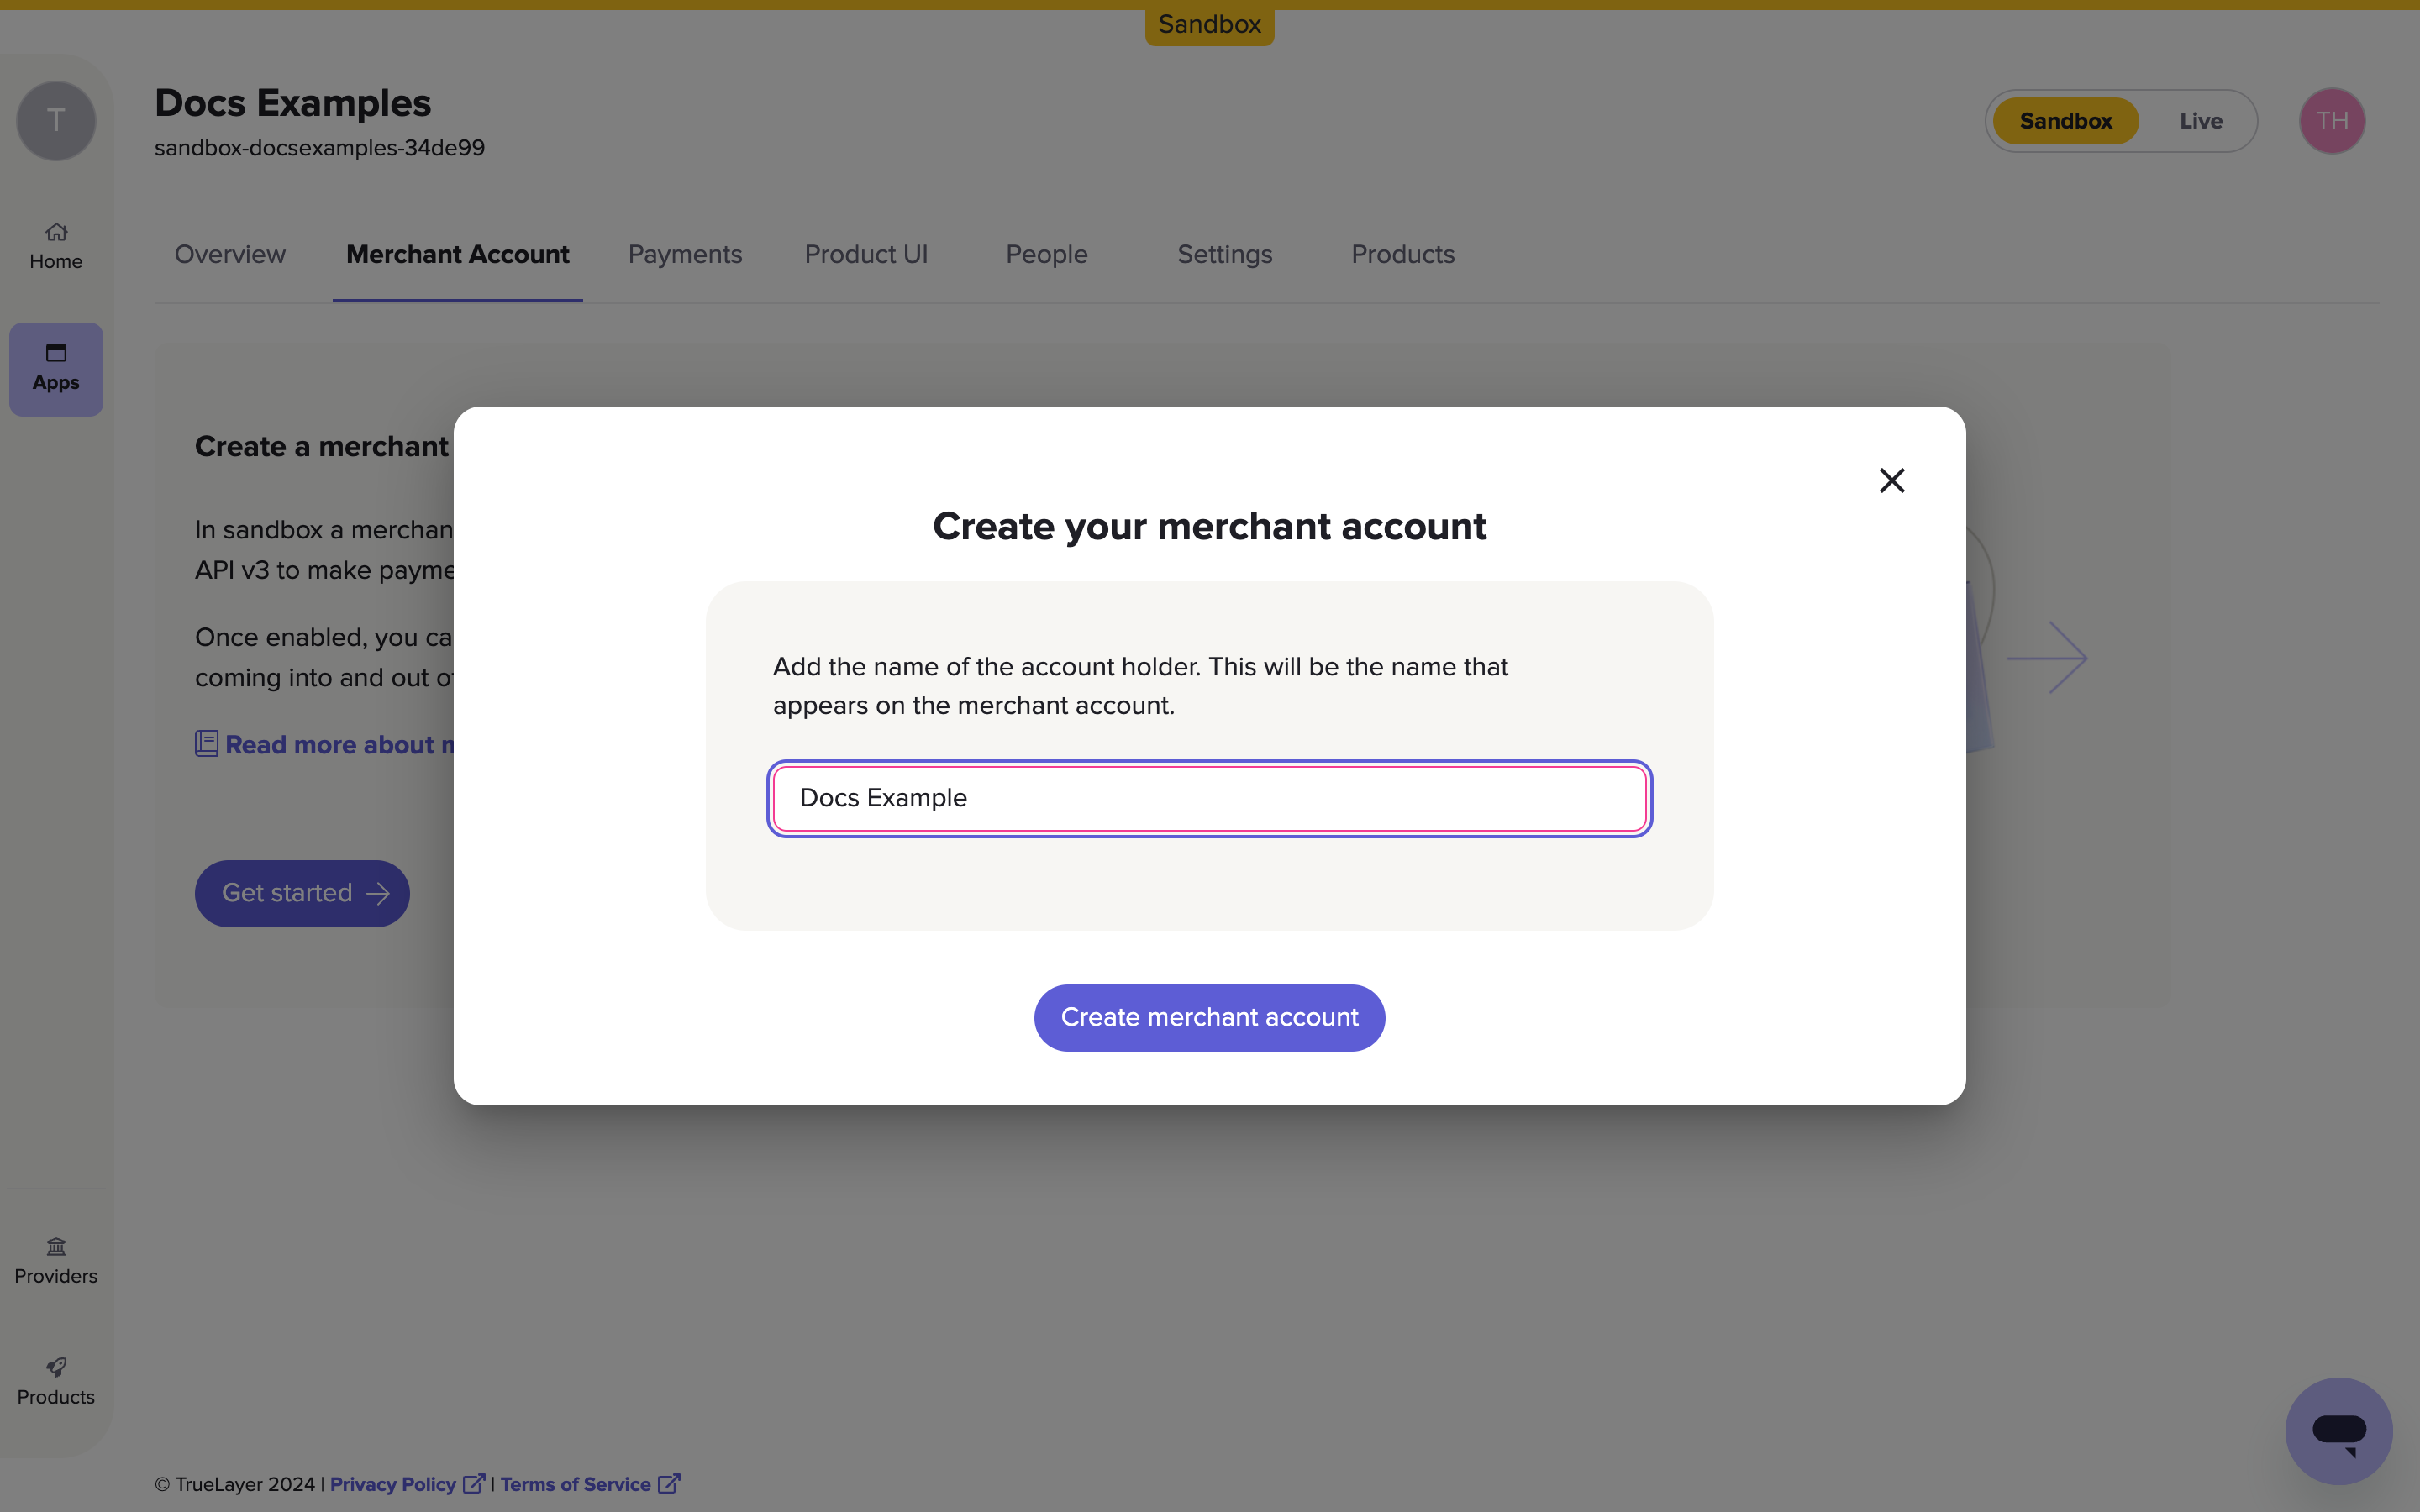
3. Set your webhook and redirect URIs
The webhook URI is the place where we send status updates on your payments: for example, when payments land in your account or when they fail.
The redirect URI is the page that you send your customers to after they authorise a payment. You can set more than one of these in Console, but you only need one to start accepting payments.
To start accepting payments through TrueLayer, you need to use a specific set of URIs depending on your platform.
-
Open your app and open the Settings tab. The scroll down to Payments settings > Webhook URI.
-
In the Webhook URI section, add one of the values below as your URI, depending on which platform you are using:
WooCommerce Shopify Magento https://{yourstore.com}/wc-api/TrueLayer_CallbackReplace
yourstore.comwith the actual URL of your store.The Webhook URI at the bottom of Sandbox Settings in Shopify. https://{yourstore.com}/rest/all/V1/webhook/transferReplace
yourstore.comwith the actual URL of your store.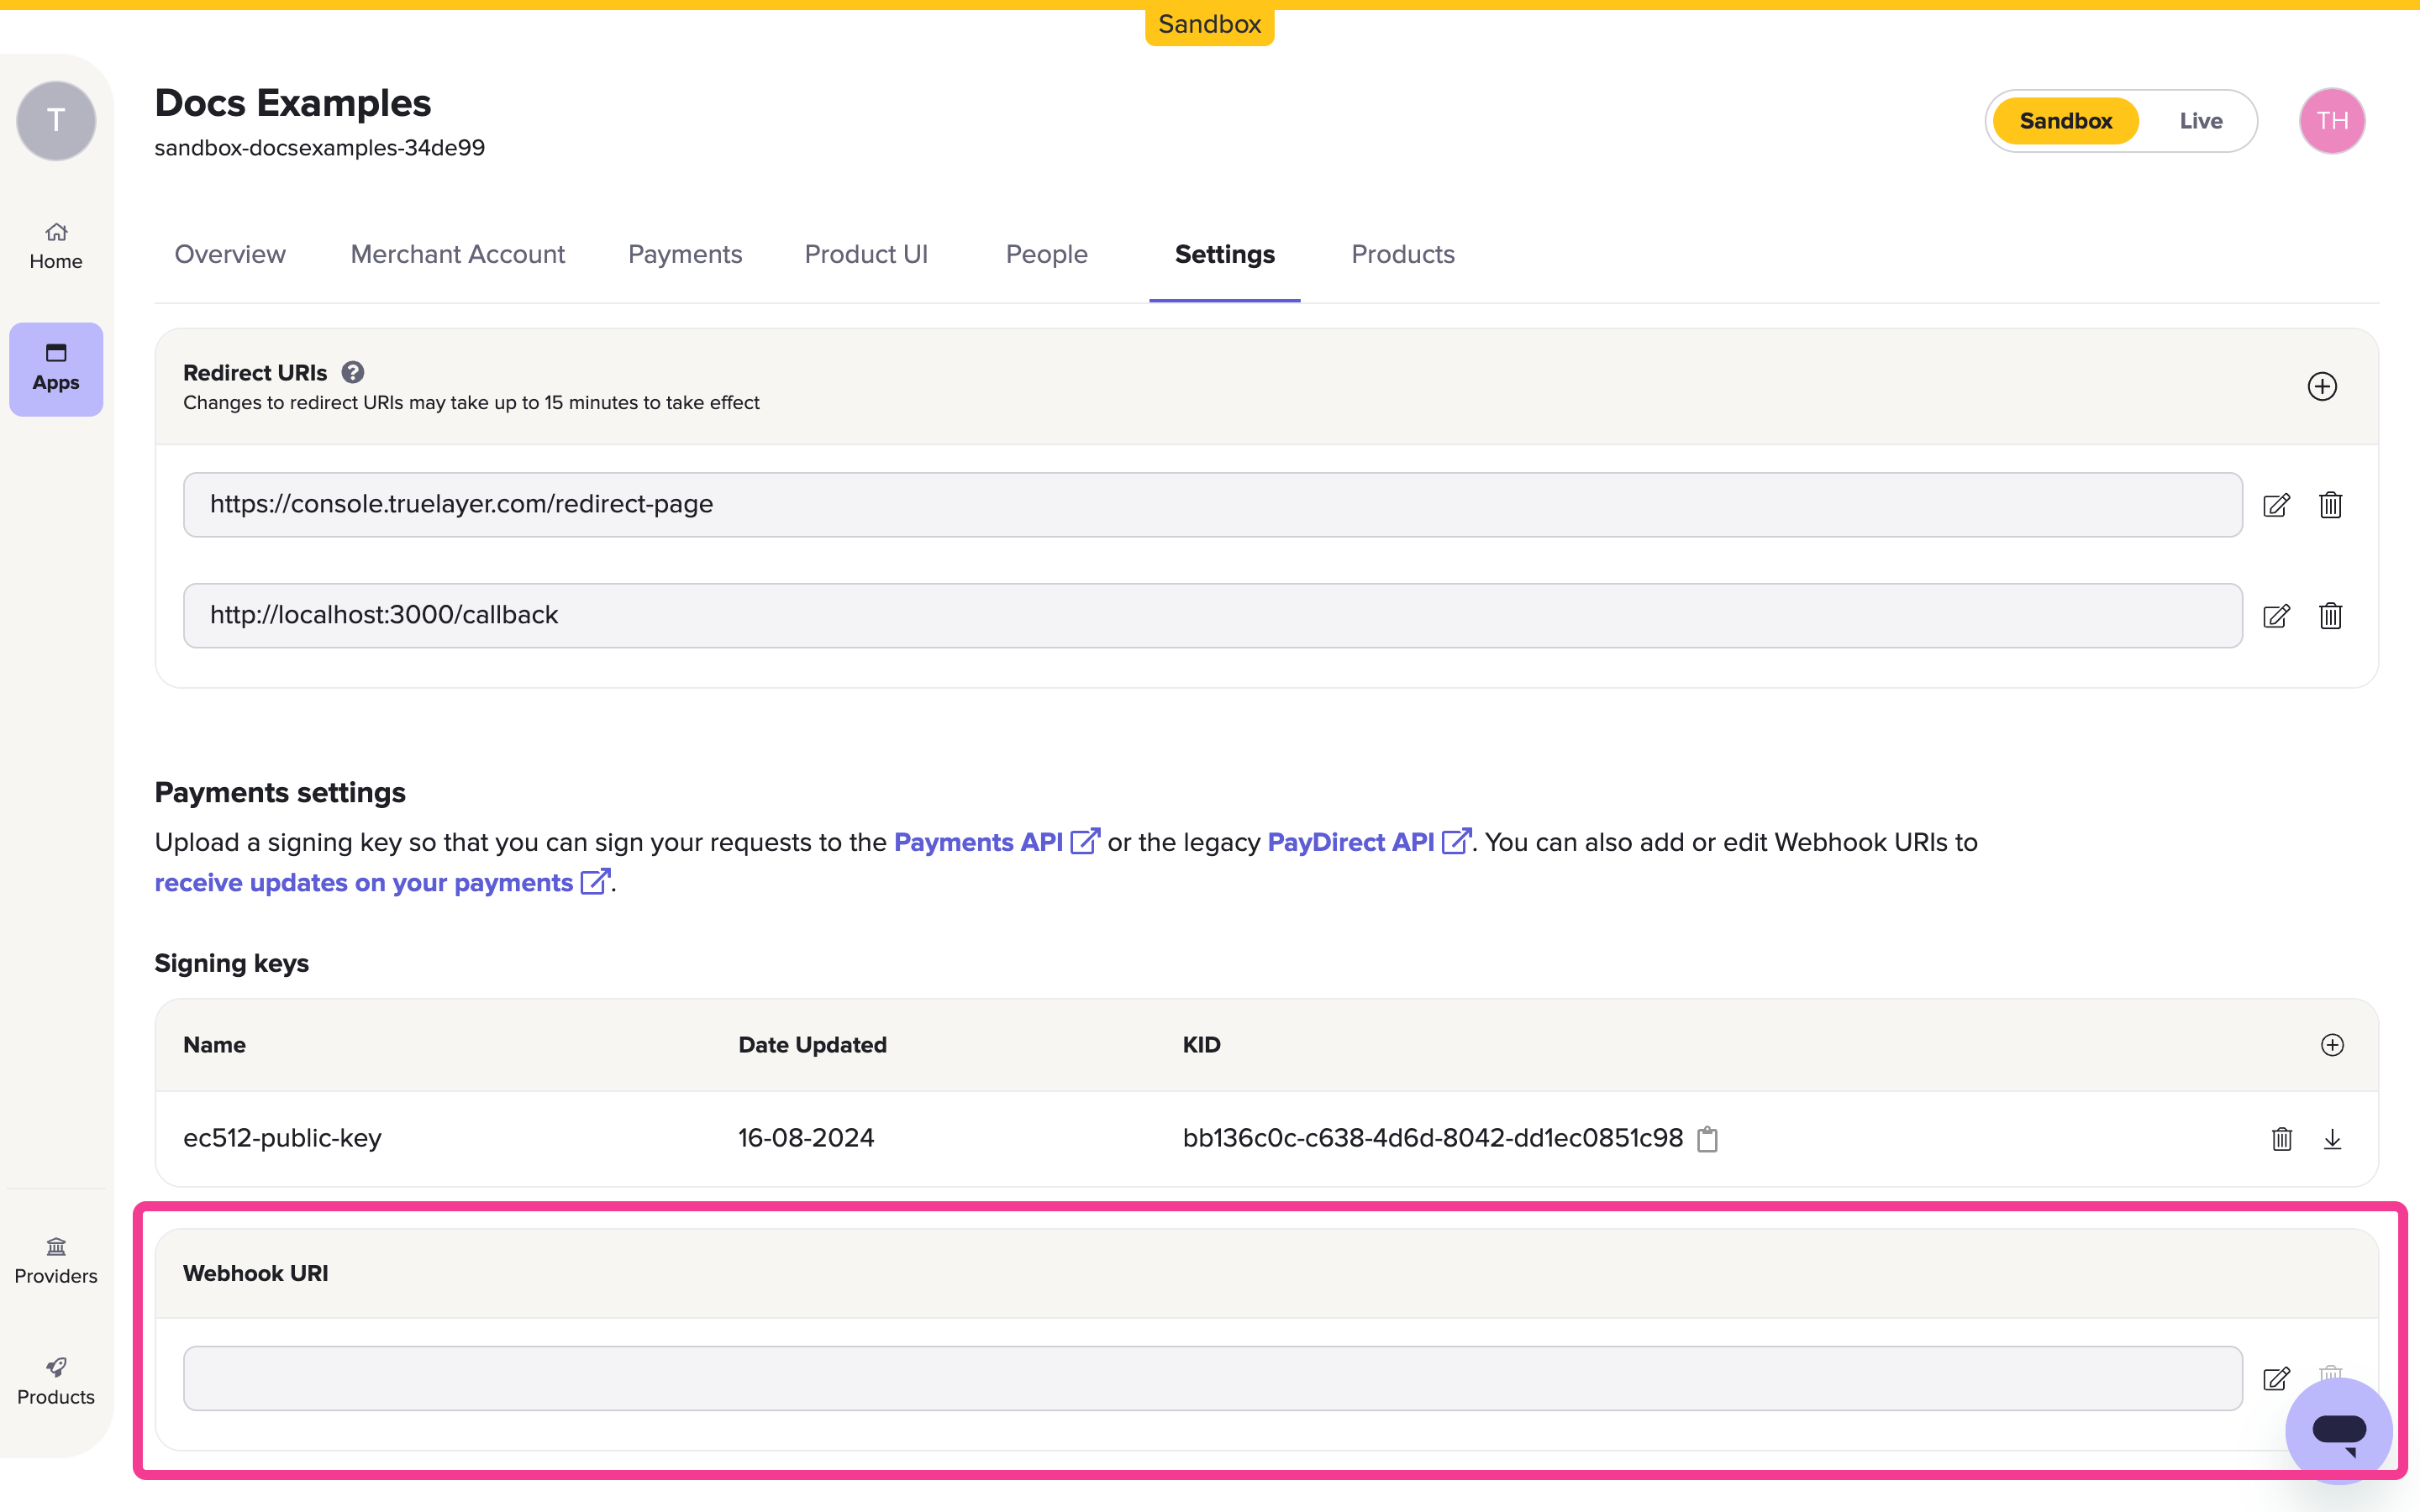
-
Scroll to the Redirect URIs section on the Settings page and select the + icon or edit one of the default redirect URIs.
-
Add a redirect URI to the list, depending on which platform you are using:
WooCommerce Shopify Magento https://{yourstore.com}/wc-api/TrueLayer_Redirect.Replace
yourstore.comwith your store URL.https://shop-pay-app-api.truelayer.com/hpp-finishhttps://{yourstore.com}/truelayer/checkout/processReplace
yourstore.comwith your store URL.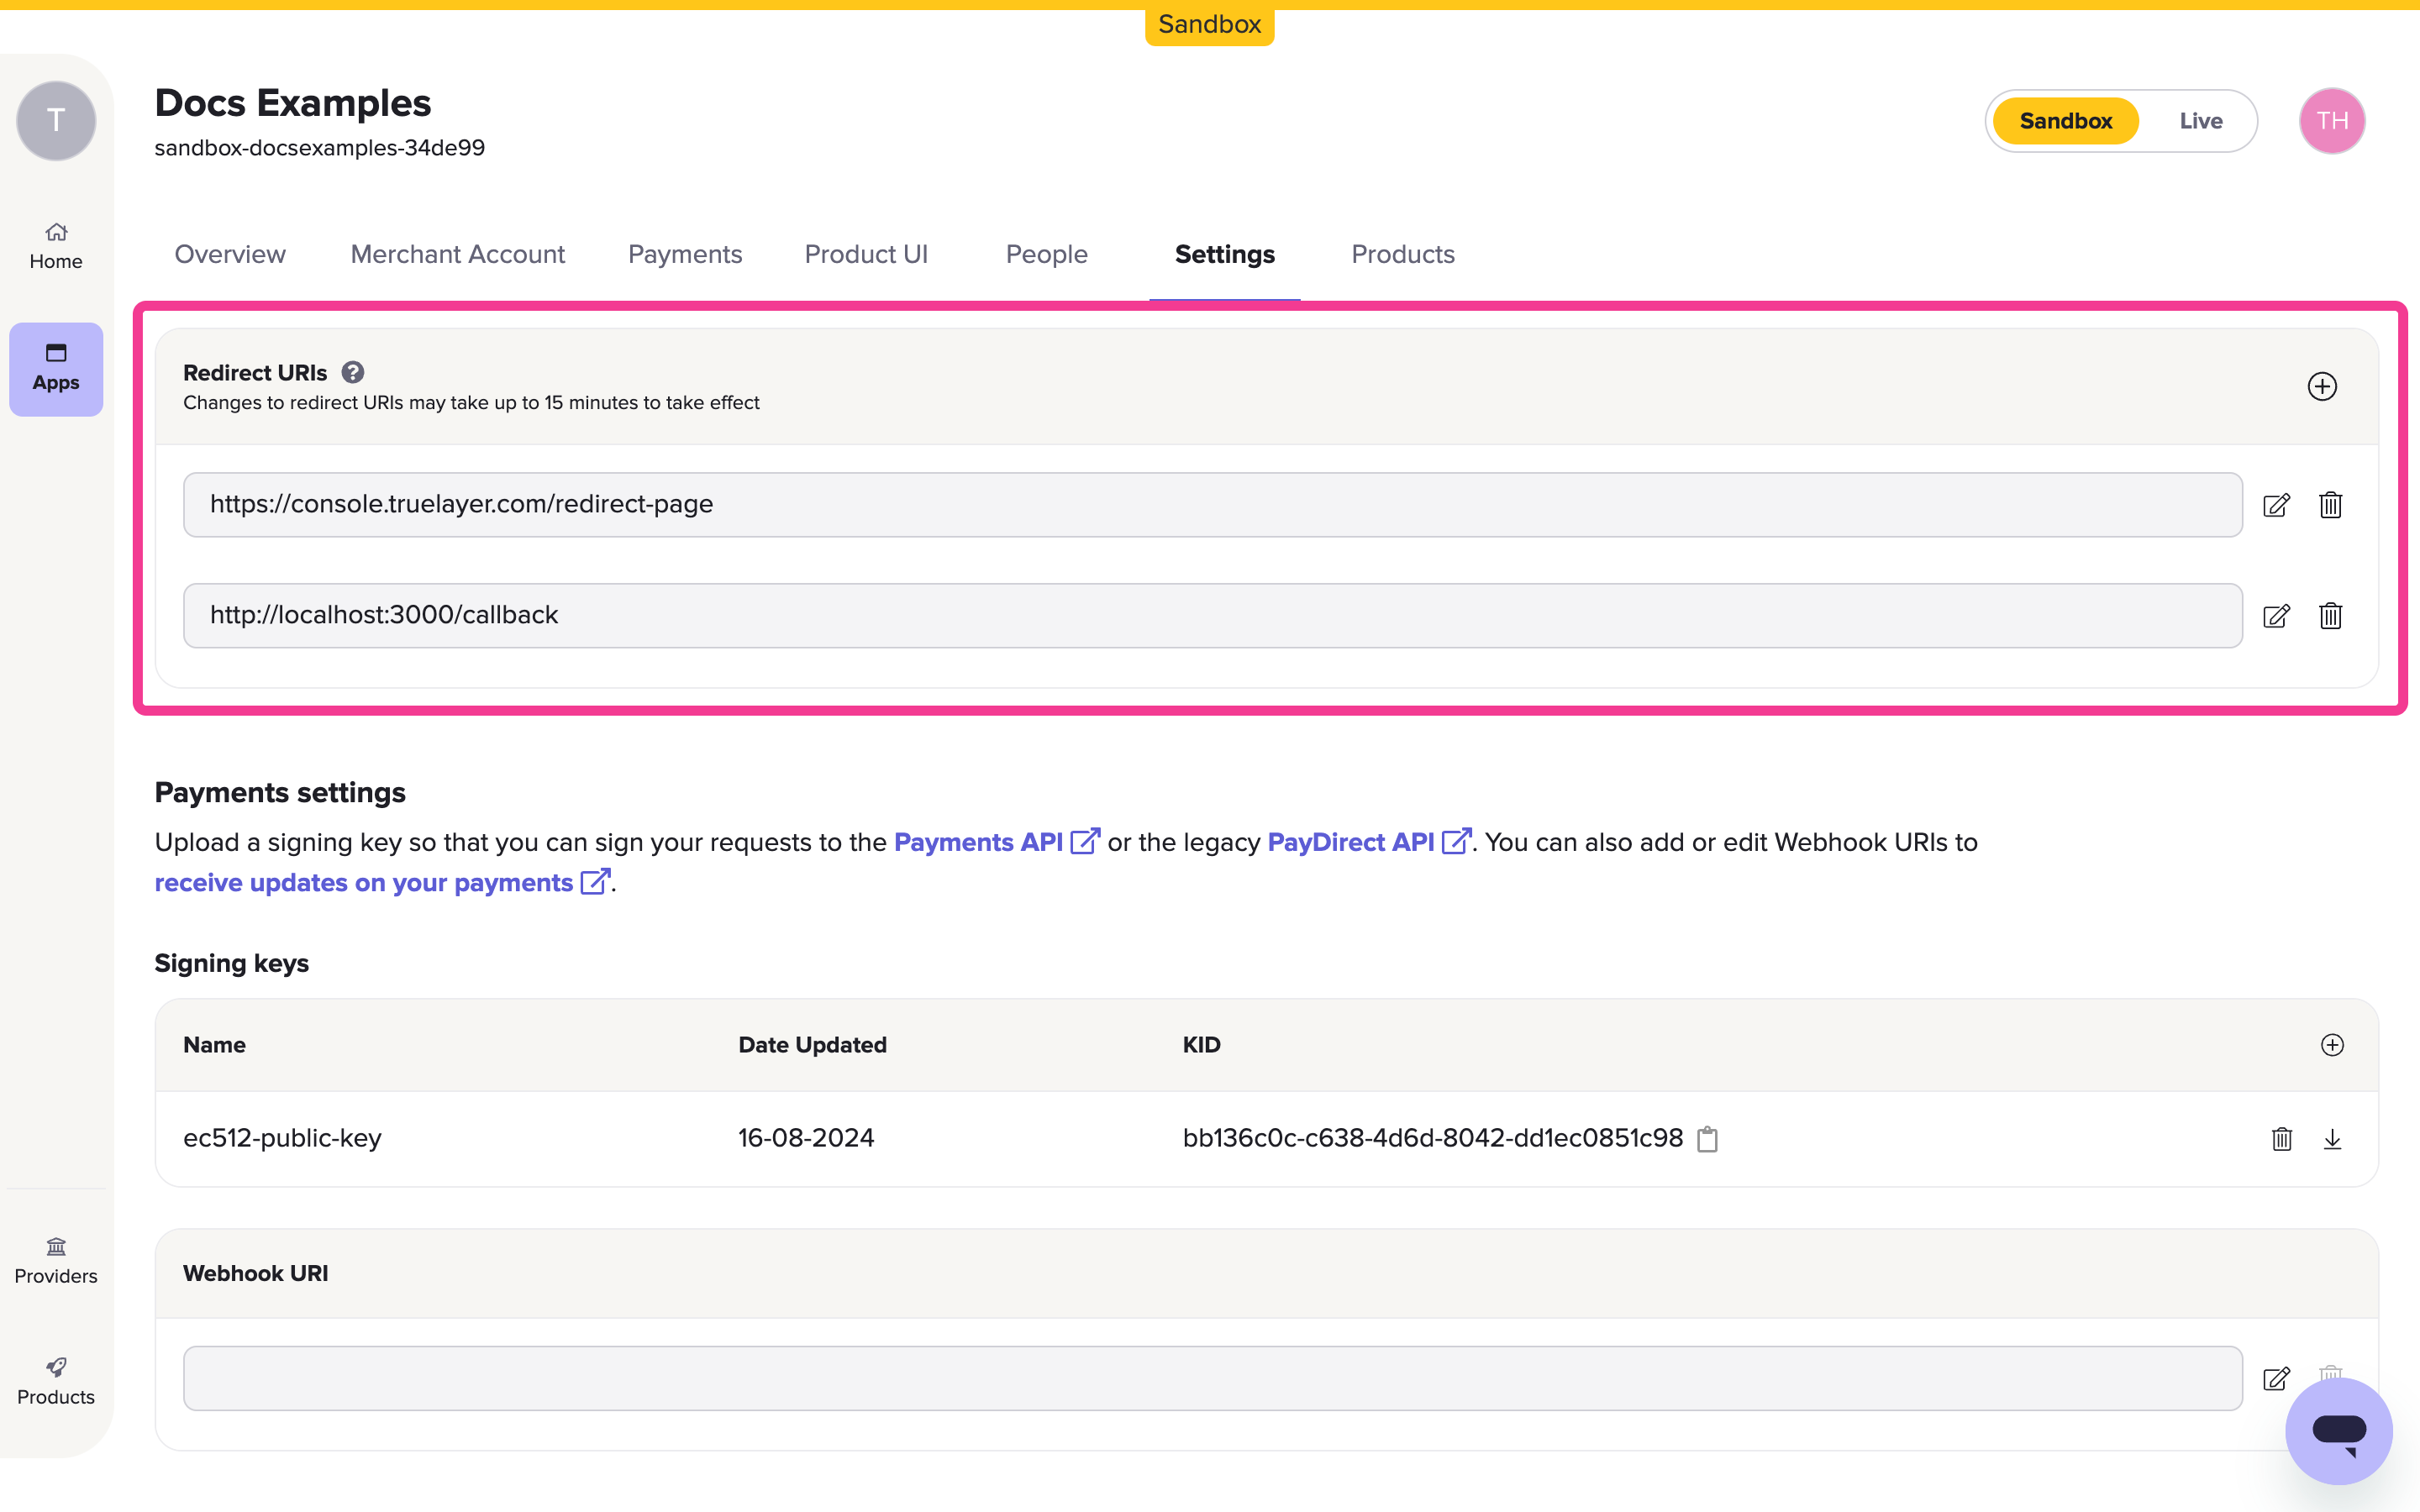
You've now configured your TrueLayer account for sandbox payments.
Get in touch with usWe recommend that you contact our Sales team early in your setup process, around when you start testing in sandbox. We'll kick off the process of verifying your business, so that you can start accepting payments as soon as possible when you're ready to go live.
Before you move into production, we will need to verify your:
client_id- merchant account
- business bank account (especially if you plan to enable sweeping)
If you're interested in accepting payments from banks in private beta, reach out to the team and we can assess your request.
Got a question that can’t be answered in this guide? Open a support ticket. You can do this via our Help Centre.
Updated 6 months ago