Payment link user journey and customisation
Learn about what the user sees when they access a payment link, and how to customise the experience.
After you create a payment link, you receive a uri. Your customer can access this link to make a payment to the merchant account you specified in the request. The uri ends in a payment_link_id.
See below for an example of a payment link with a payment_link_id of aKiW35RWSyF:
"https://payment.truelayer.com/checkout/aKiW35RWSyF"For your customer to pay you, they need to access this link. You can allow them to do this using whatever method you prefer. For example, you could:
- Send an email to the customer with a Pay now button that directs them to the link.
- Generate a QR code that the customer can access with a mobile device that directs them to the link.
By default, payment links expire after 24 hours. If your customer requires it, ensure you specify a later expiration with the
expires_atparameter.
The user experience
First, the user accesses the payment link via whichever method you chose (for example, a QR code). They are taken to the checkout page.
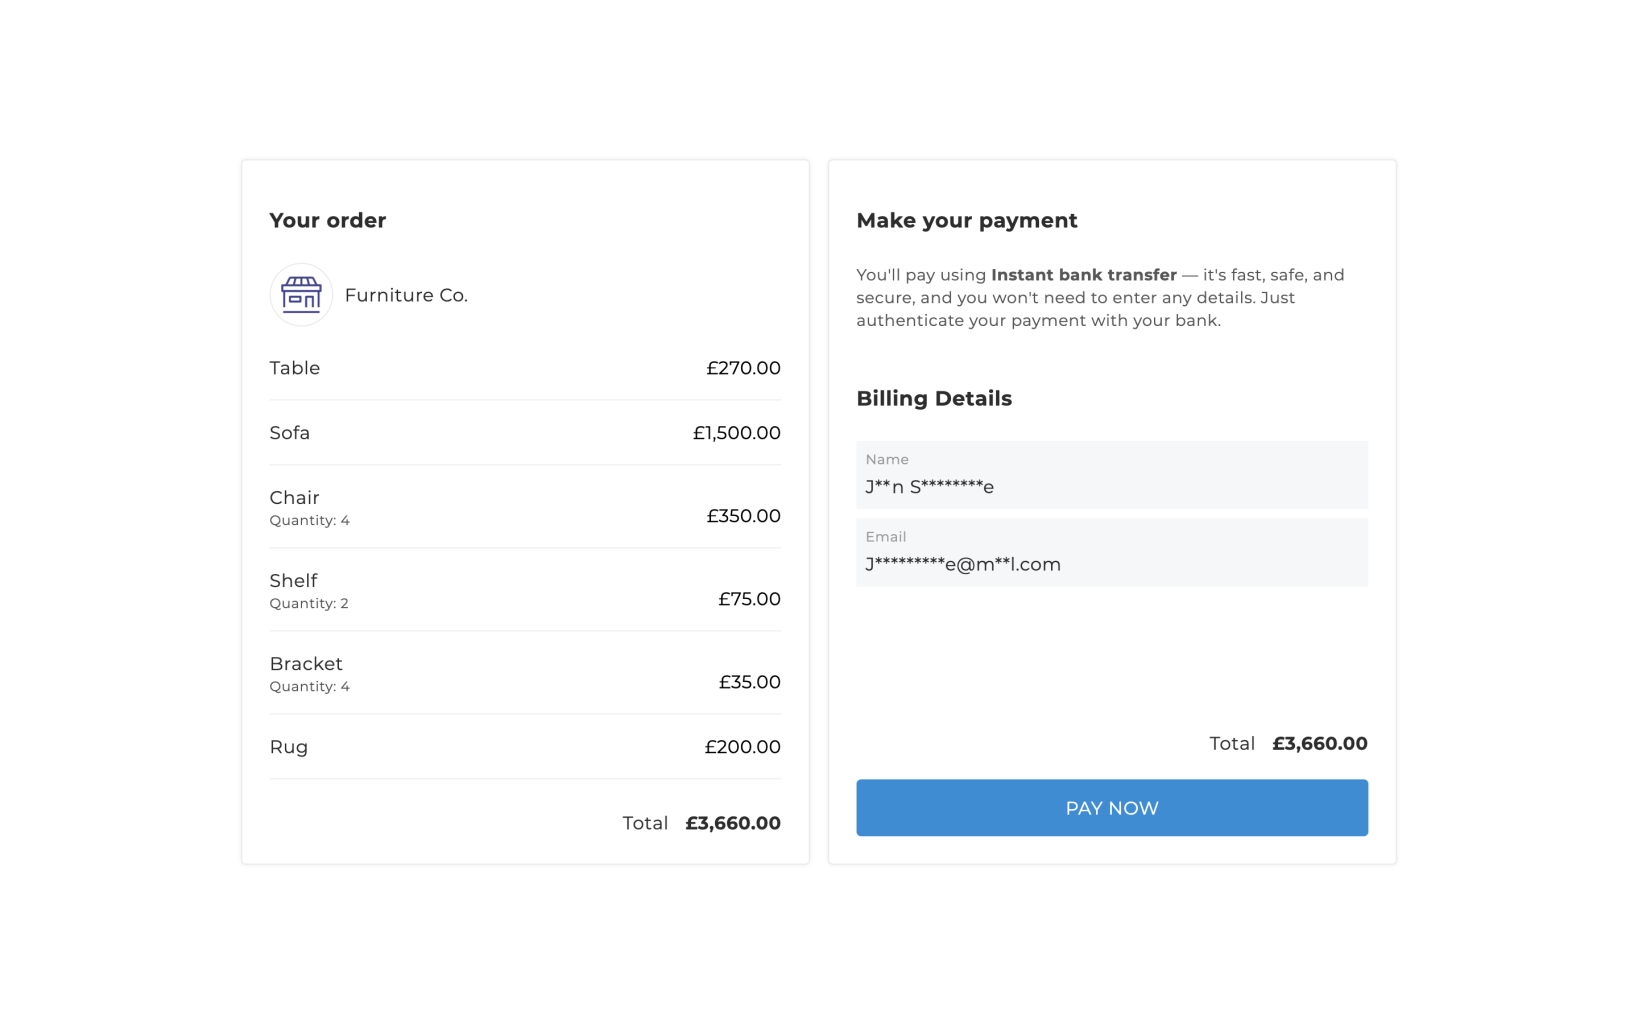
On this page, the customer can review what they are paying for, see their payment total, and enter their billing details.
If they are happy with the payment, they click Pay now to progress to the next screen, where they select their banking provider. This action creates a single immediate payment.
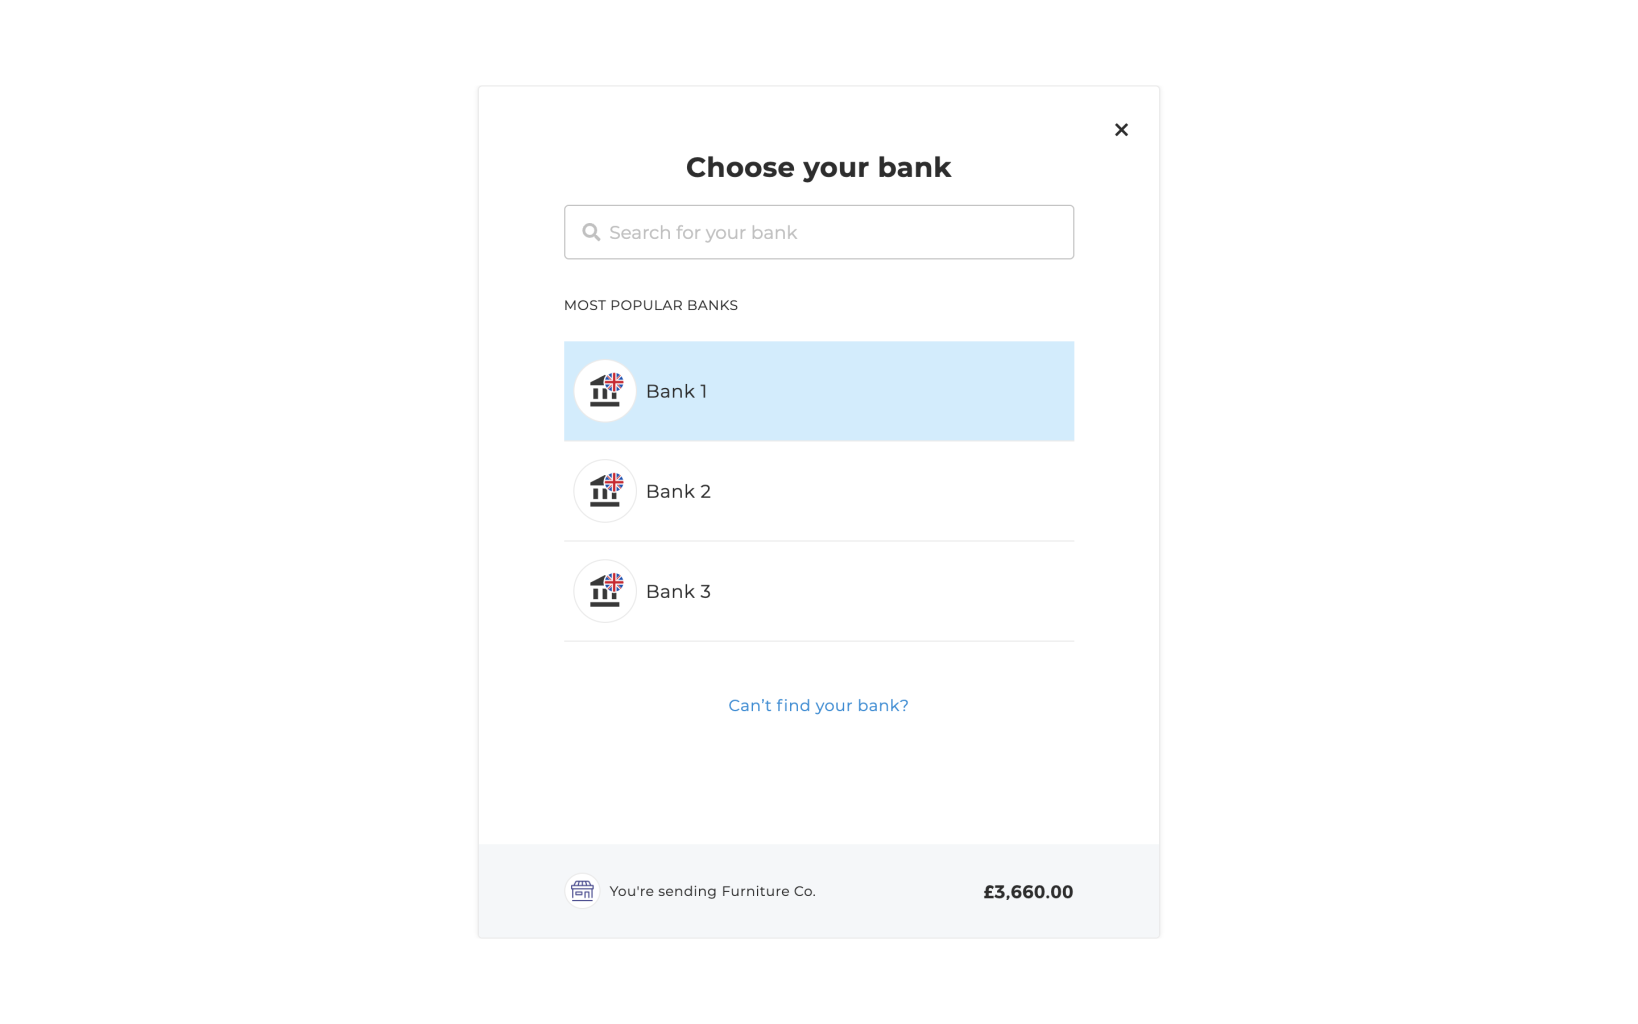
Payment links use TrueLayer's hosted payment page (HPP) for provider selection and payment authorisation. This means that the customer selects their provider using the same provider_selection screen that the HPP uses.
You can change the providers that your customer can choose from by specifying filters in the payment_configuration.payment_method.provider_selection object. For example, you can limit providers to those from certain regions.
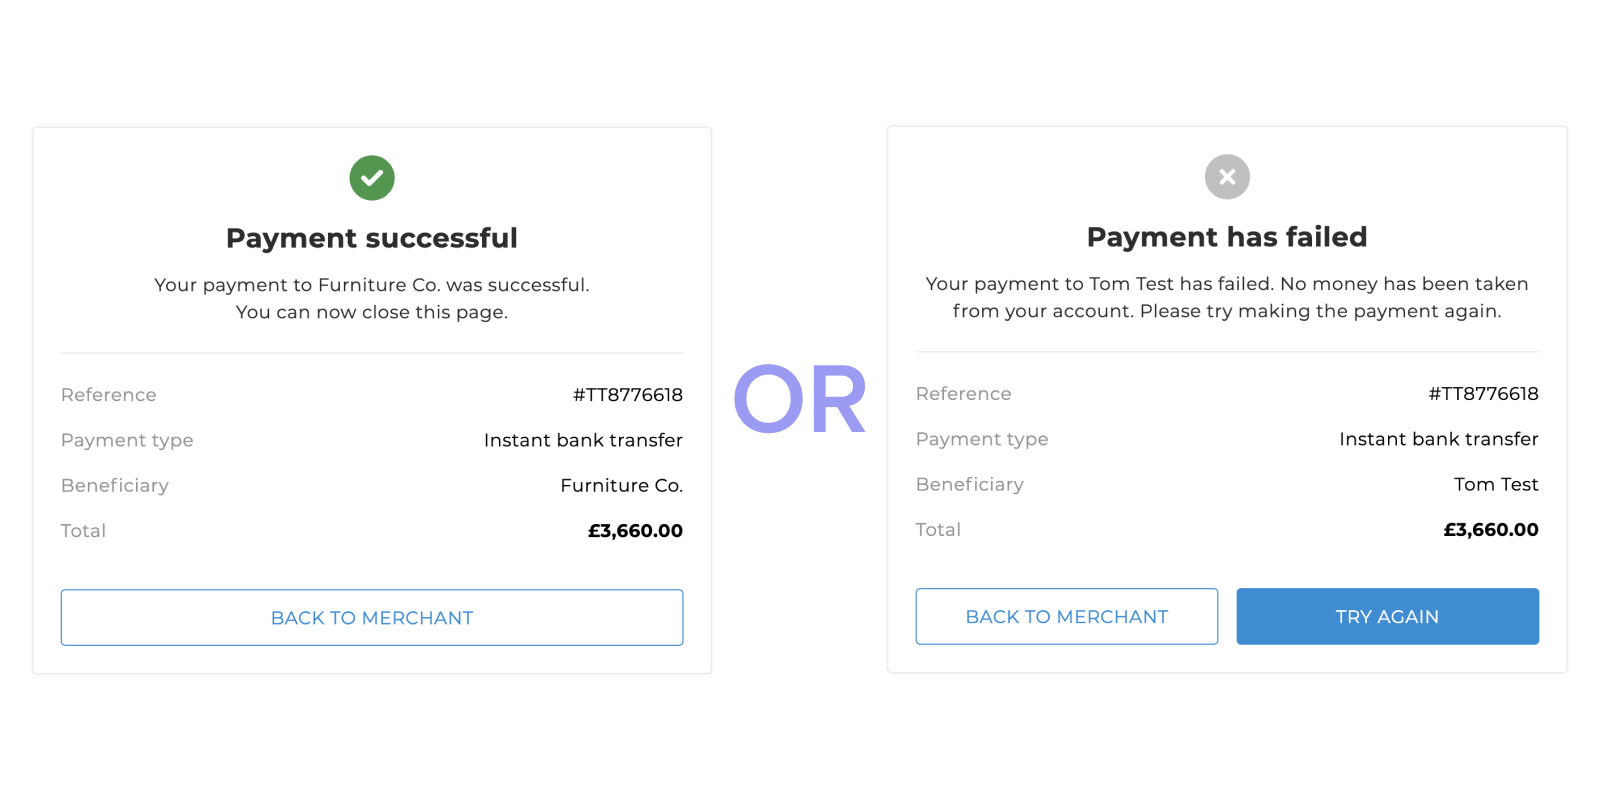
After they select a provider, the user sees the consent screen and success or failure screens included with the HPP.
Customise the checkout experience
You can customise some elements of the user experience.
Below are the elements of the payment link checkout page that you can change in Console, on the Payments > UI Customisation page.
| UI element | How to change |
|---|---|
| Merchant name which displays in the top left | Change Your app name on the UI Customisation page. |
| Merchant logo | Change the Logo on the UI Customisation page. |
Updated 6 months ago