Payments view
Monitor payments and generate reports in Console.
The payments view is a record of all the incoming and outgoing transactions that you have made using TrueLayer APIs. Access it by going to Payments within your app.
If you don't have a merchant account, you only see payments made to external accounts here.
The Payments view contains information about all incoming and outgoing payments. This includes payments and payouts that are in progress, which could fail.
As such, for a definitive view of your balance on a given day, you should use the Historical Balances or Transactions tab within the Merchant Account section.
Payments database
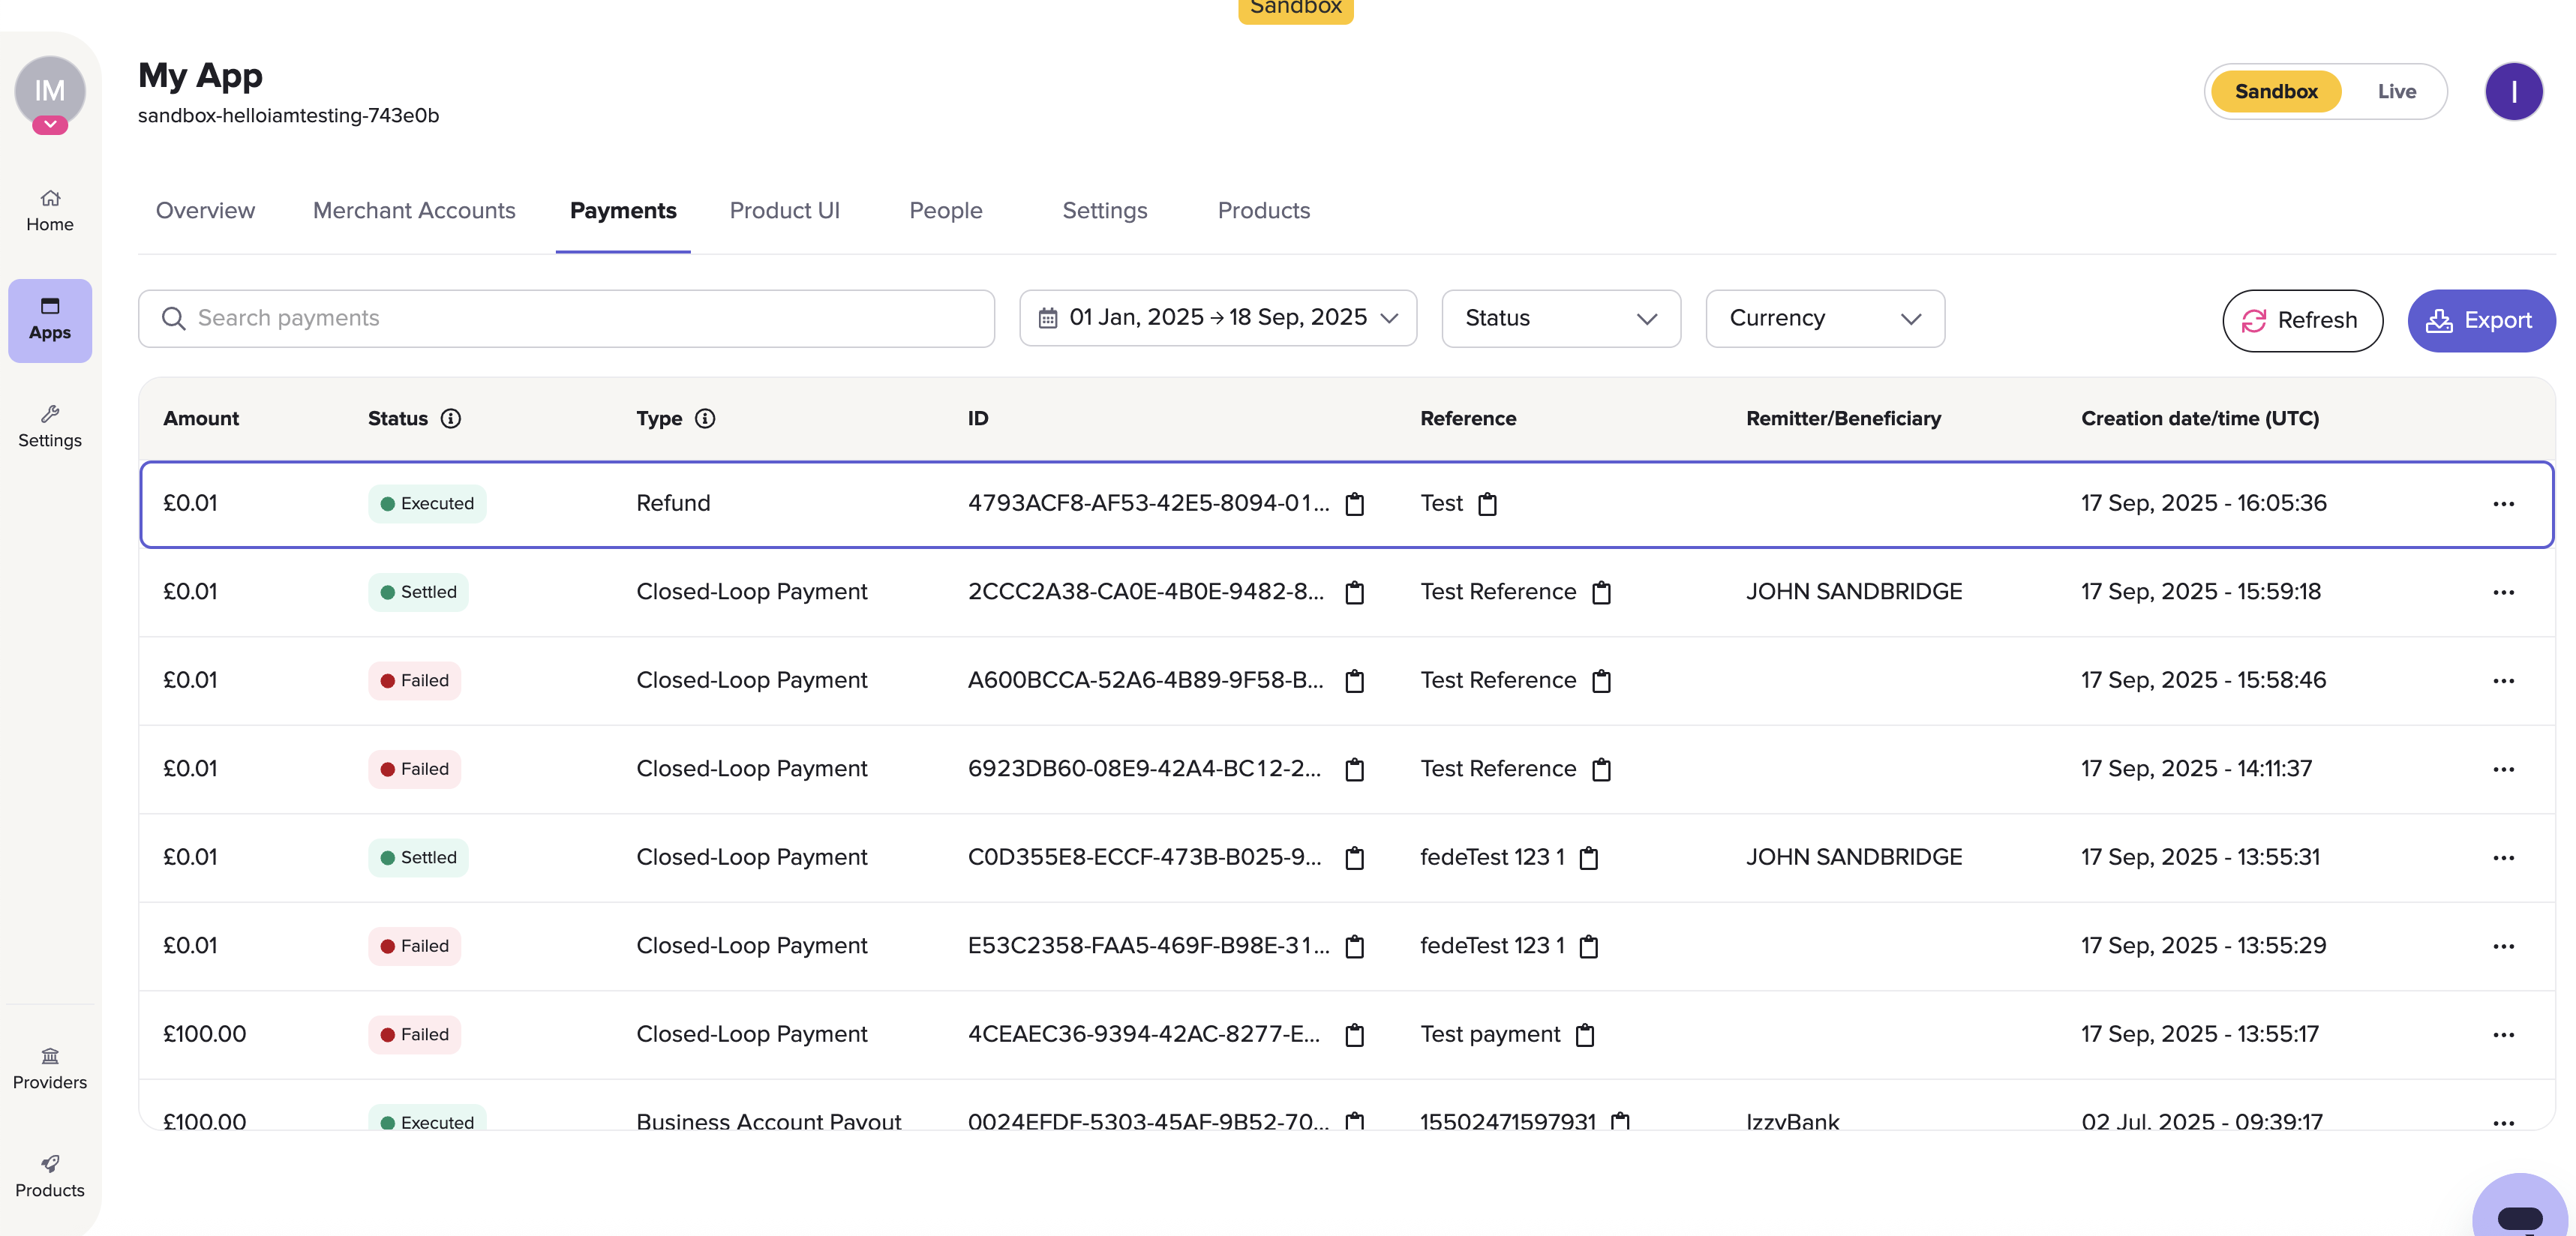
The Payments tab in your app is a table of payments made to or from your EUR or GBP merchant account.

Various different types of payment in the sandbox payment view.
You can filter by date, payment status and currency using the date picker and dropdowns to the right. 31 days is the longest maximum history you can display on the payments view.
The ID column indicates the ID of that specific transaction. For refunded payments, the ID that displays in the column is the ID of the refund itself, not the ID of the payment.
In the database, you can see every transaction made to and from your merchant account within the given date range. Days are in UTC from midnight to midnight.
Details included in this view:
- the amount paid
- the status of the payment
- the payment type
- the payment, payout or refund
id - the payment reference
- the name of the remitter, or payer (if a pay-in)
- the name of the beneficiary, or payee (if a payout)
- the date and time (UTC) that the payment was last modified
Click on an individual payment to also see:
- the option to refund the payment, if it was made to your merchant account
- the dates and times that the payment transitioned to each status in its lifecycle
- the transaction ID
- the account number and sort code of the payer or payee
- the remitter or beneficiary type
- the payment source ID of the remitter or beneficiary
- the user ID of the remitter or beneficiary
- The auto-refund or external deposit associated with the payment or refund (if you've enabled auto-refunds)
Generate a report
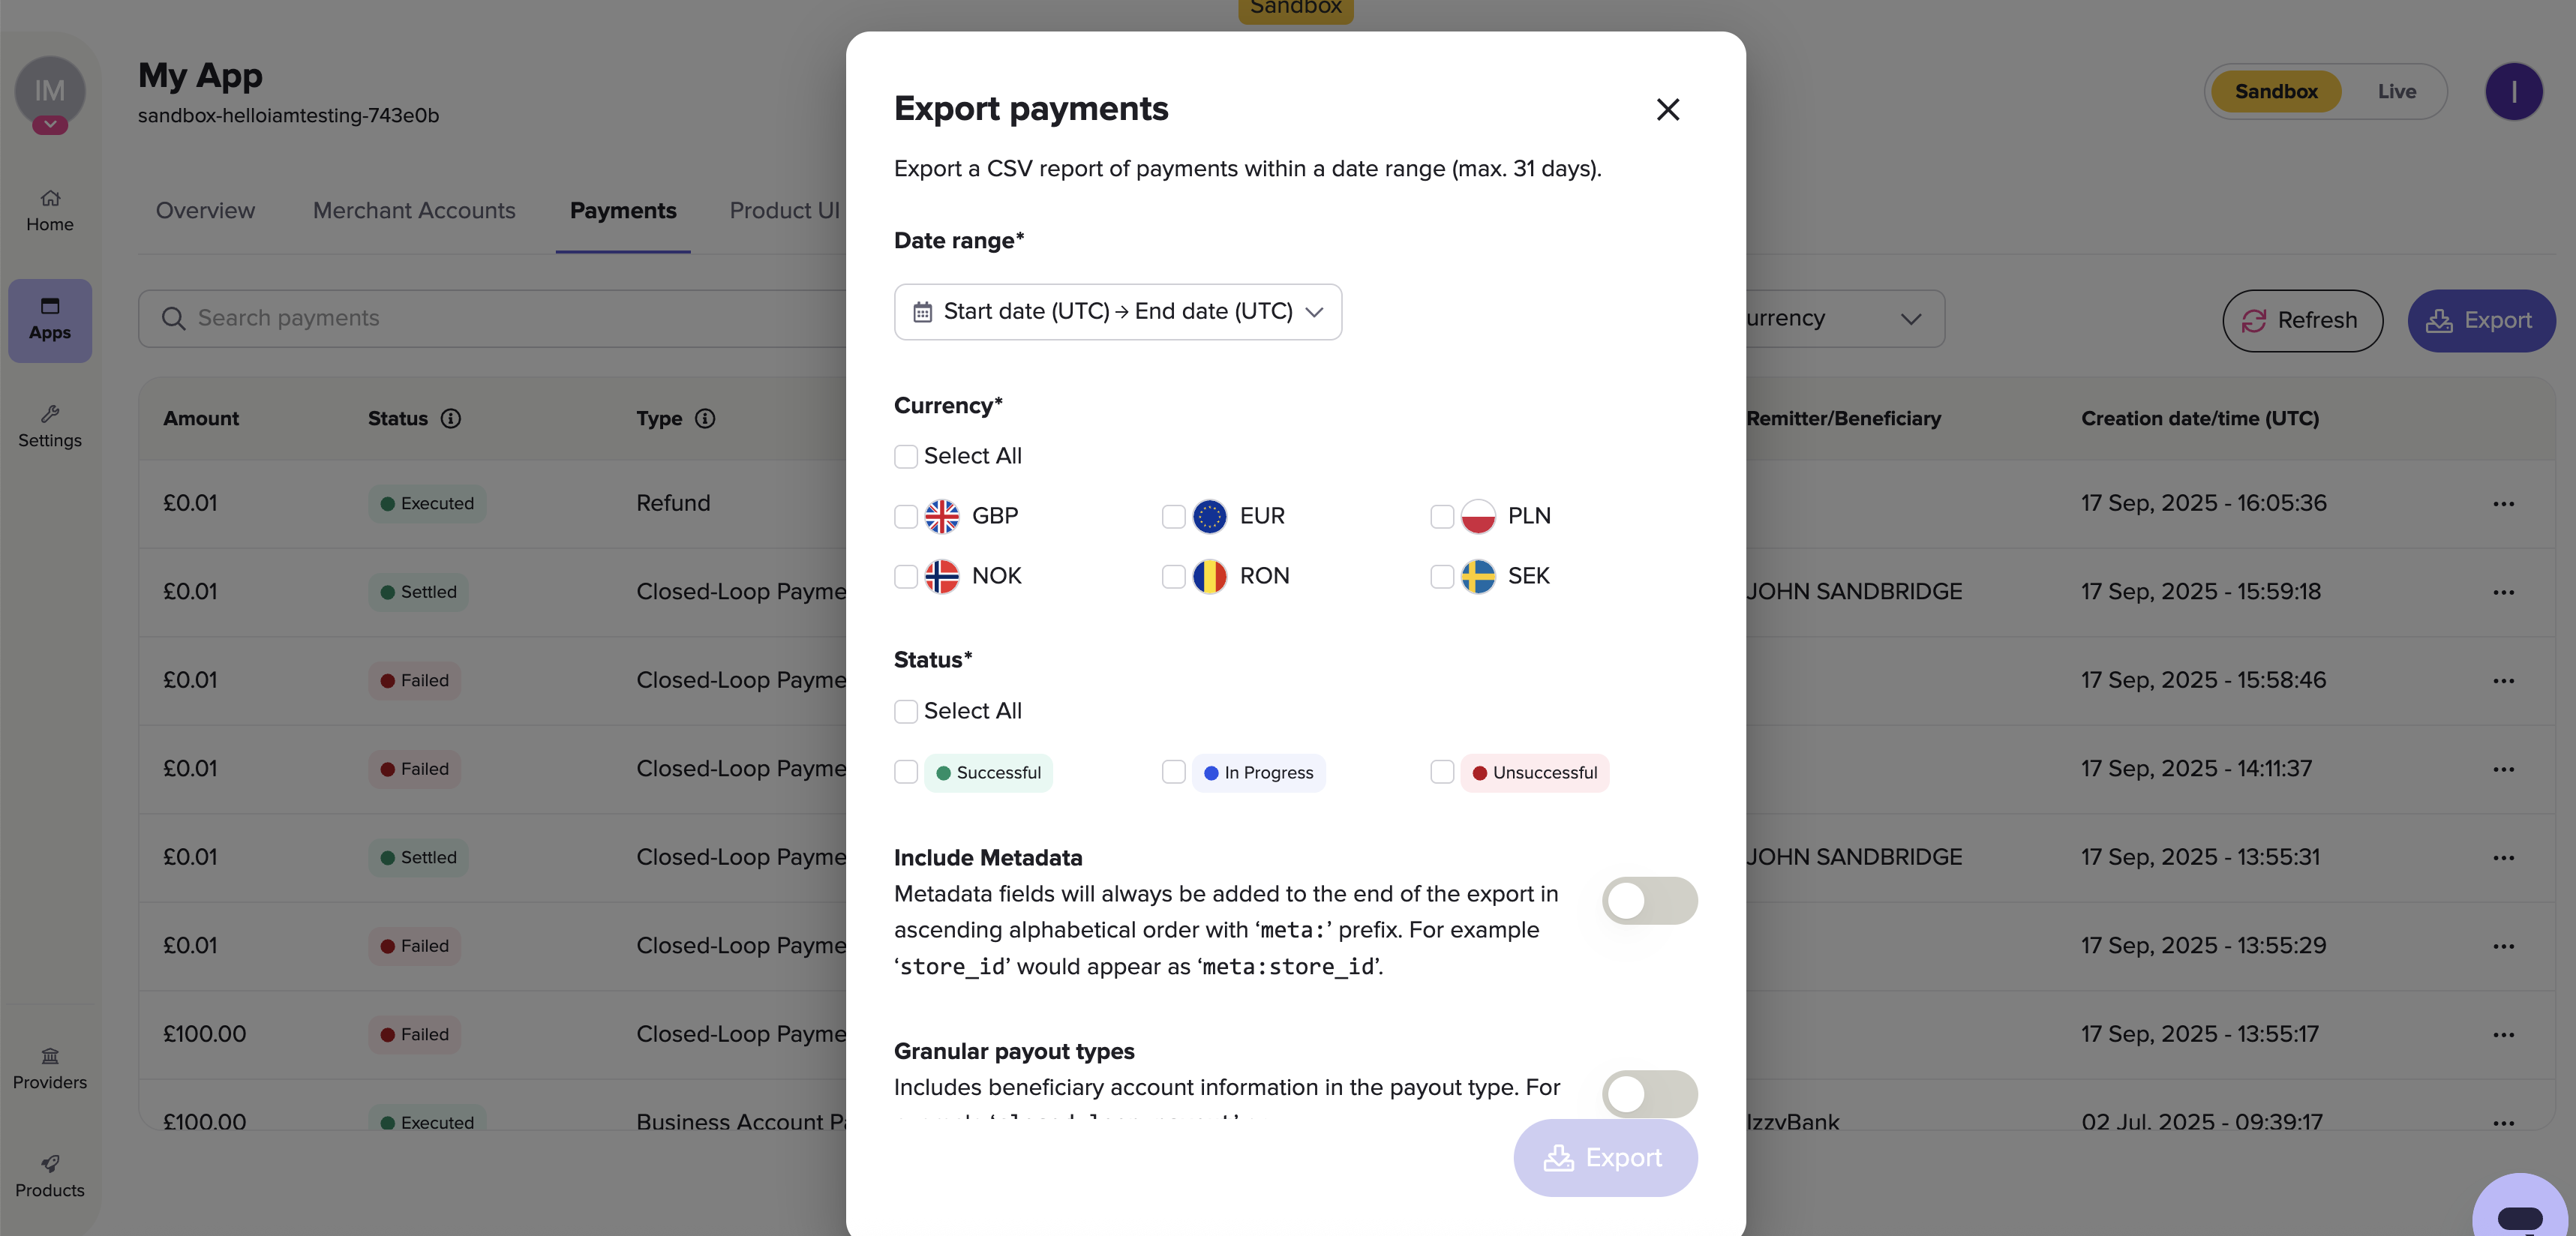
Click Export to generate a CSV report of your transaction history within a time frame that you choose.

The modal to configure reports.
Use the menu to filter by date range, currency and payment status. To include more detailed information in the payout type, enable Granular payment types.
You can choose to enable metadata by using the toggle. This displays metadata fields in ascending alphabetical order at the end of your report, with the prefix meta:.
Quick download
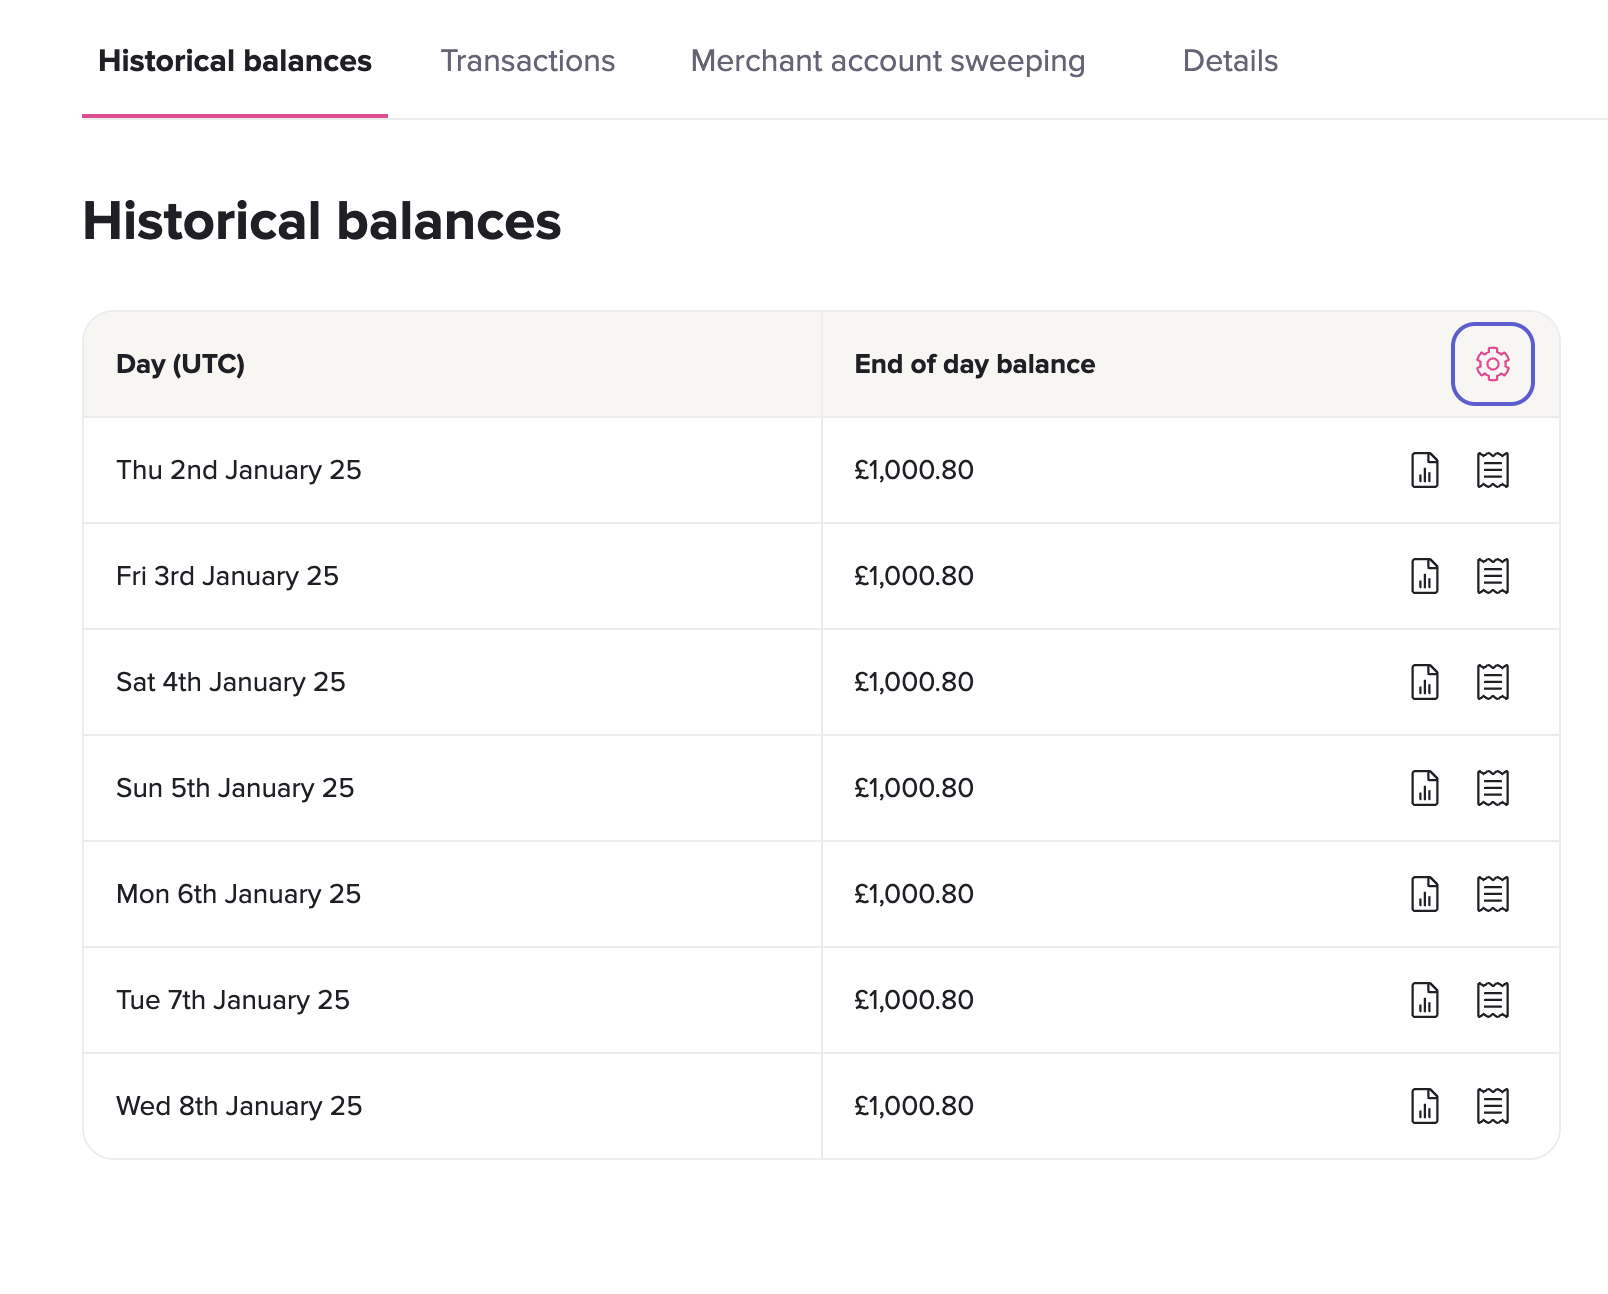
This feature enables you to change the default settings of any report you generate across all your apps.
In Merchant Account > Historical balances, click the cogwheel icon to open this modal.

CSV export format
When you generate a report, the column headers change depending on what fields you have enabled. If you have all fields enabled, this is the order that the exported columns display in:
| amount | currency | status | type | reference | remitter | beneficiary | id | paymentId | payoutId | date | providerId | providerName | failureReason | remitterIBAN | remitterAccountNumber | remitterSortCode | beneficiaryIBAN | beneficiaryAccountNumber | beneficiarySortCode | beneficiaryType | paymentSourceId | userId | createdAt | authorizedAt | executedAt | failedAt | settledAt | schemeId | schemeName | mandateId | isReturn | merchantAccountId | isCreditable | creditableAt | refundedBy | refundFor |
|---|
Additional columns can be appended on the end of your export. These are the keys from any key-value pairs you include as metadata in your payment, refund or payout request.
The eighth column of the export, id, corresponds to the eighth column of an export from the transactions table, transactionId.
If your filter or export settings mean your export doesn't contain certain data, the relevant column is omitted from the export, instead of having a column header with blank values.
Updated 27 days ago
