Quickstart: Create a Console account
Learn how to set up your TrueLayer Console account.
To start your integration journey, create an account on Console. This is our back office platform, which enables you to create applications, get API keys, choose the products you want to integrate with, and set up an open banking integration.
This guide contains instructions on how to sign up to Console, as well as a high-level overview of Console's payments features.
Test with confidenceBy default, when you create a new Console account, you'll be in our sandbox environment. In sandbox, you can test your integration without live bank accounts. This means you don't move any real money.
Sign up to Console
Register for Console by using single sign-on (using your Google or GitHub accounts), or with your email address and password. Our registration flow displays and guides you through the process.
Now you've created your Console account, create an application and get your keys to start using our APIs.
Need any help?If you're stuck anywhere during your integration process, or you have a question that needs answering, check out our Help Centre for more information.
Create an app and generate a client ID
Use the window in Console to name your application. By default, Console opens in the sandbox environment, so you can use this application to test your integration.
You can also click the Create App + button at the top of the screen to create a new app and generate a client ID.
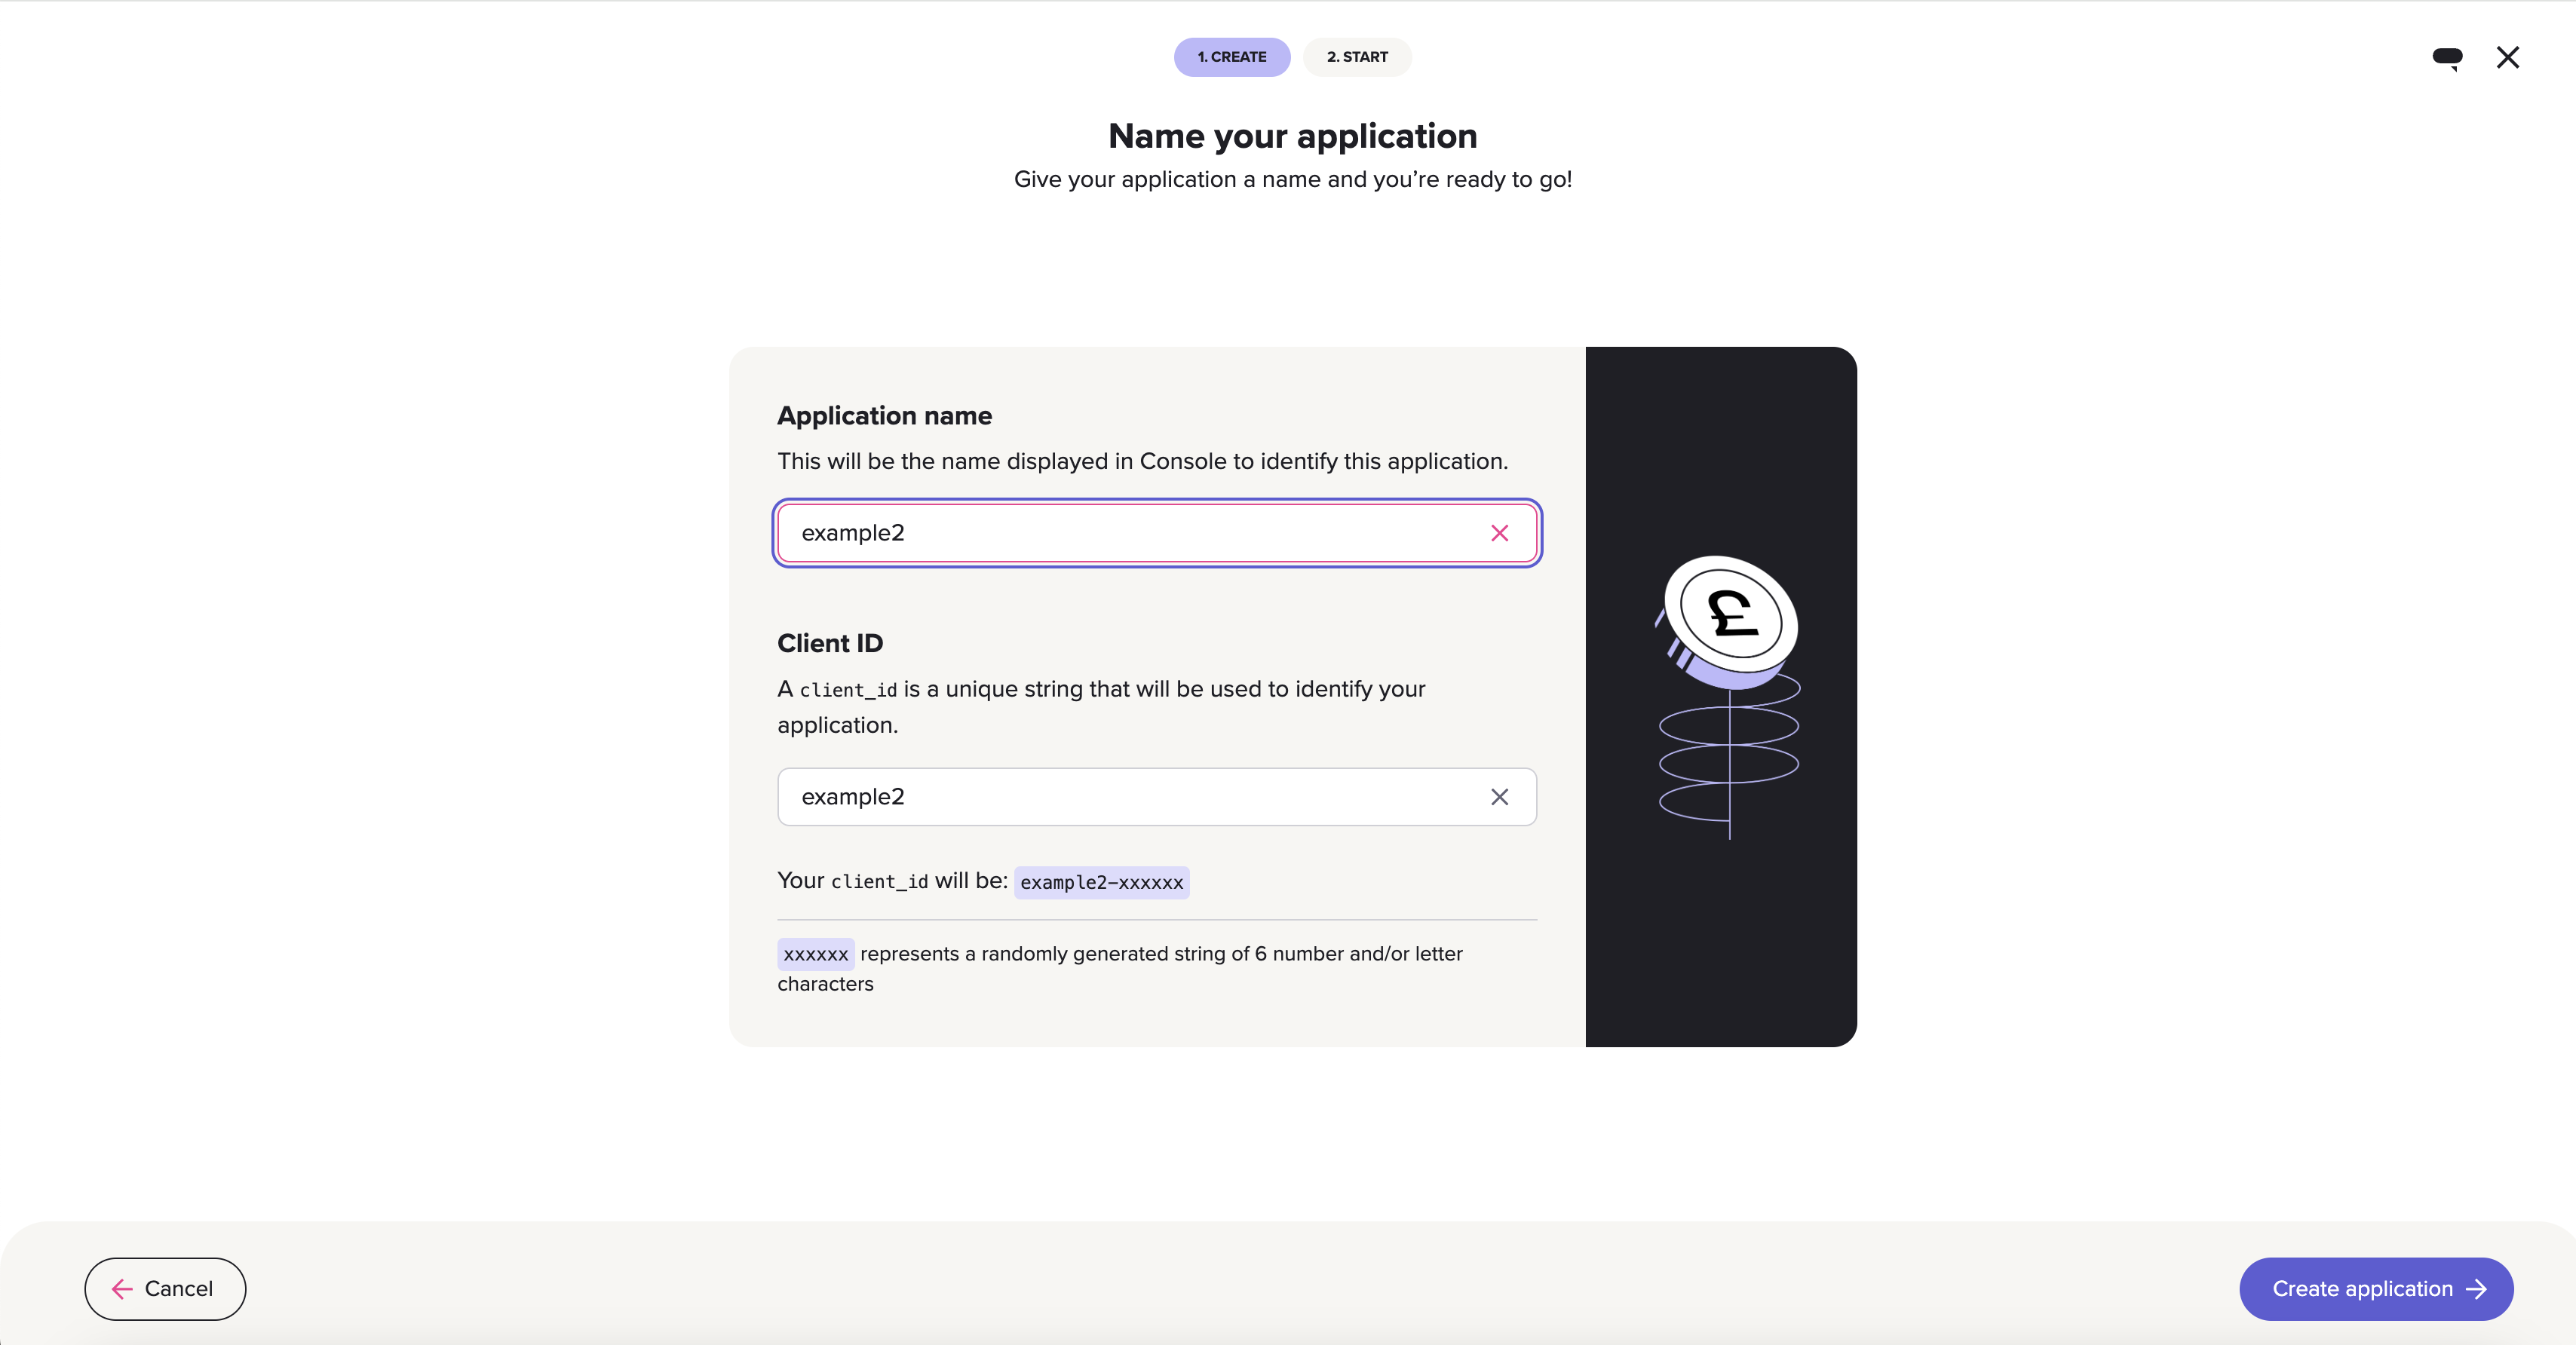
The screen which displays when you create a new app in Console.
A client_id is a unique string that identifies you as a client. You need to set up a new client_id for every application you create. You cannot change your client_id once you've created it. We recommend that you include the name of your business in your client_id.
Your client_id must be between 4 and 30 lowercase characters, including letters and numbers. You can't use special characters.
Your sandbox account client_id always has the prefix sandbox-. You can't add this prefix to a live account client_id. Sandbox client credentials can only create sandbox access_tokens, which can only be used to access sandbox resources.
Download your client secret
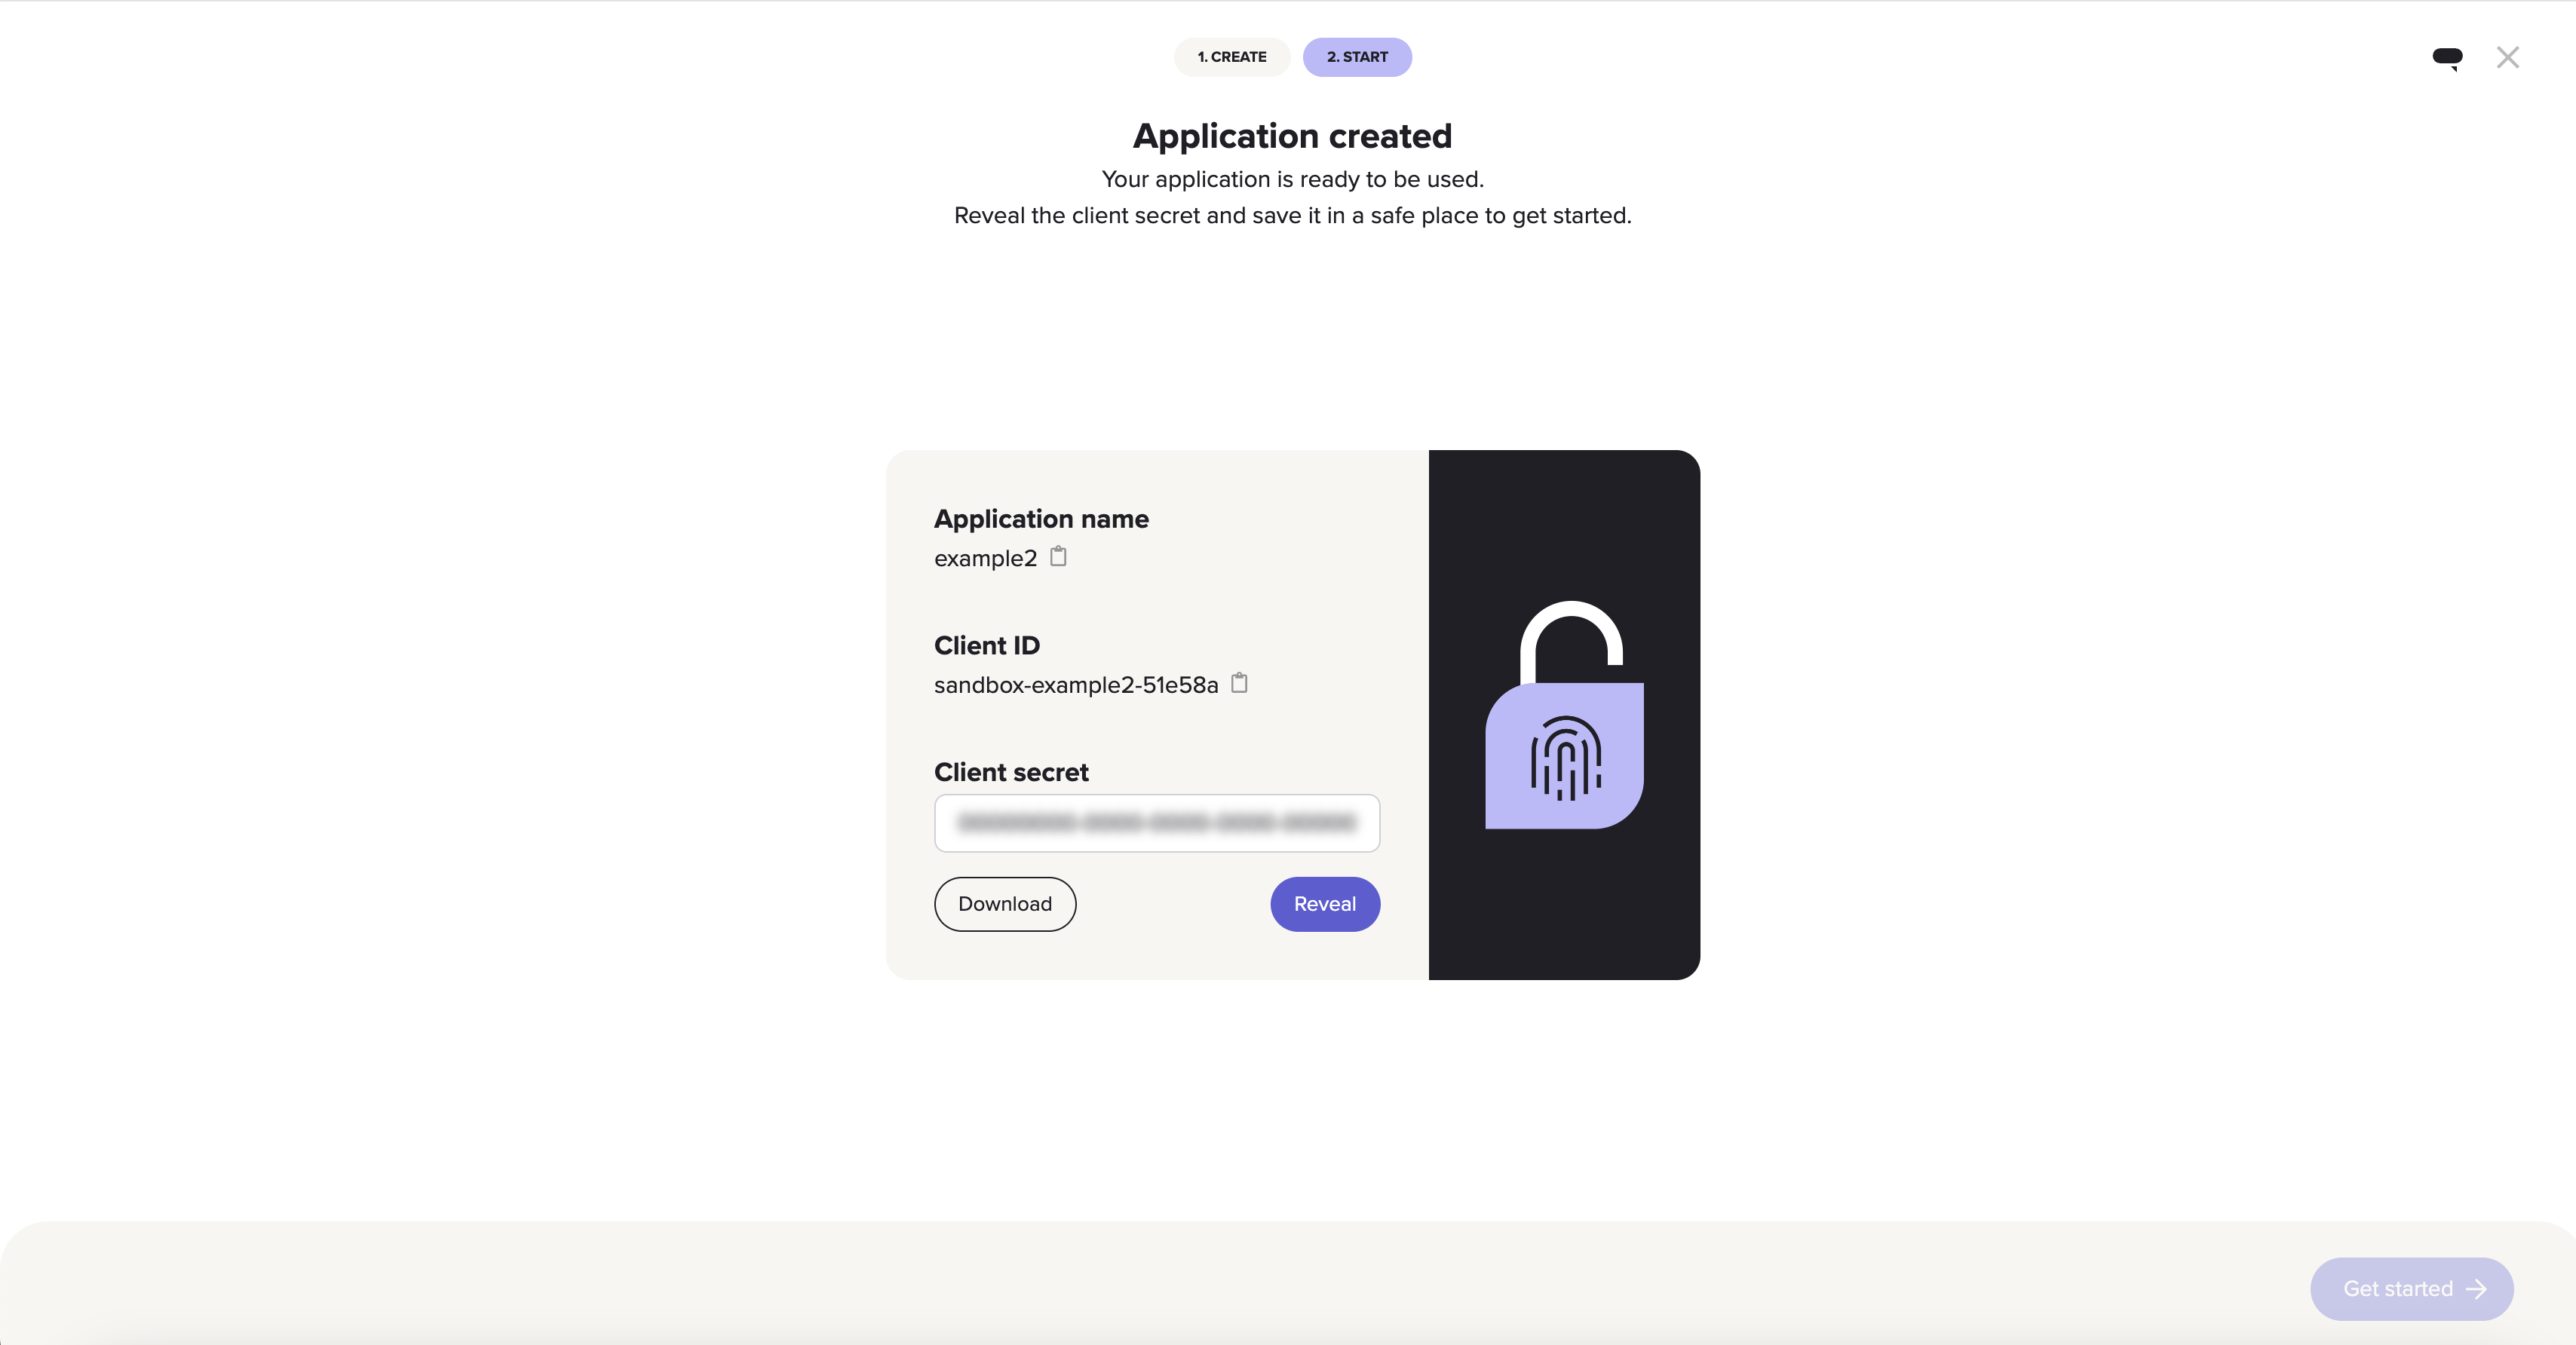
The screen which displays after you have created your app, including your hidden client secret.
A client_secret is a secret key used to authenticate your application. Store this value safely as you need it to make API calls. We recommend using a key management system.
After you create your first client secrets, you can then generate additional secrets for each app in Console. Go to the Settings page to generate more.
Like your client_ids, your live and sandbox client_secrets are slightly different.
Add team members (Optional)
If you want, you can add people to your application. To do this, go to the People tab.
The Team members page displays by default, which is a list of members of your app, alongside:
- what role they have within your app
- whether they have multi-factor authentication enabled
- when they were last active
- the ability to edit their role or remove them from the app.
To invite a new member to your app:
- Click Add people.
- The Add people to your application dialog displays.
- Enter the email address of the user that you want to add to the app.
- Select a role for them, and click Invite.
- The user receives an email invite that they must respond to in order to access the app.
Use the payments view (Optional)
The Payments view is a table of all of your incoming and outgoing transactions within a specific date range (maximum 31 days). Access it by opening your app, then selecting the Payments tab.
It includes the following information at a glance:
- the amount paid
- the status of the payment
- the payment type
- the payment, payout or refund ID
- the payment reference
- the name of the remitter, or payer (if a pay-in)
- the name of the beneficiary, or payee (if a payout)
- the date and time (UTC) that the payment was last modified
When you click on an individual payment, you can also see the following information:
- the dates and times that the payment transitioned to each status in its lifecycle
- the transaction ID
- the account number and sort code of the payer or payee
- the remitter or beneficiary type
- information about the remitter or beneficiary for use in future API requests. These are:
- payment source ID
- user ID
To export a CSV with information from the payments view, click the Export button. A modal displays that allows you to filter your export to contain payments of particular currencies and statuses, alongside additional customisation options.
Configure your organisation (Optional)
It may be more convenient to have multiple apps with different merchant accounts tied to each app, or you may need more than one merchant account in either GBP or EUR. In these cases, you can create more apps within a network called an organisation.
When you sign up to Console and create an app, Console also creates an organisation, which initially only contains that app. You have the Owner role in this organisation.
All apps you create belong to the organisation you are signed into when you create them.
When signed into the organisation, if you are the Owner, create a new app by going to the Apps page (accessible via the left-hand menu) and clicking + Create application.
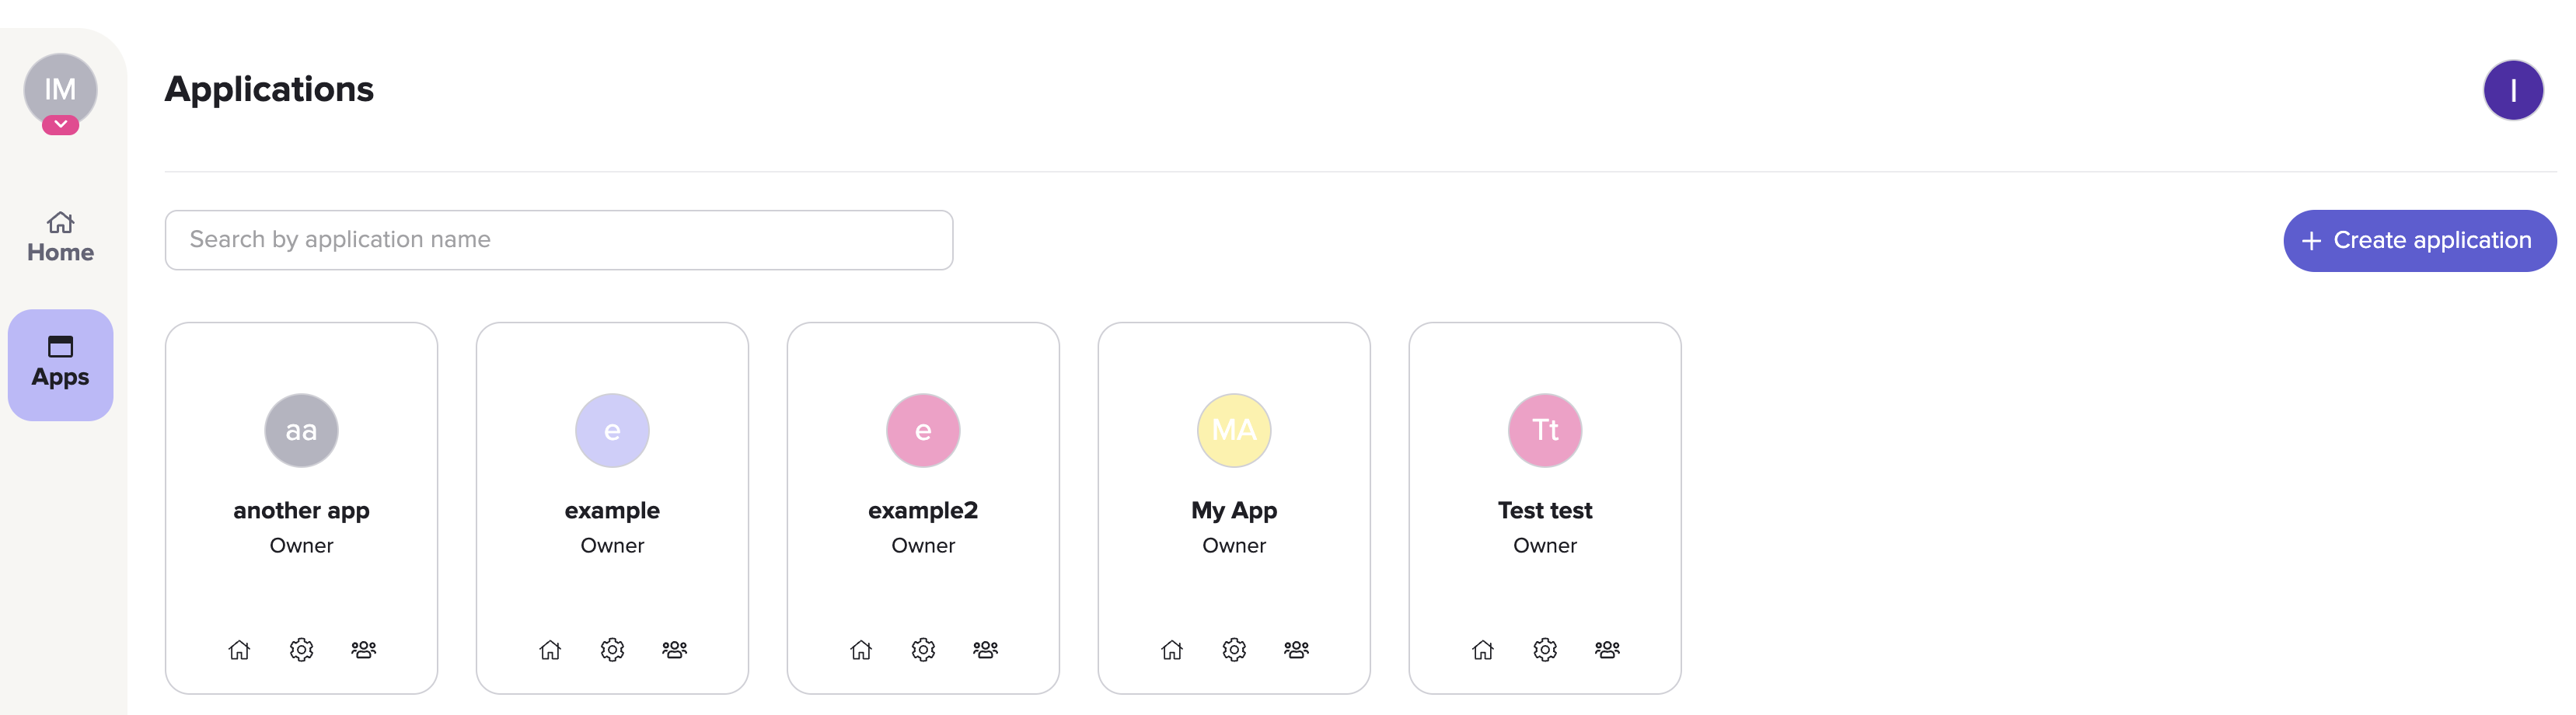
The Apps page in Console.
The Owner of an application can manage user roles across all apps in the organisation they own.
If you are a member of multiple organisations, switch between them by clicking your icon to the top left of Console. A modal displays which enables you to switch between the organisations you are a member of.
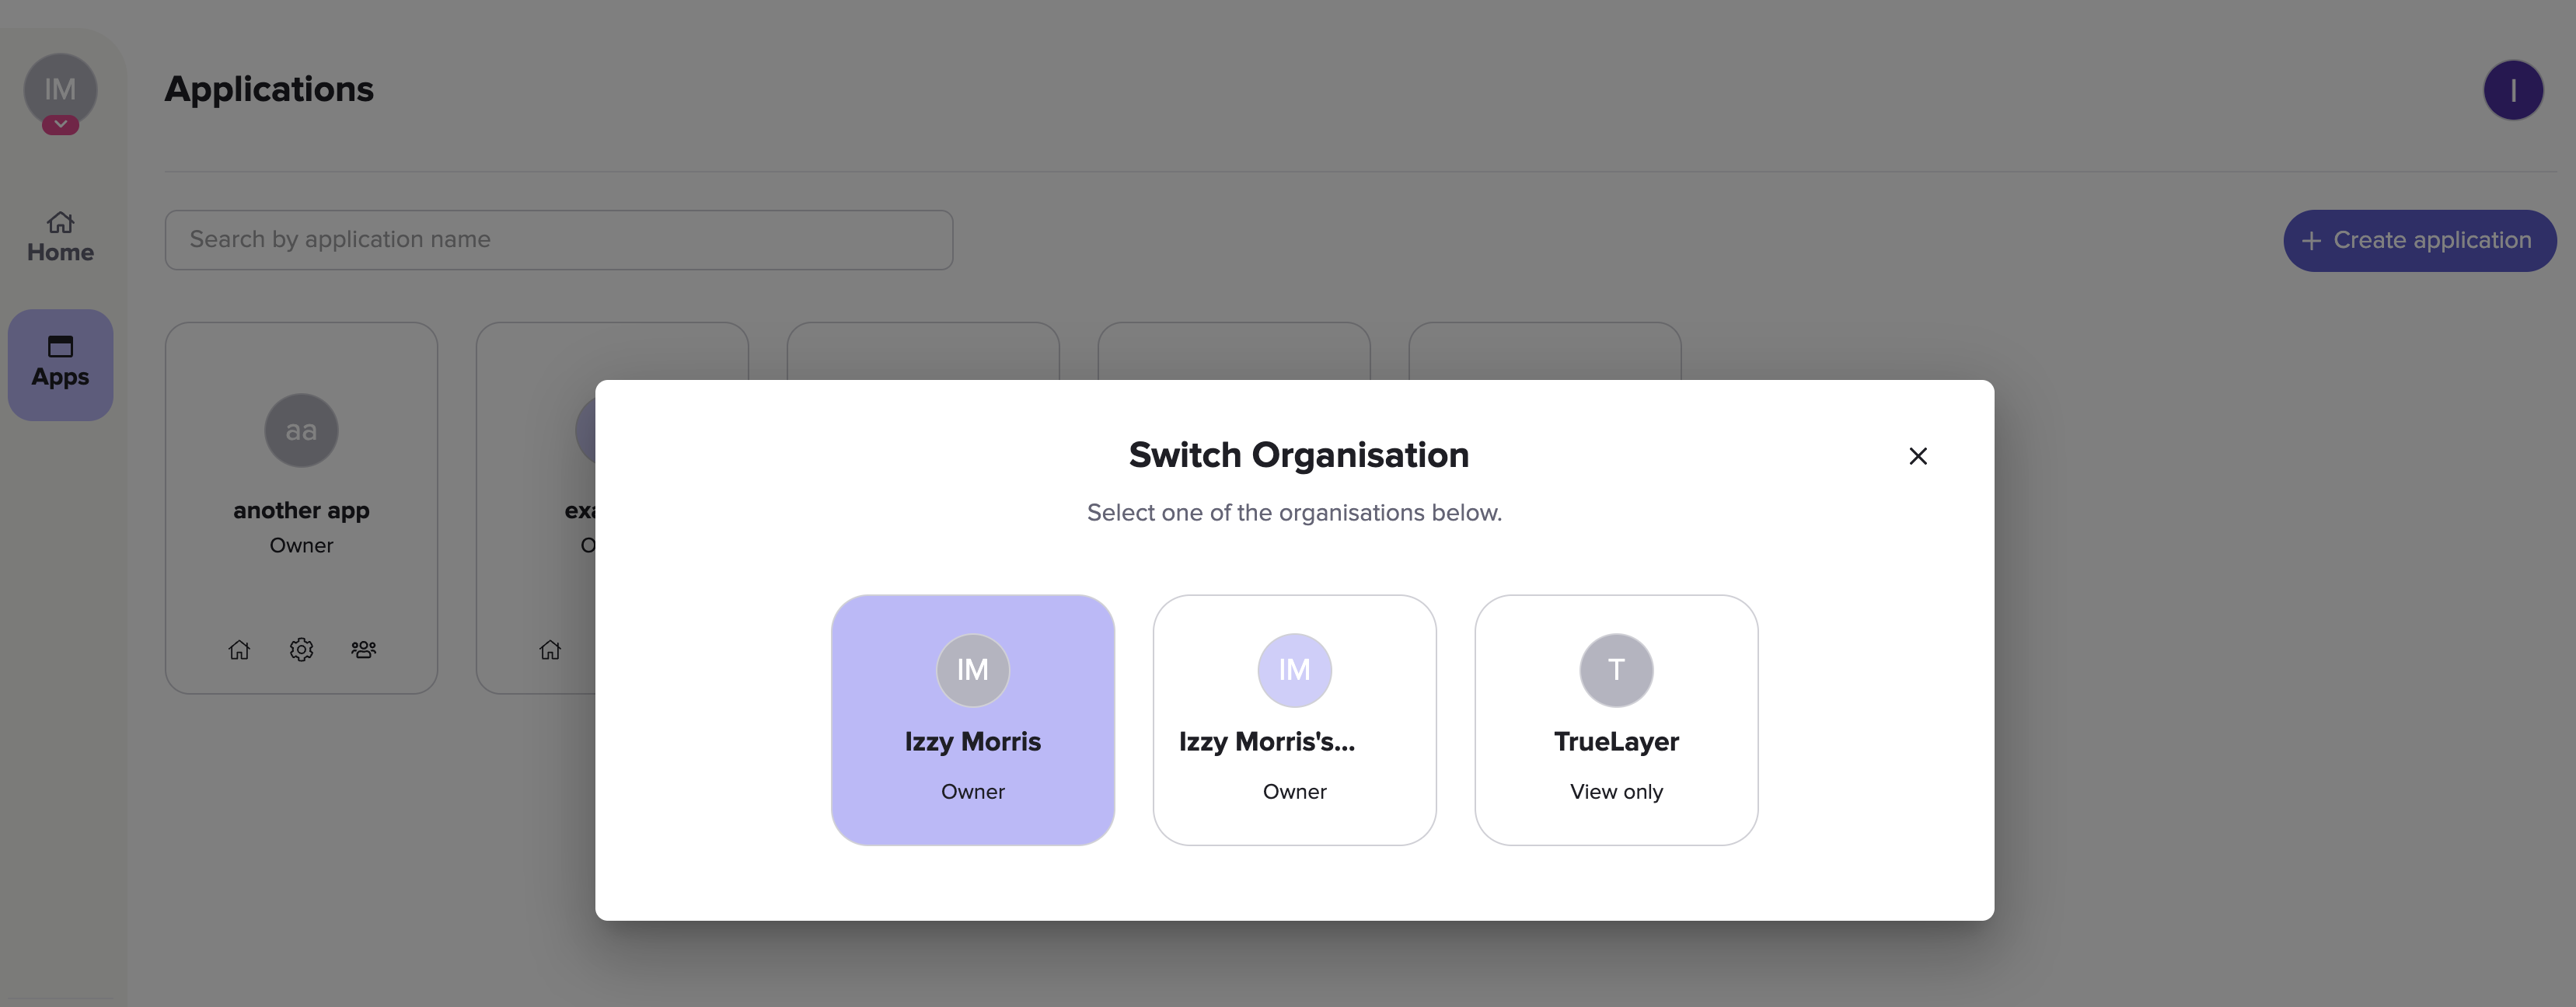
The Switch Organisation modal.
Updated 20 days ago
Next steps
Once you've created an account and have started using Console, you can start to customise your integrations and enable additional features. For example, you can:
Customise your payments or data authorisation UIs
Set up sweeping from your corporate bank account to your merchant account.