[Plugins] Track and refund payments in Console
Use Console tools to monitor payments, issue refunds and enable sweeping.
You may find it easier to use admin tools within Console than tools within your plugin to monitor and refund payments. For example, the payments view is a record of all the payments that you have accepted and refunds that you have made using TrueLayer APIs. Access it by going to Console > Payments > Payments v3 > Payments.
To move money from your merchant account to a business account, set up automatic sweeping from Console. You can also refund payments made through any plugin straight from the payments view.
Manage roles and permissions in Console
There are five possible roles that you can have as a member of an app:
- Owner
- Admin
- Developer
- Payments Operator
- View-only
| Role | Permissions |
|---|---|
| Owner | - Refund payments from Console - Invite, change the roles of or remove Admin, View-only or Developer users |
| Admin | - Refund payments from Console - Invite, change the roles of or remove View-only or Developer users |
| Developer | - Read balances and payments - Export balances and payments - Manage return URIs - Manage merchant account balances - Manage webhook URIs and signing keys |
| Payments Operator | - Refund payments from Console - Read balances and payments |
| View-only | - Read balances and payments - Export balances and payments |
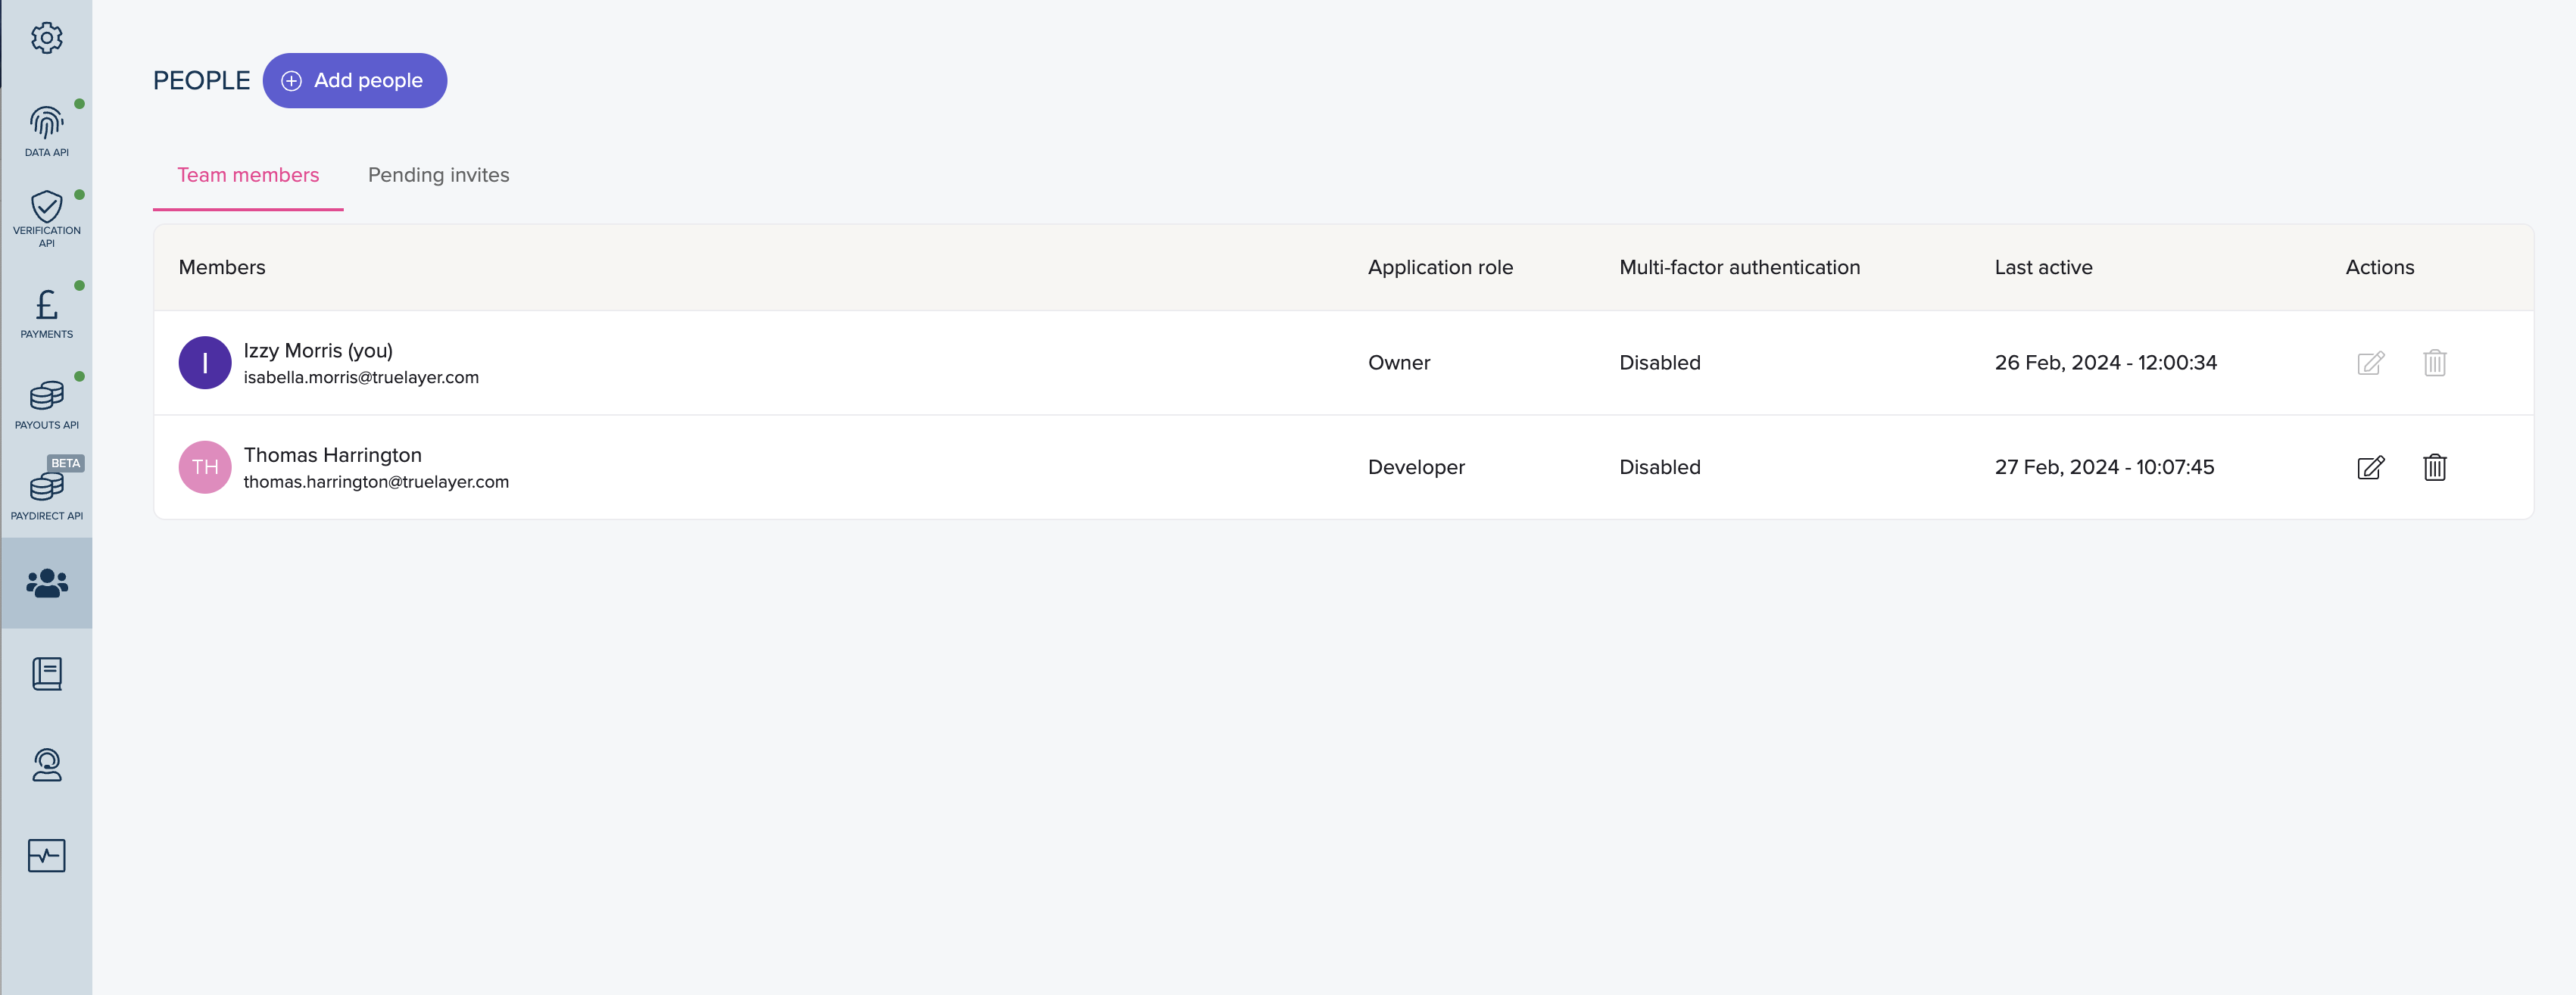
See an overview of the members and roles within your app on the Team members page (Console > Team members).
Payments table
When you open the Payments page in Console, most of the page is occupied by a table of payments made to or from your EUR or GBP merchant account.
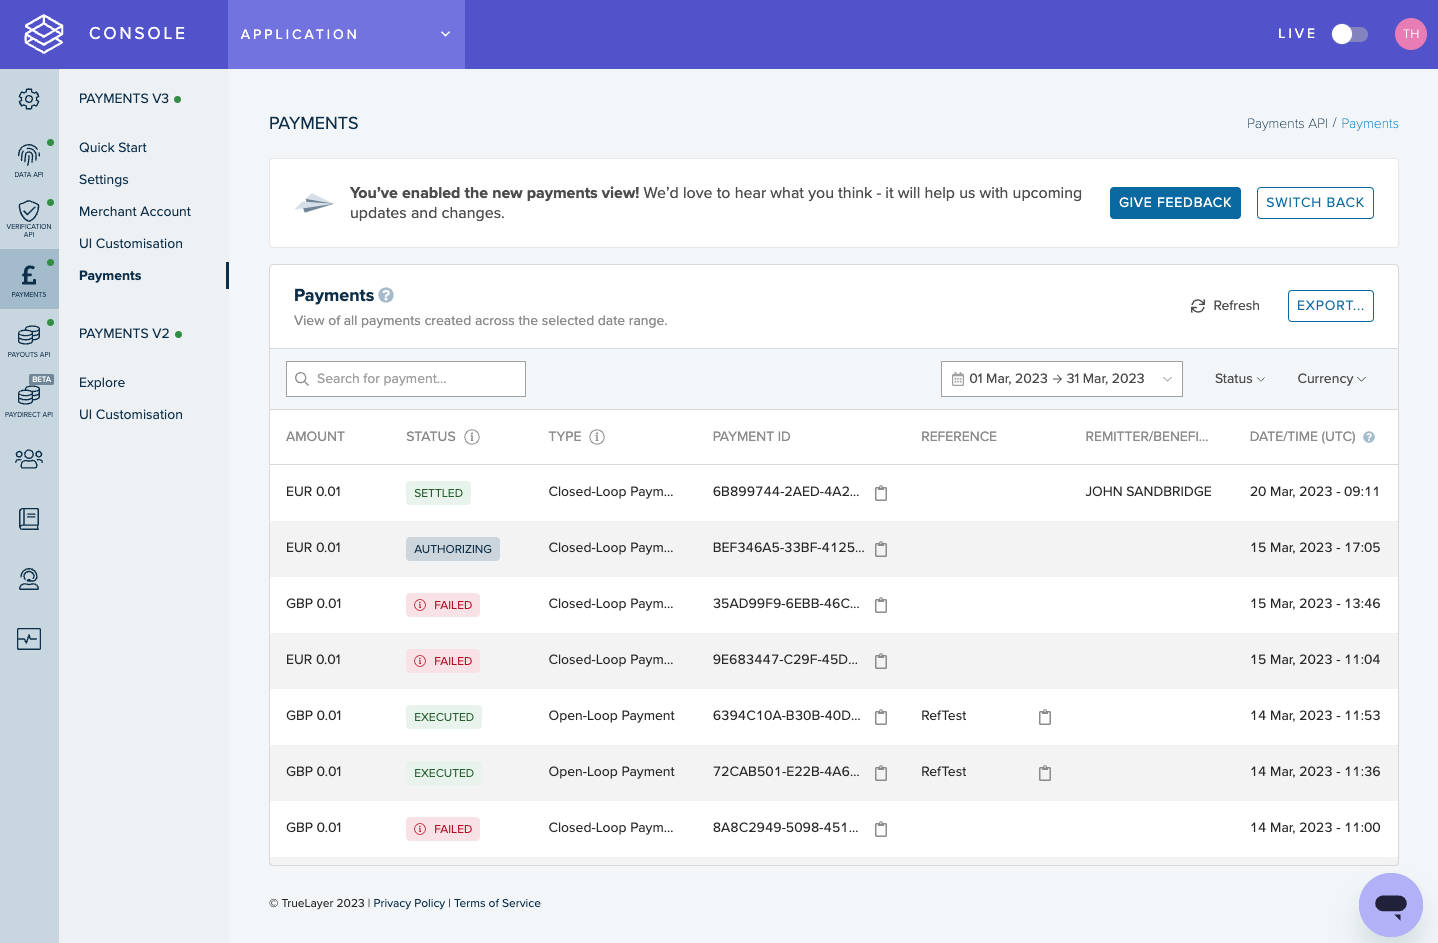
Filter by date, payment status and currency using the dropdowns to the right. 31 days is the longest period you can display on the payments view at once.
In the database, you can see every transaction made to and from your merchant account within the given date range. Days are in UTC from midnight to midnight.
Details included in this view:
- the amount paid
- the status of the payment
- the payment type (whether it is a payment or refund)
- a unique ID for the payment or refund
- a reference
- the name of the remitter, or payer (if a pay-in)
- the name of the beneficiary, or payee (if a refund)
- the date and time (UTC) that the payment was last modified
Click on an individual payment to also see:
- the dates and times that the payment transitioned to each status in its lifecycle
- the transaction ID
- the account number and sort code of the payer or payee
- the remitter or beneficiary type
- the payment source ID of the remitter or beneficiary
- the user ID of the remitter or beneficiary
Generate a report
Click Export to generate a CSV report of your transaction history within a time frame that you choose.
Use the menu to filter by date range, currency and payment status. To include more detailed information in the payout type, enable Granular payment types.
For more control over the fields that appear on the report, enable Advanced export fields.
Payment statuses
Payments move through different statuses as they are created, authorised by your customer, and settle into your account. You can see the status of a payment in the payments view.
Below are the payment statuses which can apply to a TrueLayer payment, no matter what plugin they are made with.
| Status | Description |
|---|---|
authorization_required | The payment was created successfully and no further action has been taken. |
authorizing | The end user started the authorisation journey by interacting with the hosted payment page or your UI, but hasn't completed the journey yet. |
authorized | The end user completed the authorisation journey and the payment has successfully completed its authorisation flow. |
executed | TrueLayer submitted the payment to the bank and the payment was accepted successfully. The money has either already arrived in your account, or will appear in your account shortly. |
settled | The payment has arrived into your merchant account. |
failed | The payment was not processed. Usually includes a failure_reason that explains why. |
Note that plugin dashboards sometimes use different payment statuses.
Refund a payment
Requirements
A person signed into your application in Console can only issue a refund if they have:
- The Owner, Admin or Payments Operator role in the application.
- Set up multi-factor authentication (MFA) for their Console account. If you do not have MFA enabled, configure it from the User settings page or from the payments view.
To refund a payment:
- Go to Console. Ensure that you are in the correct environment (ie that Live is toggled in the top right).
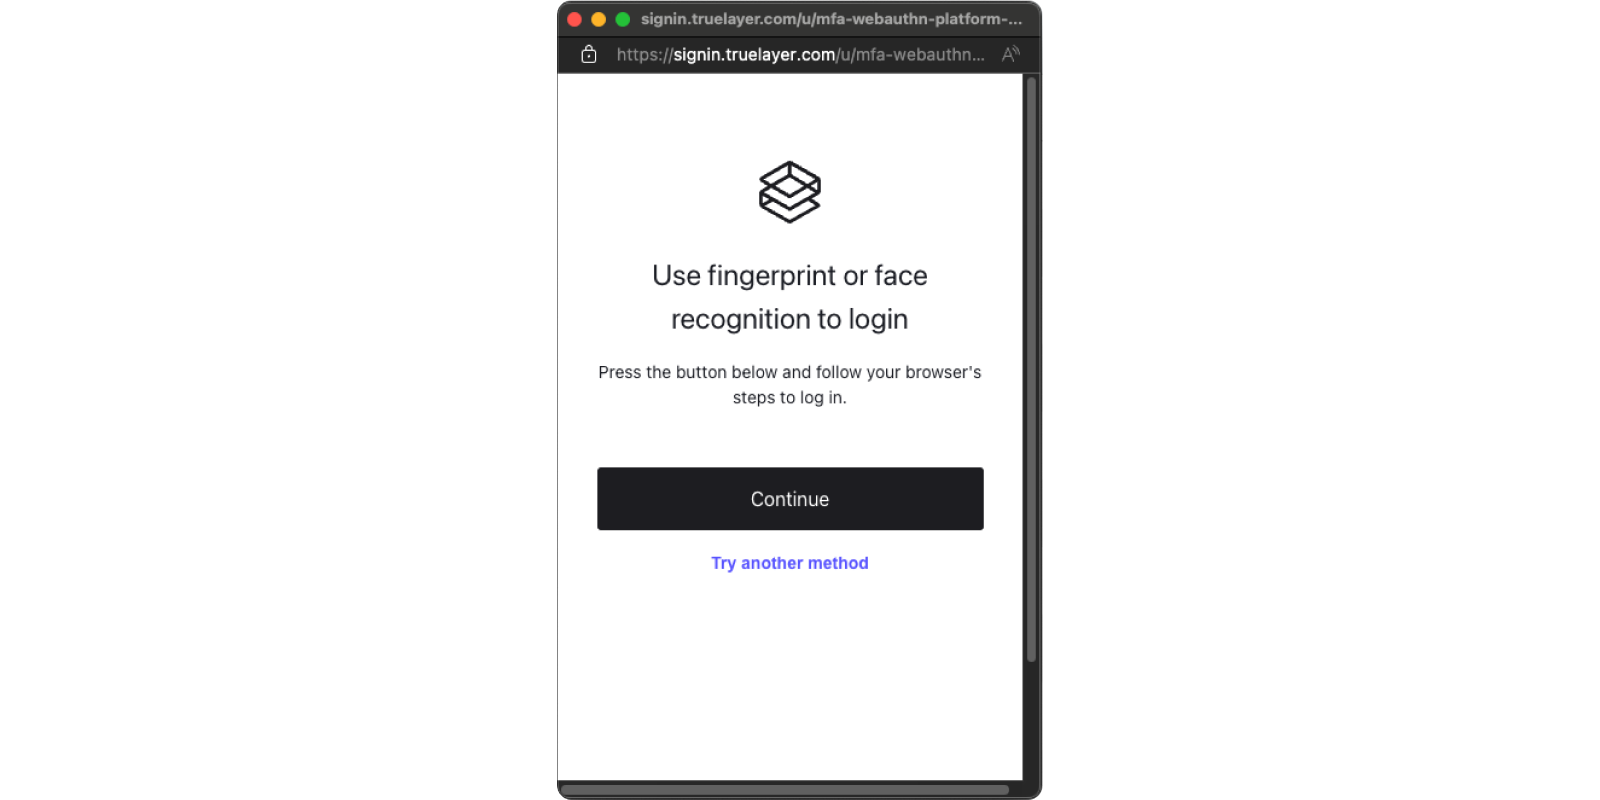
- Enable multi-factor authentication (MFA), if you haven't already.
You need to enable multi-factor authentication to process refunds. For help with doing this, see Set up MFA below.
- Go to Payments > Payments. Here you will be able to see all the payments and payouts in your account.
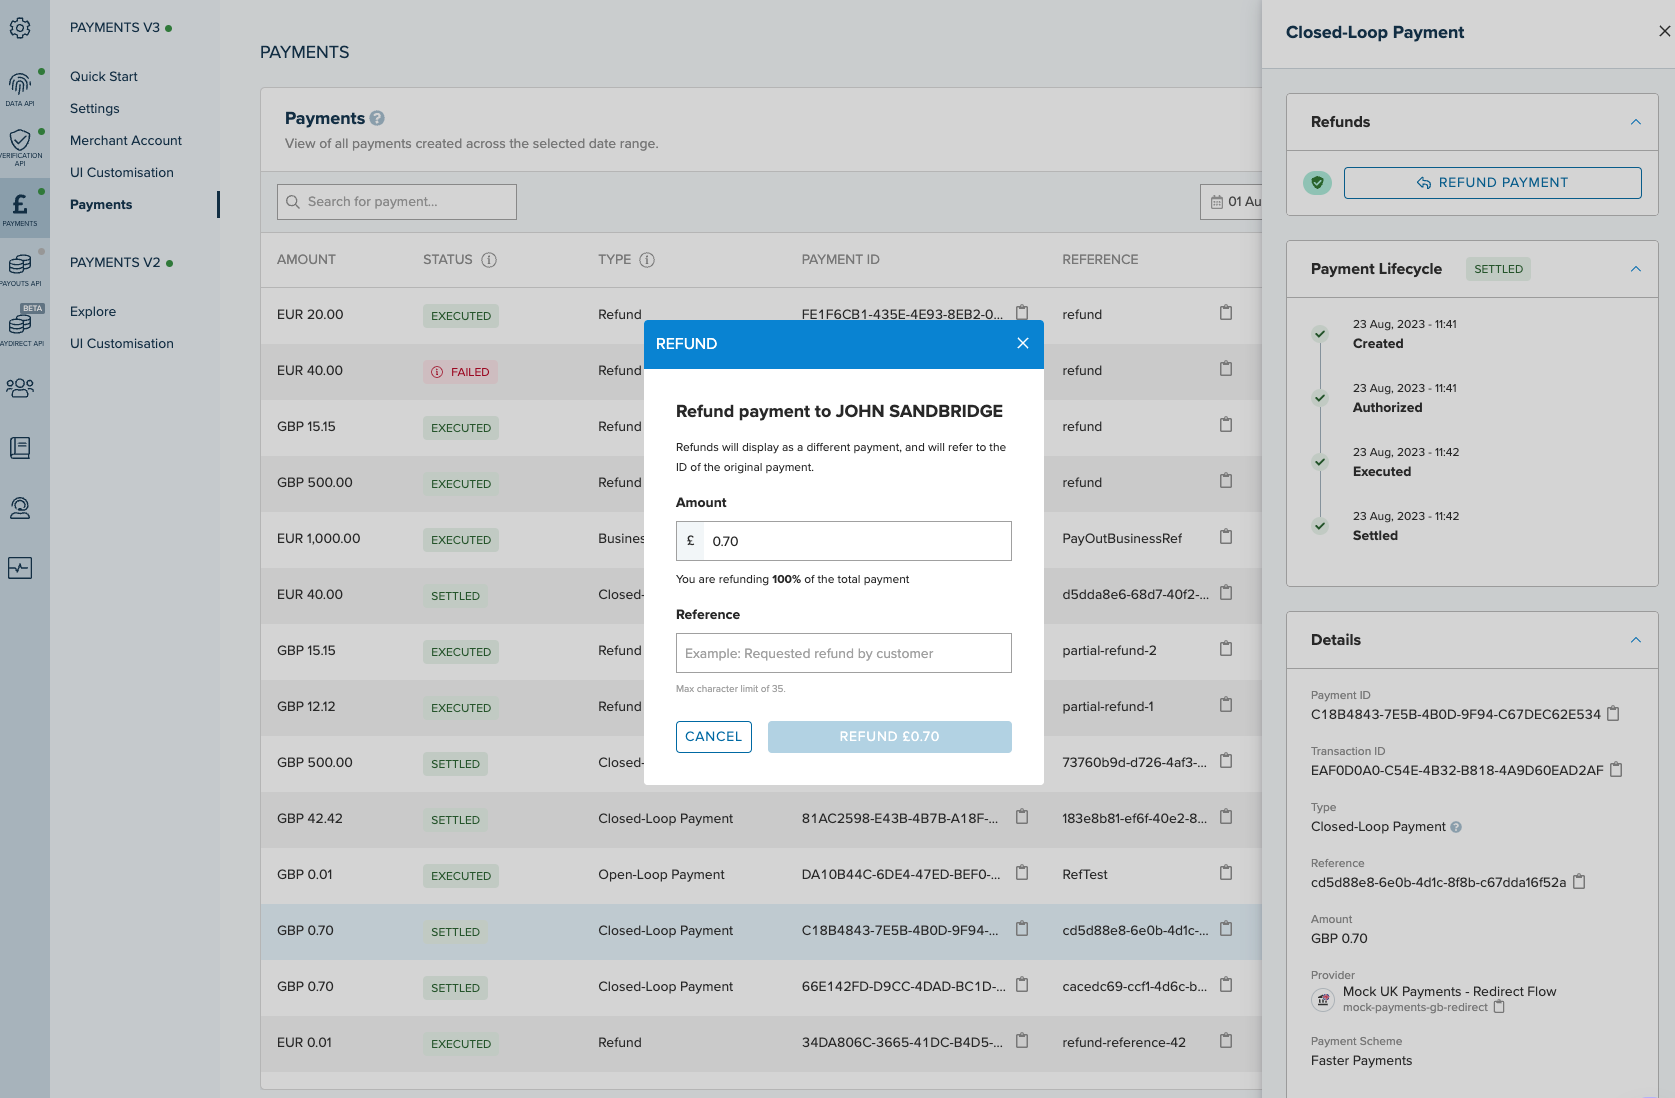
- Click on the payment that you want to refund. Click Refund payment at the top of the window that opens to the right.
- A dialog displays. Enter the amount of the original payment to refund.
The amount of money refunded cannot be more than the amount of the original payment.
Updated 7 months ago