Payments settings
Manage the public key and webhook URIs for your payments integration in Console.
To change payments-specific settings, open an app then select the Settings tab. Then, scroll down to the second heading, Payments settings where you can upload your public signing key and define webhook URIs.
Any settings you change on this page only apply to the app you currently have open.
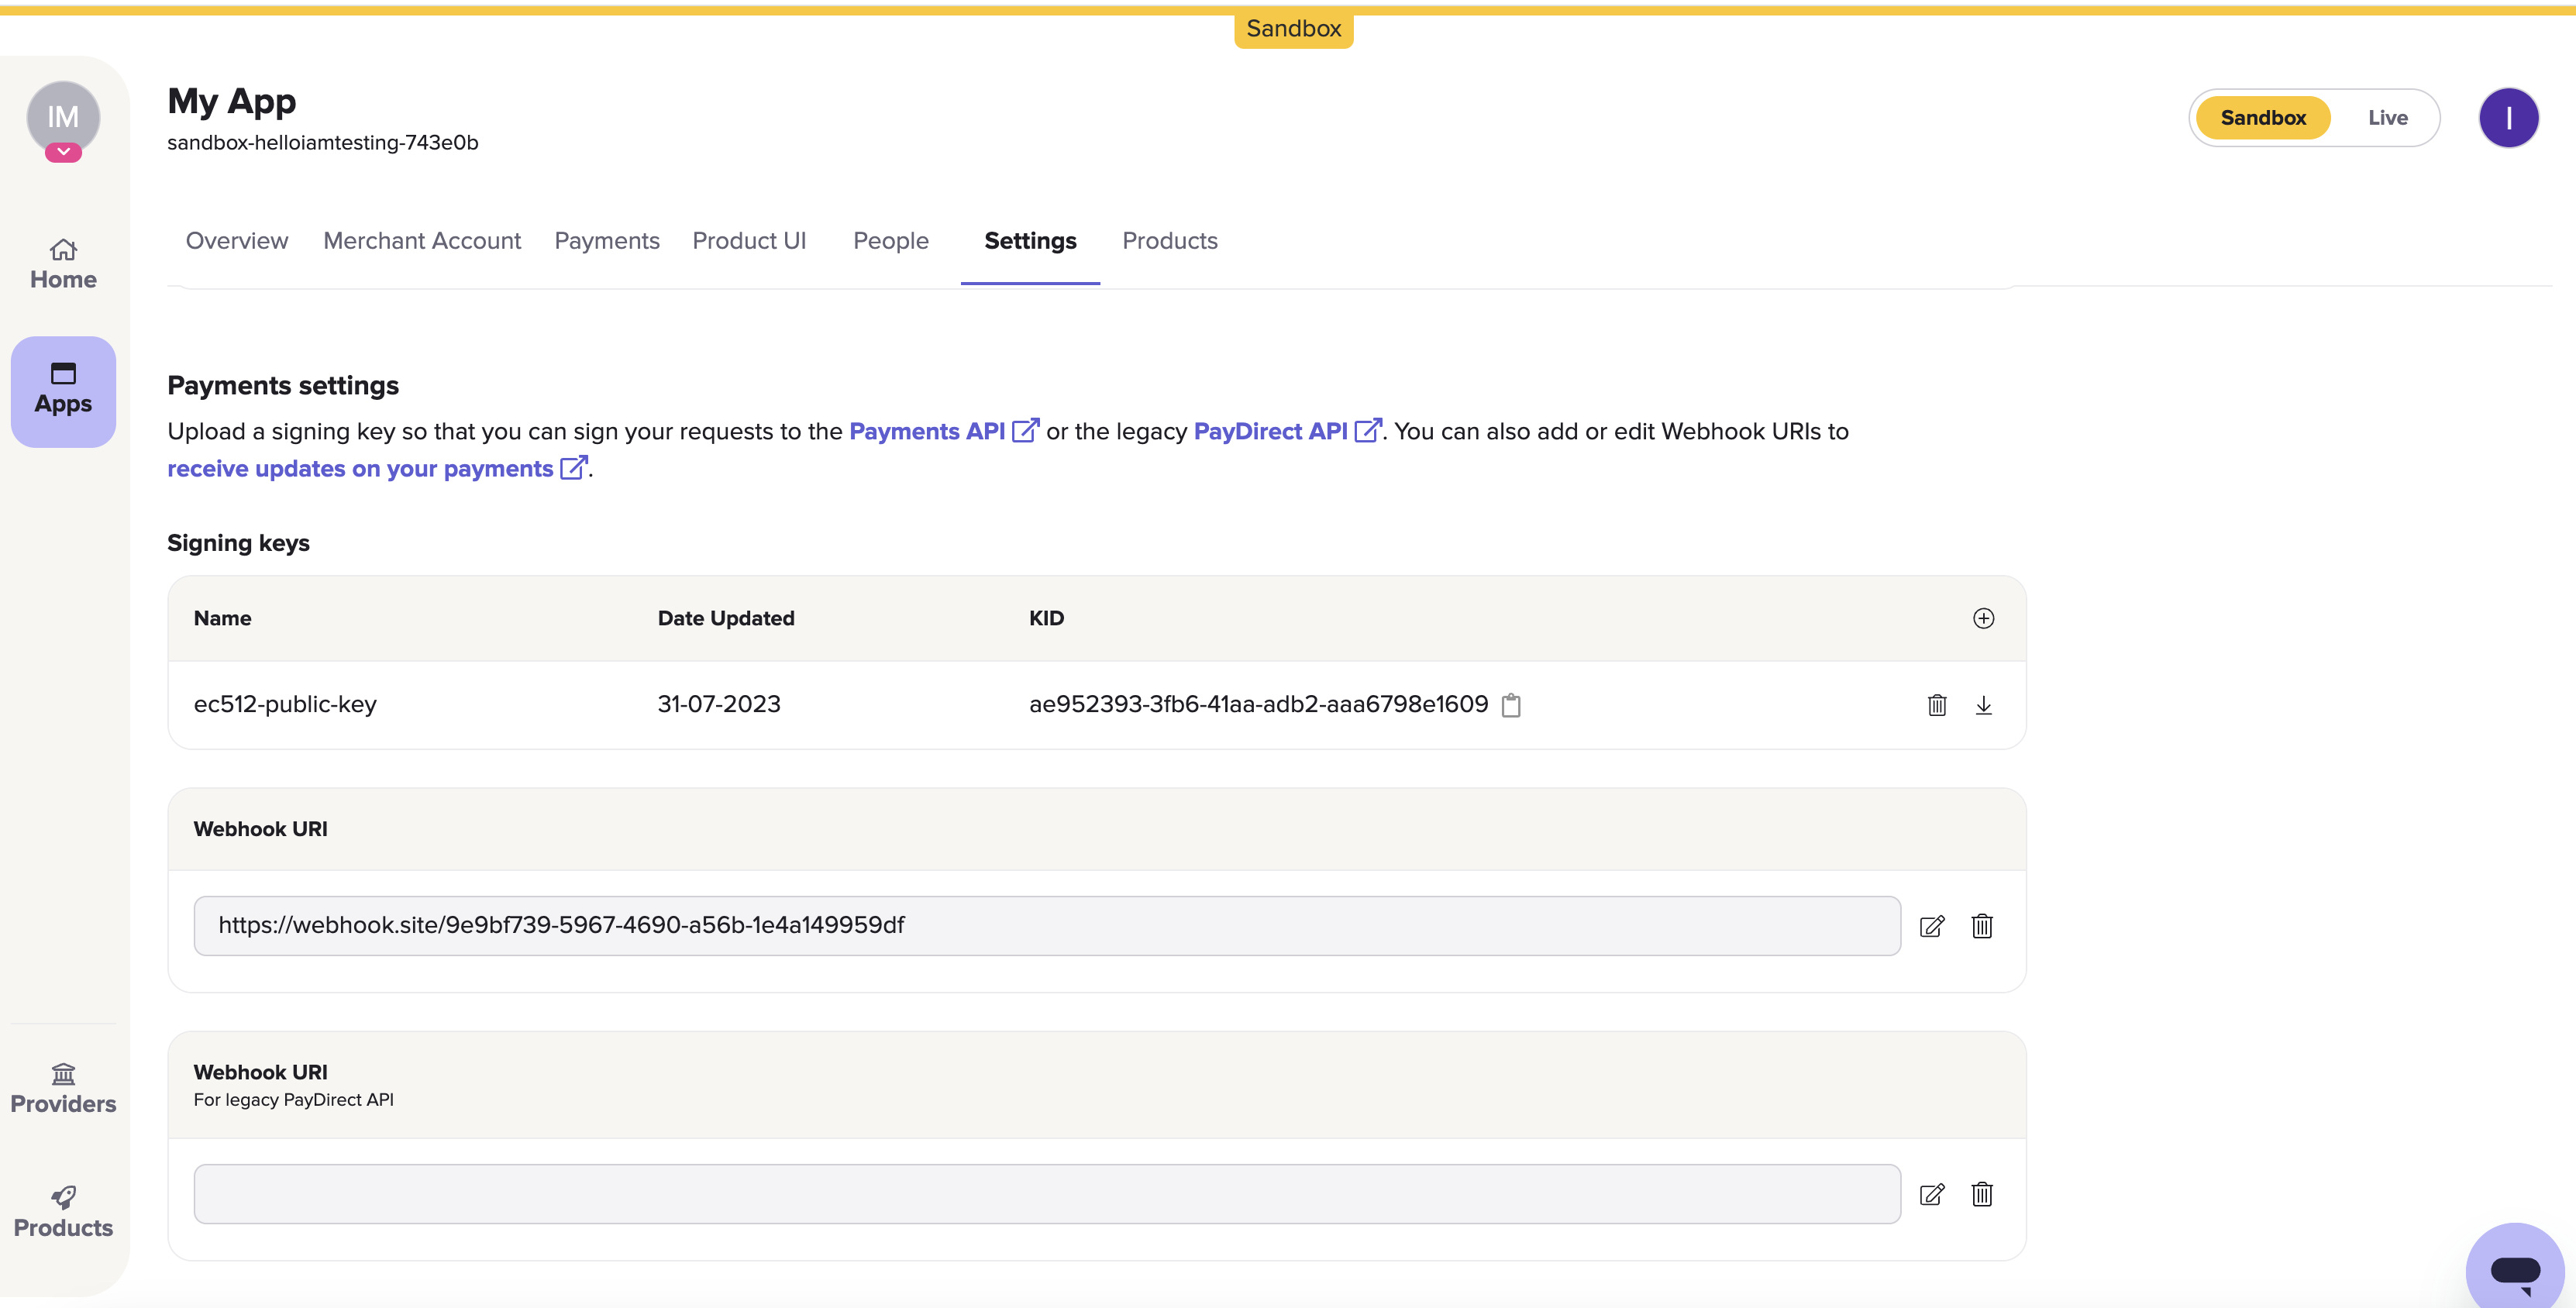
Payments settings within Console.
Signing keys
To securely sign API requests you make through your payments integration, you need to upload a public key for your application. You send the corresponding private key with your payment requests. The keys together authenticate your request.
To upload a public key:
- Click the + button to the right of the Signing keys section.
- In the system dialog that displays, select your public key file.
You can upload multiple public keys.
Once you've uploaded a key, you can:
- Copy your KID to your clipboard by clicking the clipboard icon to the right of it.
- Delete the key from your app by clicking the bin icon to the right of it.
- Download a copy of your key by clicking the download icon to the right of it.
Webhook URI
You can specify a webhook URI for your payments integration.
This Webhook URI receives webhook notifications, which are updates when something happens in your integration. Each application and client_id can only have one webhook URI for payments.
To specify your webhook URI:
- Click the edit icon to the right of the example webhook URI.
- Enter a webhook URI.
This must be in a valid URI format. - Click the tick icon to the right of your URI to confirm your selection.
Updated 7 months ago